This post may contain affiliate links. For more details, see my disclosure page.
The Locked Loop Ends Crochet Technique for Working in Ends in Crochet Hats
The Locked Loop Ends Crochet method of working in yarn ends can really help save you time and frustration when finishing your crochet projects.
Do you hate weaving in ends in crochet? Does using a yarn needle frustrate you, leaving you feeling annoyed and stressed when you should feel proud of your beautiful crocheted project?
Me too! I’ve tried all the tips and tricks. I’ve woven with a crochet hook, used a yarn needle, crocheted over them, but I wasn’t satisfied with any of those methods.
After years of experimenting, I’ve come up with a better way! The locked loop ends method saves you hours of time and eliminates the frustration and embarrassment of having a loose yarn tail hanging off a gifted hat.
This tip is especially helpful if you happen to make a lot of top down hats. I saved HOURS by using this method on my Little Red Hats for Little Hats Big Hearts donations!
In this tutorial, I’ll be demonstrating the Locked Loop Ends Crochet technique in the round, for a top-down hat using a Magic Circle start. But it can be applied to so many more crochet techniques!
I also have a tutorial on working locked loop ends in flat rows next week, and a tutorial on joining new yarn without sewing in ends. You can even use locked loop ends working with stripes!
Without further ado, here’s the Locked Loop Ends Method worked in the round for a top down crochet hat.
Materials:
Worsted Weight Yarn – I’m using Hobby Lobby ILTY! in Rosy Cheeks, but Caron One Pound is a comparable substitute.
I/9 5.5 mm Crochet Hook I used a Susan Bates Bamboo Handle Hook for this tutorial.
A top-down hat pattern that uses the Magic Circle Method.
This technique will work with any yarn weight and hook size called for in your pattern, so feel free to substitute!
Locked Loop Ends Method Video Tutorial
Prefer to watch how to do the locked loop ends method as a video? Check out this video from my YouTube Channel. Be sure to subscribe to Salty Pearl Crochet on Youtube to see the rest of the tutorials coming soon!
Locked Loop Ends Method for Magic Circle Hats
To begin, start with one round of your hat pattern completed, using the magic circle method. I have about 8-9″ of a yarn tail here, which will hold very securely for this type of yarn. This method works by using friction, so if you are using a slick yarn, such as Caron Simply Soft, or even a silk blend yarn, you may want to use a longer tail to keep it even more secure.
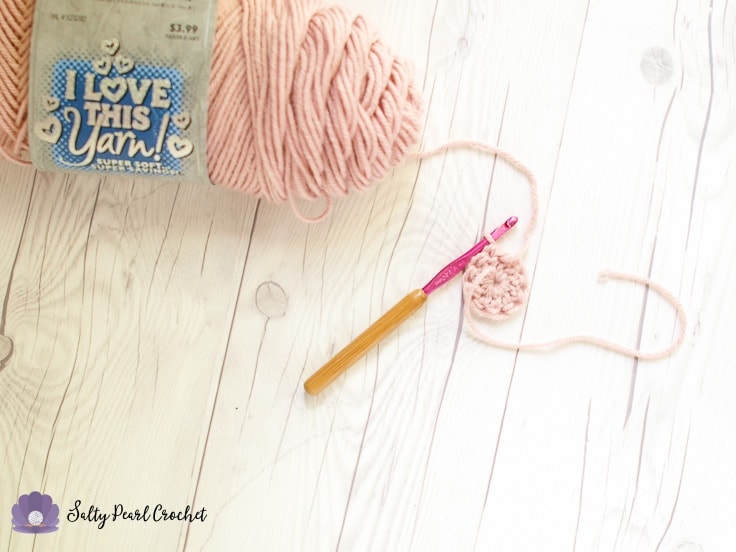
Before you begin your next row, fold that nice long yarn tail just about in half, leaving at least an inch of your tail out for later. Yarn over, and insert your hook into the first stitch. When you yarn over, you’ll begin to secure those ends in place.
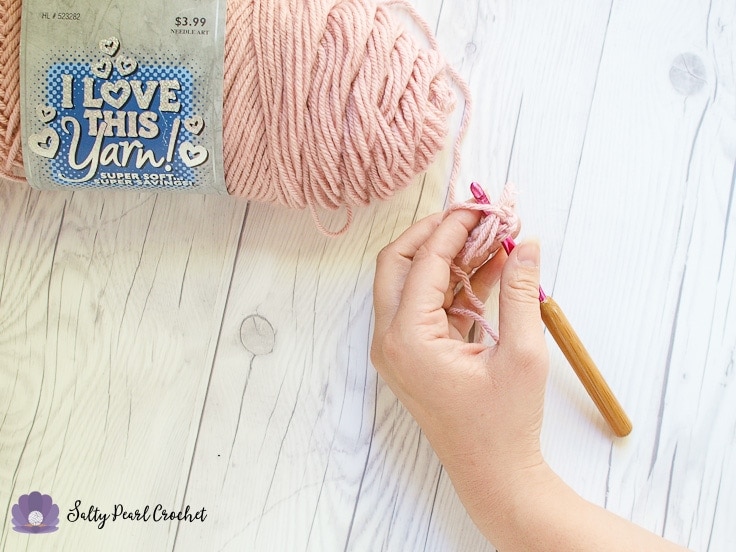
Now, you can complete your stitch as normal. This particular hat pattern has a dc as the first stitch.
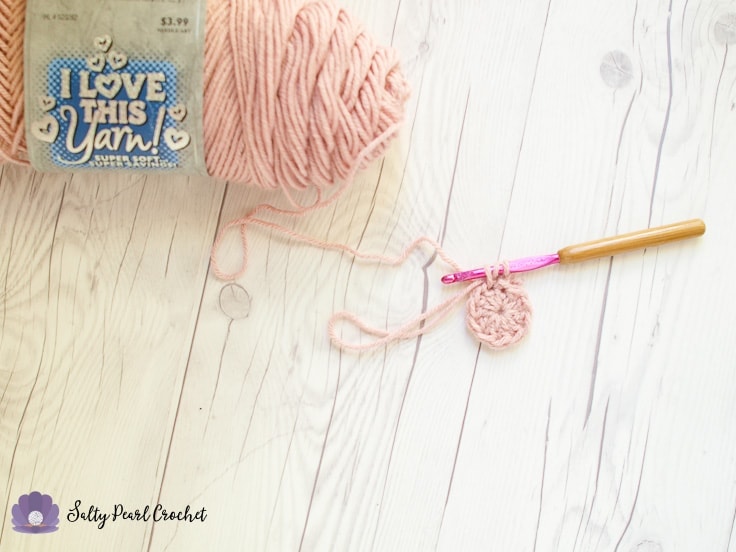
Complete the stitch. You should be working towards the folded “loop” of your yarn tail now. You will be working over both the stitch from the previous round and two yarn tails.
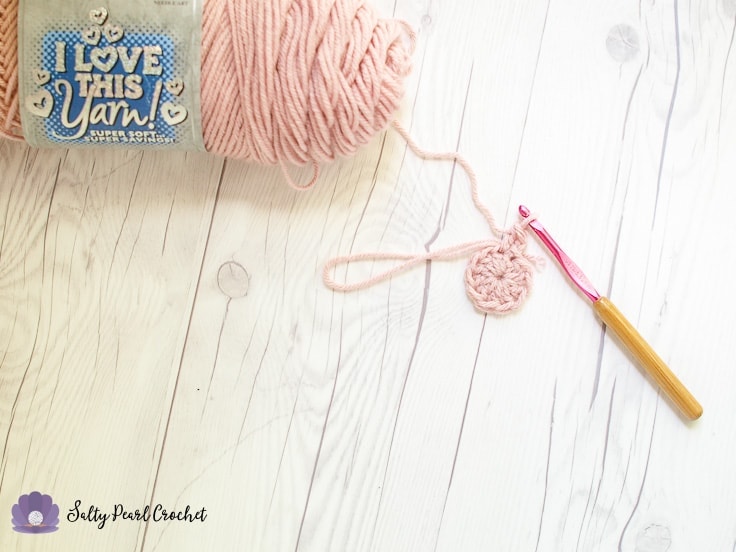
Continue in pattern, working over your yarn tails.
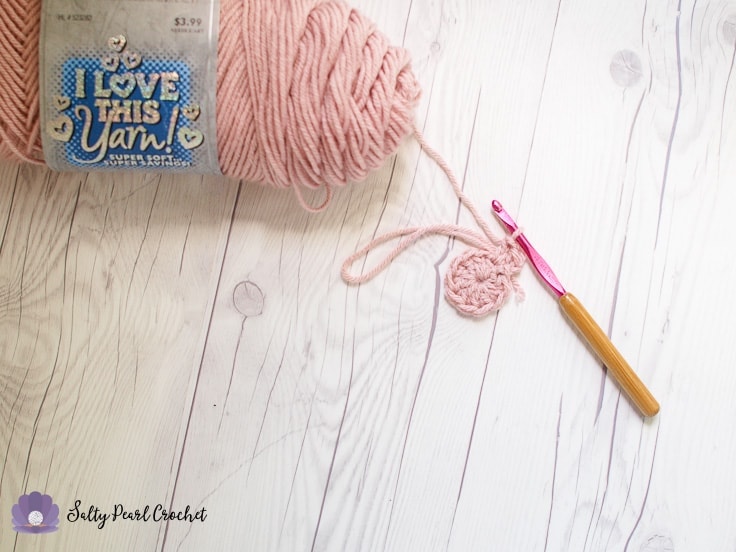
If you have to adjust the tail to be longer, that’s fine!
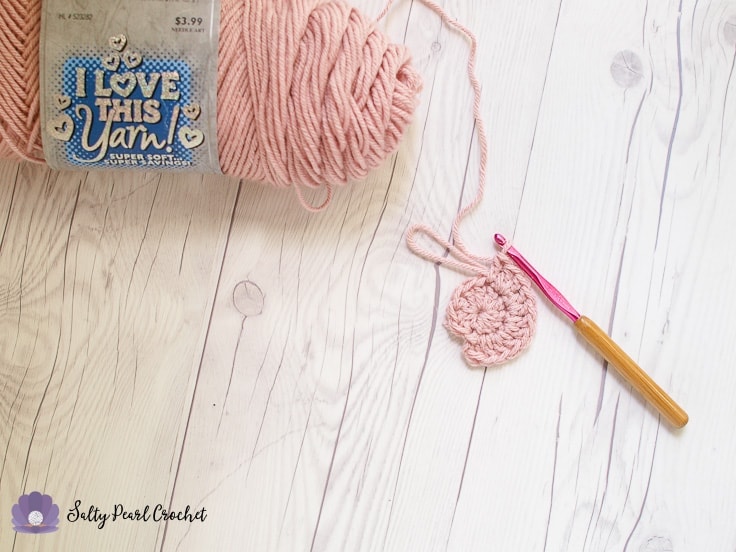
Hopefully, you will be able to complete a whole round. Stop before the last stitch, or when you have just a small loop left.
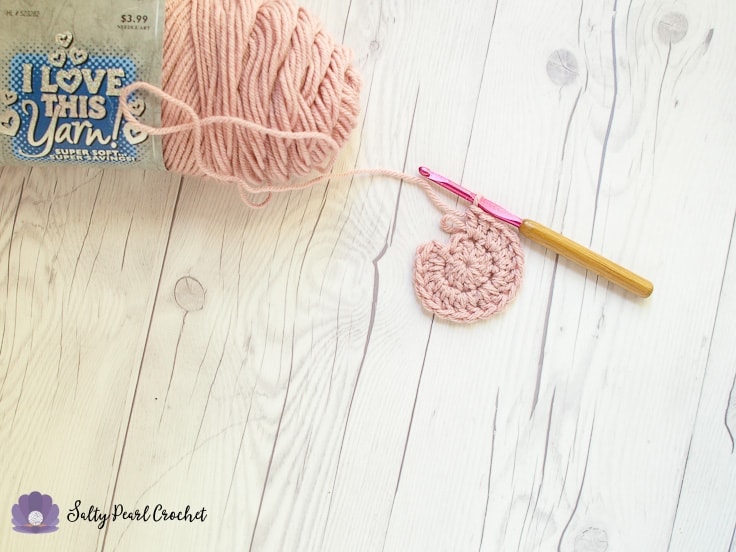
Continue your next stitch as normal. For a double crochet, yarn over, and insert your hook in the stitch as normal. You can see the tail loop sticking up in the next photo.
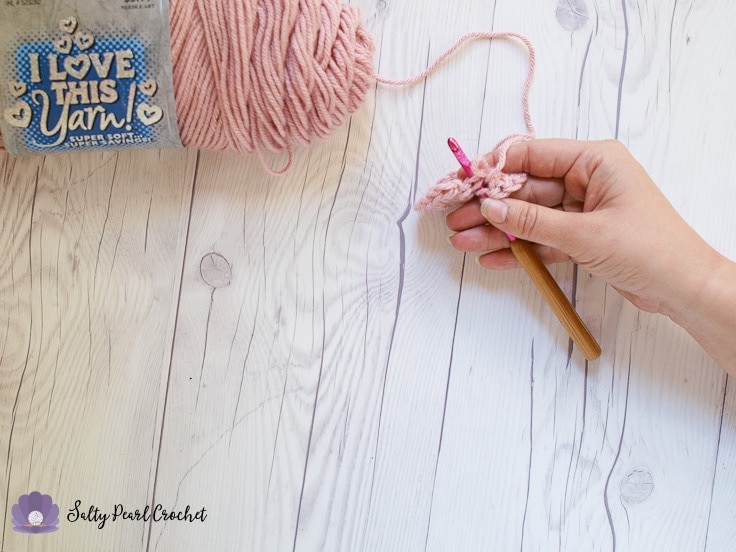
Now, slip the hook through the loop. Are you ready? Here comes the magic!
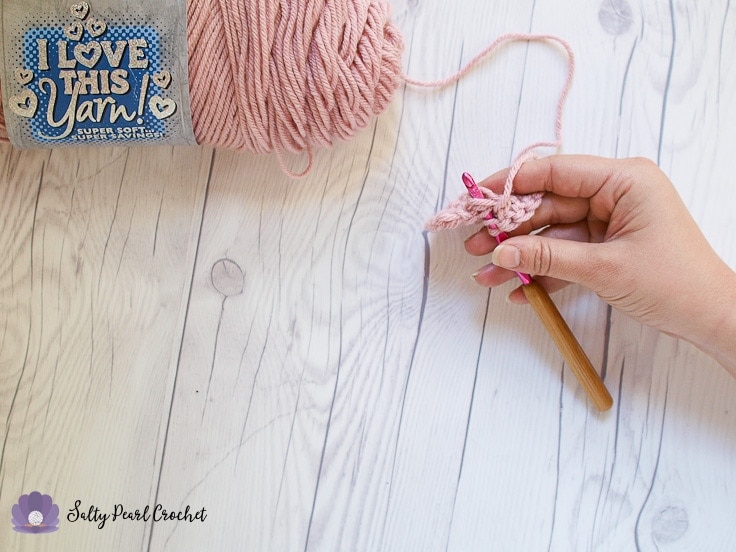
Yarn over and pull up a loop, to lock in your yarn tail. If you’ve done it right, your working yarn will be pulled through the loop. Here’s a back view to illustrate:
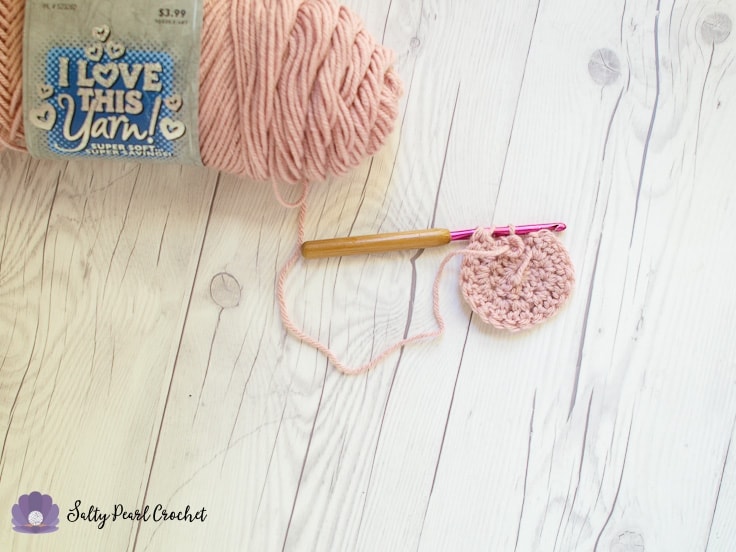
Next, you’ll complete your stitch as usual, and join your round. Flip it over, and gently pull the end tight. You’ve just locked in your tail loop! Be careful to spend an extra second to tighten gently here, so you don’t accidentally cause the hat to pucker.
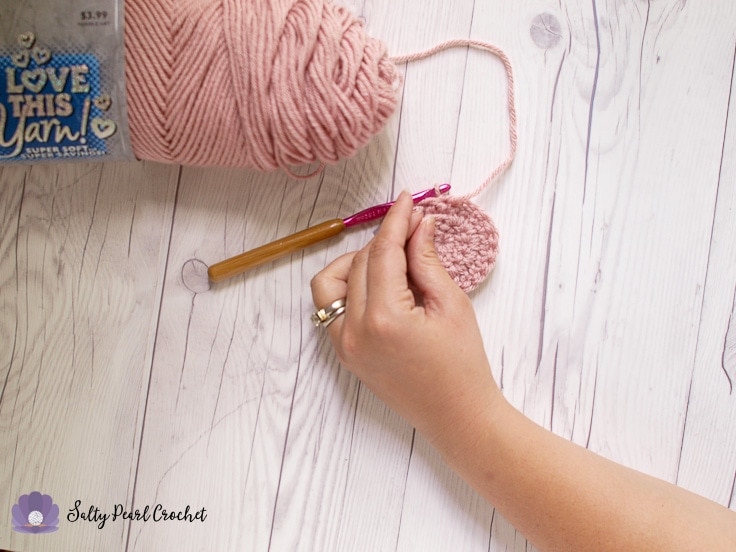
Look how clean and tidy this method looks!
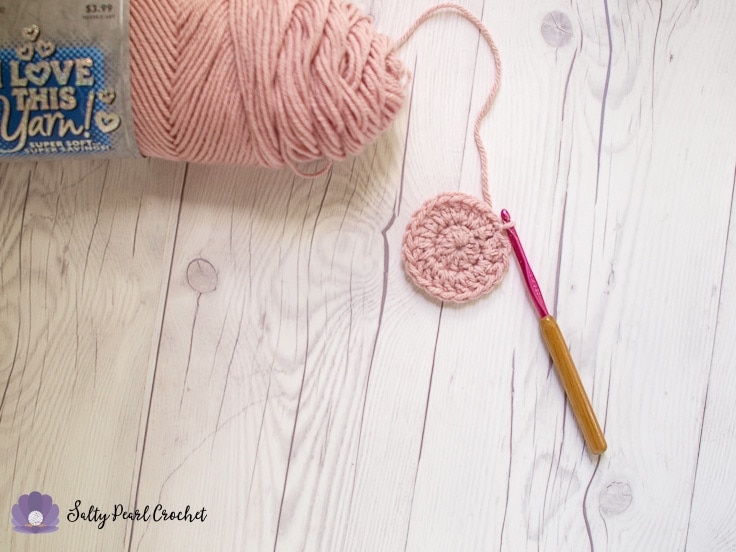
If you like to know your ends are extra secure, or if you are working with slippery yarn, continue working over the tail for another round. Yarn over and insert your hook as normal, tucking the tail along the stitches.
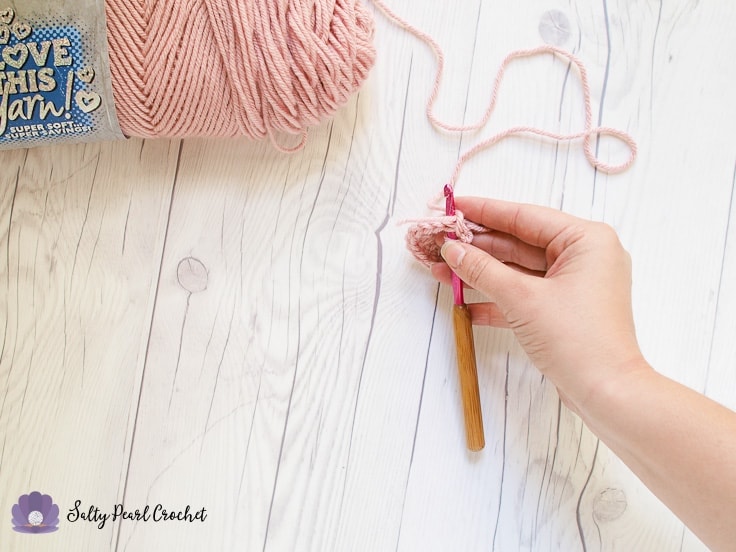
When you yarn over, it will secure the tail even once more.
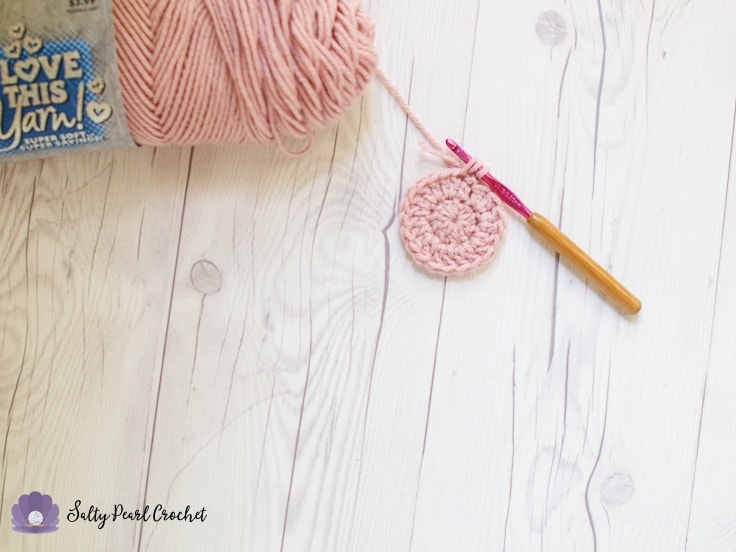
Complete your stitch as normal.
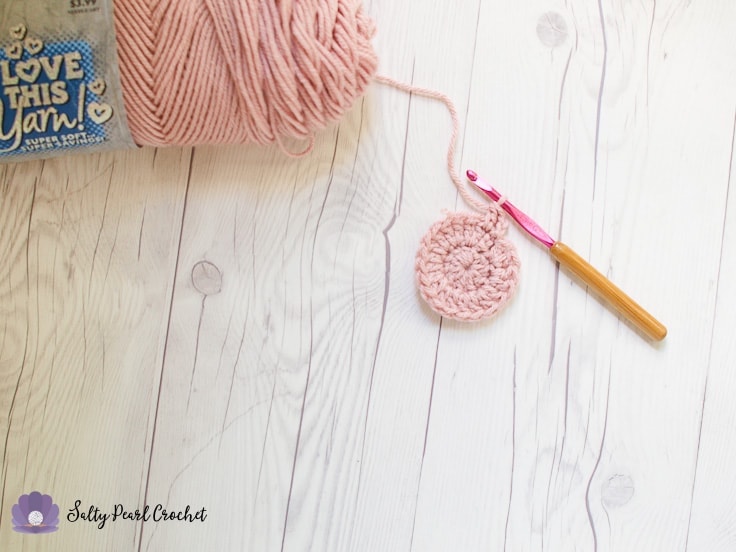
And continue around in pattern. In this hat, it’s a basic 2Dc, Dc pattern repeat.
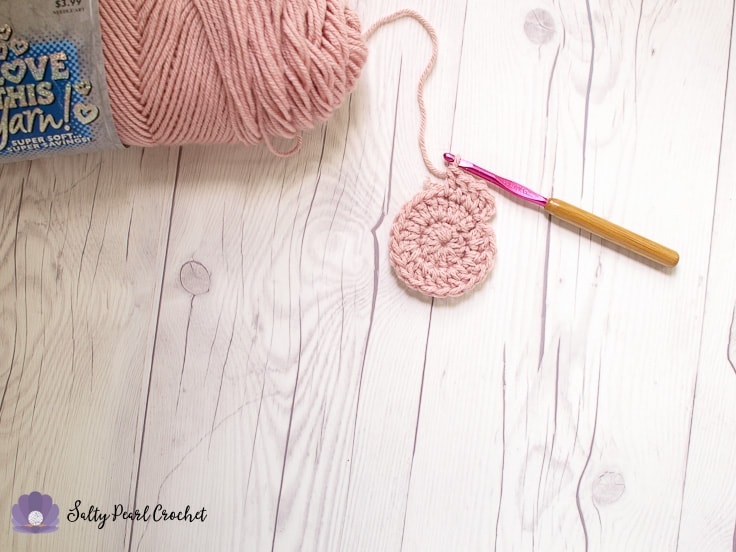
When you get to the end of the tail, you can pull taut and trim it, or simply crochet over it. I find that unless I have a very splitty yarn, I can simply crochet over the ends and get a very tidy result. Then you can finish your round normally.
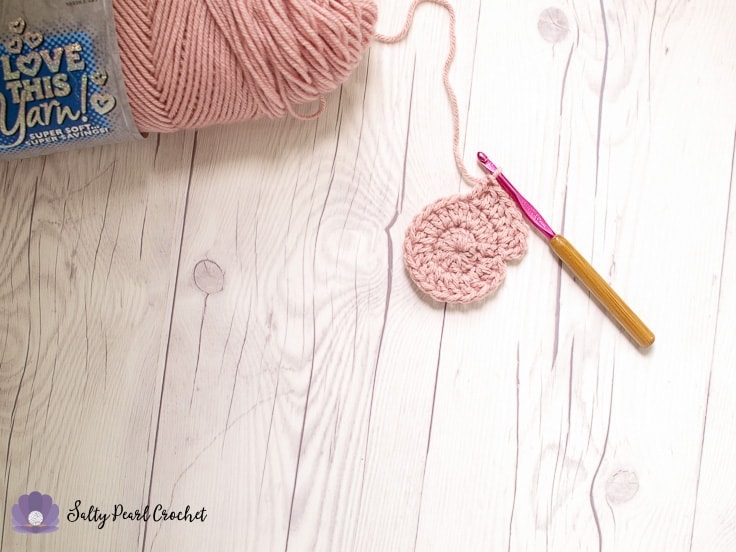
If you flip the piece over, you’ll notice there is just one little stitch that you can notice on the inside of your hat. Of course, you’ll want to take care not to tug that too hard, or you might have to sew in the end after all!
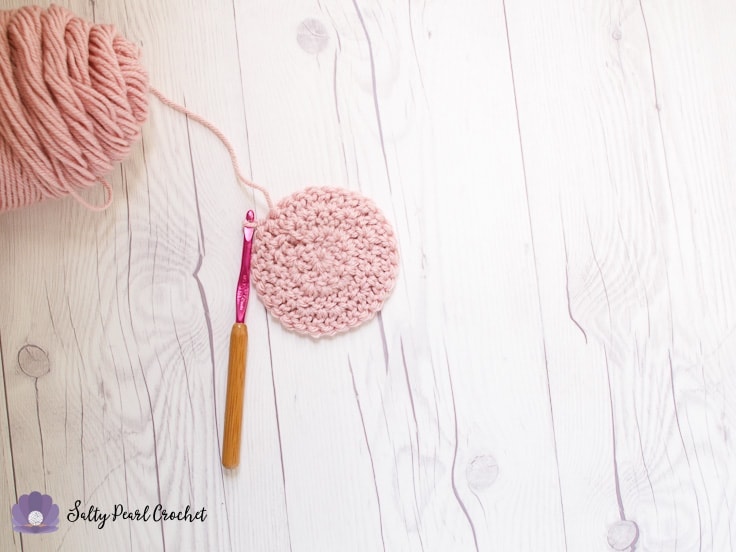
Look how clean and tidy your hat crown looks! If you’ve completed the tutorial with me, give yourself a high five! And spend the extra few minutes you’ve saved yourself crocheting, of course!
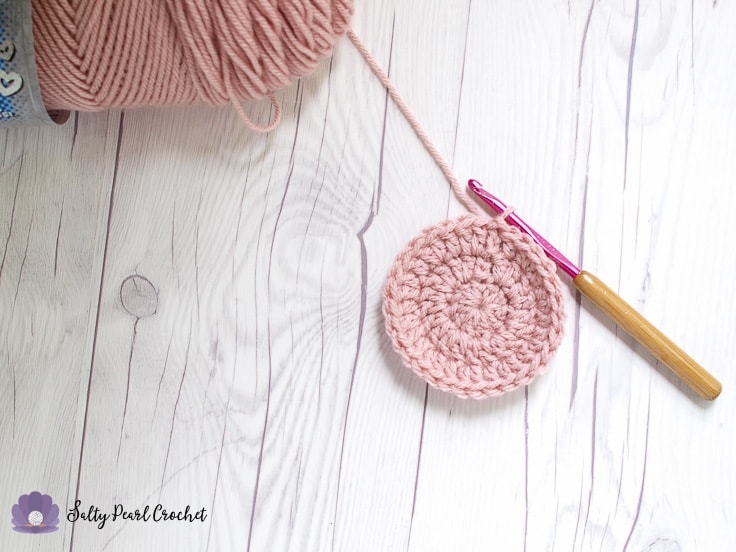
Wasn’t that easy? Certainly much less frustrating than having to find a yarn needle and sew in your ends the old fashioned way! I love how clean and sleek this method turns out, and I love that I don’t ever have to weave in any more than one end in my crochet pieces now!
If this method helped you, please pin it on Pinterest! If you’re looking to practice, here’s the free, top down hat pattern I ended up making with the tutorial swatch.
If you’d like more time-saving tips like this delivered to your email inbox so you don’t miss them, subscribe to my email newsletter here! As I mentioned earlier, I’ll be posting a tutorial on working Locked Loop Ends in flat rows next week, and more tutorials on joining new yarn without sewing in ends, and working with stripes in the weeks to come. You won’t want to miss them!


Joey says
thank you so much for the directions on how to crochet in your yarn tails. I had been trying to come up with something but just couldn’t figure it out. Your directions are just what I was looking for. I crochet about 300 hats a year for charity so this will come very handy for me. Thanks again.
Katie says
Hi Joey!
Thanks so much for taking the time to comment! I’m SO glad to be able to help you save time and get more crocheting done. And WOW! 300 hats is fantastic! Kudos to you, and keep up the amazing crochet work!
Katie
jamae says
Thanks, Katie! Your locked loop method is very clever, and at the same time simple to execute. I can see where this technique would also be very advantageous when using intarsia in flat crochet or in the round. It might take a few tries to adjust the length of the loop, but it would still be a great time-saver. Oh-oh, the ideas are flooding into my head already! So many patterns, so little time.
Katie says
So glad to have inspired you!! I totally agree with having so much inspiration and not quite ever enough time. 🙂 But hopefully having this trick up our sleeves will help us have a bit more!
Sally says
Fantastic – no more weaving in ends. Many thanks
Katie says
Yes! So glad you like this tutorial, Sally! Thanks for taking the time to comment! <3 Katie
Cindy says
Thank you for the info on this. I’m going to try it.
Katie says
Hooray! Let me know how you liked it! I’ve just updated with another tutorial showing how I work locked loop ends in rows, too. You can check that out here: https://saltypearlcrochet.com/locked-loop-ends-rows/
Thanks for taking the time to comment! I really appreciate hearing from you, Cindy. <3
Katie
cindyzs/freespiritczs says
Do you have or could you make a vid om these techniques plz n thx
Katie says
Hi Cindy! I do have a quick video I did on Facebook Live. You can find it on my Facebook Page, but here’s the specific post for the locked loop ends in the round: https://www.facebook.com/SaltyPearlCrochet/videos/2031489757138520/
Doris says
Thank you. Wonderful.
How do weave in ending tail?
Katie says
Hi Doris!
Unfortunately, the only ways to weave in the ending tail without a yarn needle probably involve some black magic. 😛 So, I usually use my yarn needle to do an invisible join. I’ll be sure to make a tutorial soon!
Thanks for commenting,
Katie
Rosalie McCreary says
Thank you Katy for sharing this really cool method. My hats are usually from the top down and this will get that pesky tail out of the way!
Katie says
You’re so welcome, Rosalie! So glad it’s helped you. I agree, the tail used to bug me so much until I figured out this method!
Happy crocheting,
Katie
Dawn says
Thanks for the tutorial. I will definitely try this on my next crochet project, I usually knit hats because I like the fit better, so I may try to figure out a knit version. If I can figure out I will let you know.
Katie says
Please do! I’m only a baby knitter so I haven’t experimented with this much at all. I do know that for joining new ends, you can knit with two strands doubled for a bit, but then you still have some pesky tails to weave in. 🙂
Good luck!
Katie
Celia Dunahee says
Do you have a video of this technique? I just can’t seen to learn from pictures only. Sorry. I tried looking on you tube but couldn’t find it.
Katie says
Hi Celia! I hope to have videos soon- my hubby bought me an HD camcorder for Christmas just for that purpose! This tip is one of the first on my list to videotape, so hopefully sometime this month!
Katie
Celia Dunahee says
Fantastic! Thanks for replying!
Sue says
I just came across your Locked Loop Ends tutorial. Your directions and pictures are fantastic! I also watched your video. Wow! Your method will greatly save me time. It is so much fun to crochet, and I also love to give my projects to others. Donate on! Thank you for sharing!
Katie says
Hi Sue! Thanks a ton for this awesome message! I really really appreciate the positivity. I’m so glad this method will help you continue to donate- it’s so rewarding to be able to give back whether through gifts or donations. You rock!
Happy hooking,
Katie