
This post may contain affiliate links. For more details, see my disclosure page.


Last week, I shared my Locked Loop Ends Method tutorial for working in your initial yarn tail in the round. This incredible, time saving tip has totally changed the crochet game for so many of you! You guys have blown me away with all your kind comments and thanks. I appreciate every single one of your awesome comments and shares! You also brought up some excellent questions about the method, too! So, I’m back now to help you work the Locked Loop Method to crochet in your ends while working in turned rows, and save even more time crocheting with this amazing yarn hack.
Locked Loop Ends in Rows
How to securely work in your yarn tails in rows.
If you crocheted through the Locked Loop Ends in the Round tutorial, this one should be a piece of cake!
Materials Used in these Photos
- Peaches and Creme Cotton Yarn, Ocean Coral
- H 5.0mm Clover Soft Touch Crochet Hook – Find the set here
- A crochet pattern worked in rows.
Here, I’m working a simple dishcloth in the Suzette Stitch (I’ll post the tutorial and pattern separately later.)
Before you begin, Pin this tutorial on Pinterest so you don’t lose it! And please share this post on Facebook if you found it helpful!
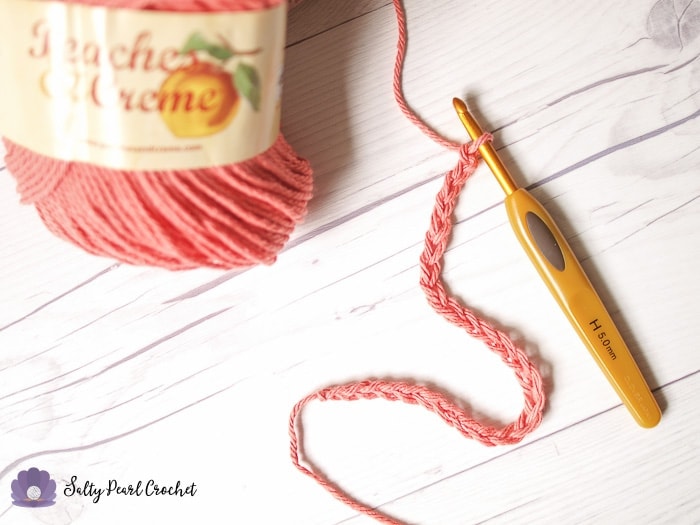
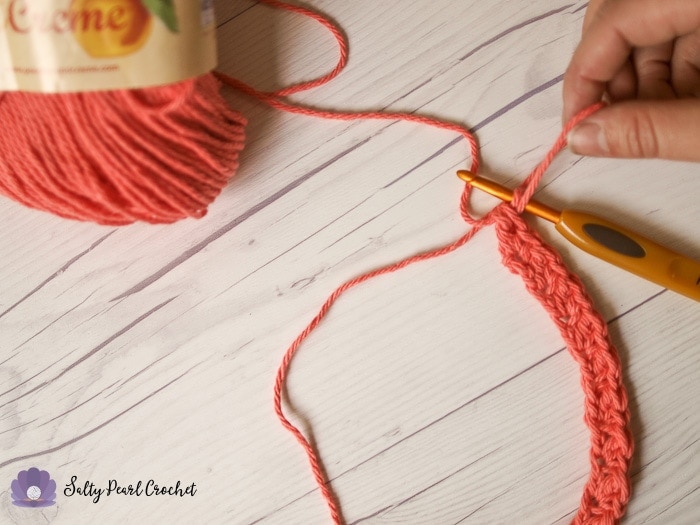
Let’s get started! First, you’ll work your initial chain.
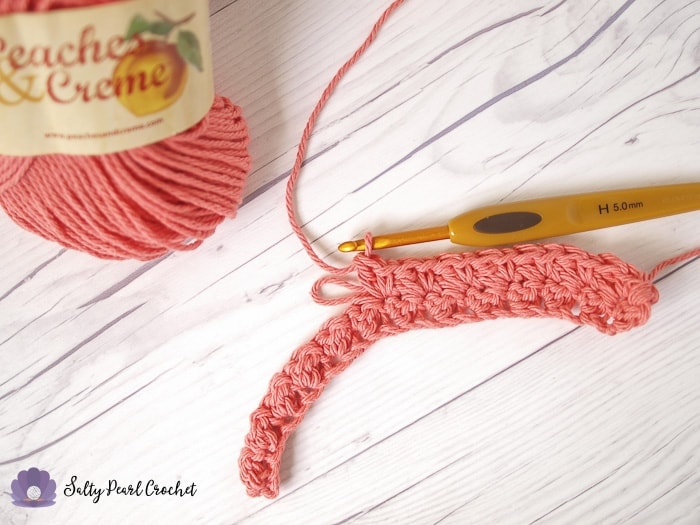
Next, you’ll complete your first row in pattern according to the directions, stopping with one stitch left in the row. Then, draw up your initial loop through the stitch as normal. Since my pattern ends on a double crochet, I three loops on my hook- the working loop, the yarn over, and the loop drawn up through the last chain.
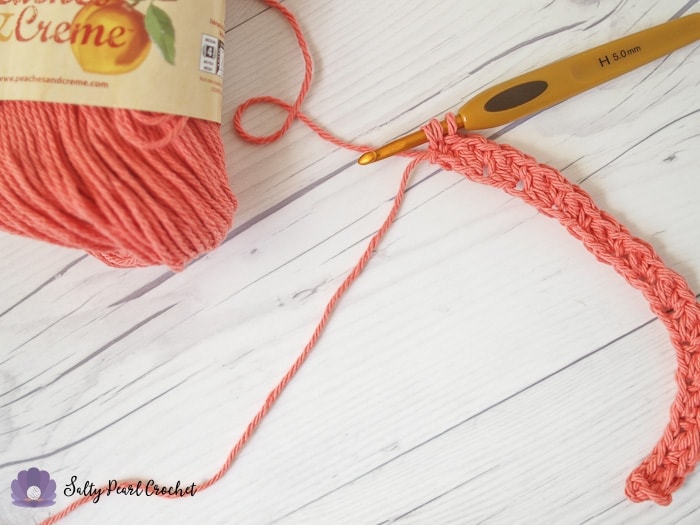
Then, You’ll complete the stitch using BOTH your working yarn, AND your yarn tail. Simply hold them together and yarn over with both strands as pictured. Then, complete your stitch.
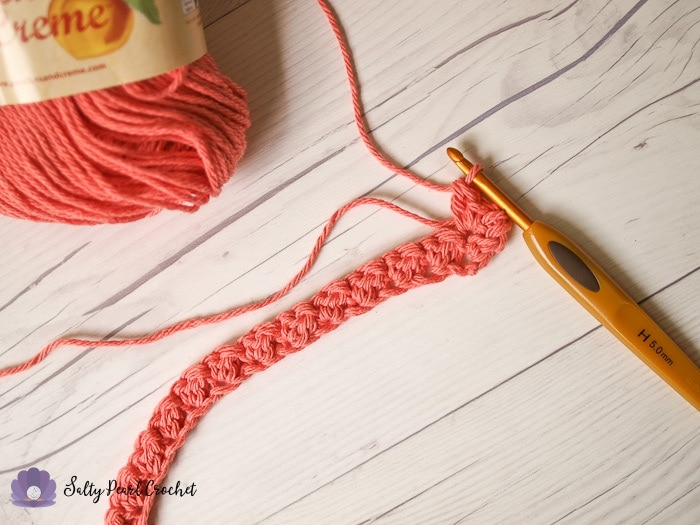
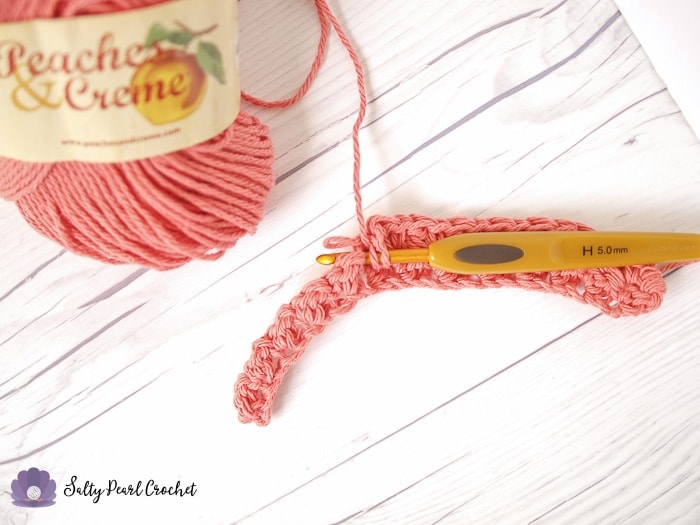
Doing this serves two functions. First, it brings your yarn tail up to the level of the stitches you’ll be working into. Second, it adds another point of friction to secure that tail in. You can see in the photo below that there are two loops on the hook- my working stitch loop, and the yarn tail
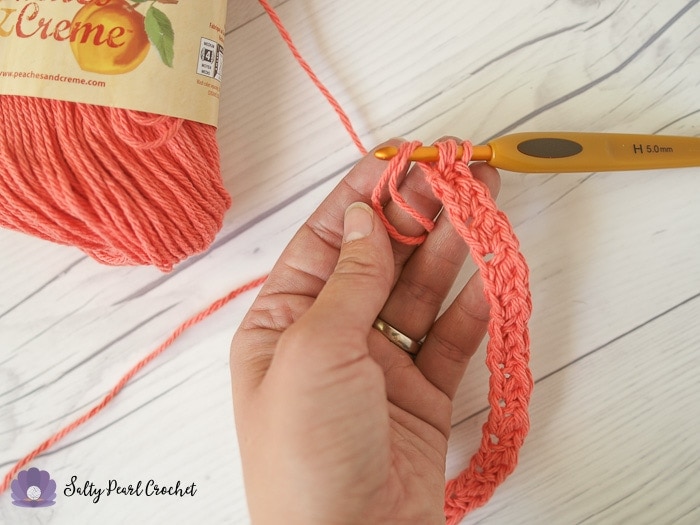
Now, we’ll pull that yarn tail all the way up and through our stitch. You can separate it with your fingers as I’ve done here. If you have trouble finding it, simply use your crochet hook to lengthen both loops until the tail pops through on its own. You can pull your working loop tight again later without any trouble.
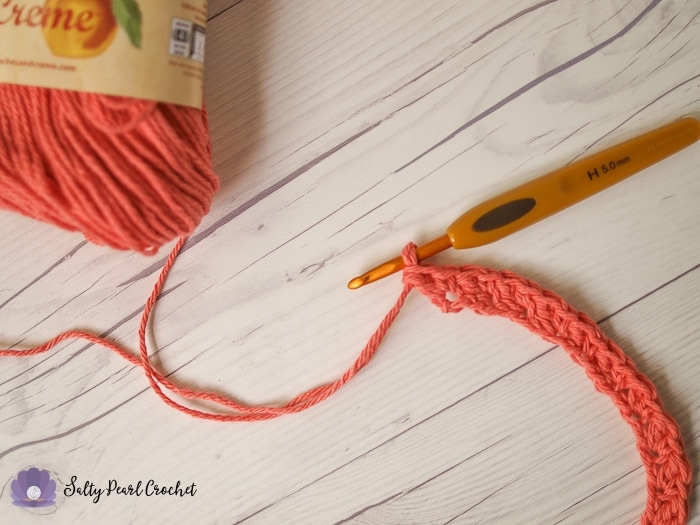
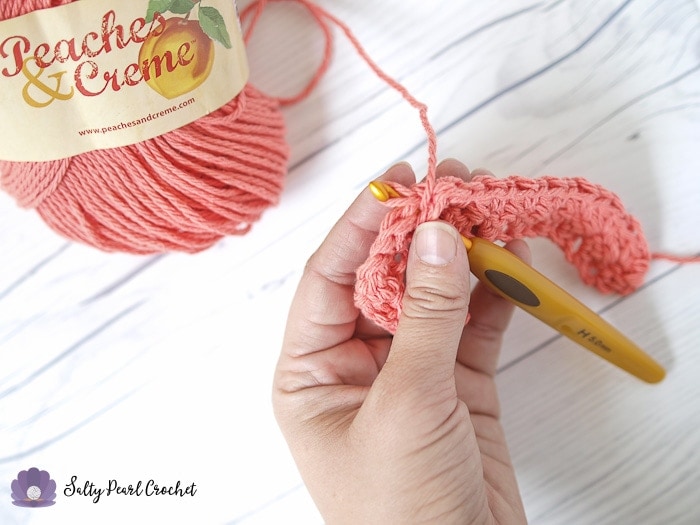
When you’ve rearranged your yarn, you’re ready to turn your work and continue in pattern. Remember to work over that yarn tail! For the first few stitches, I like to just work over one end of it, to secure it.
Then, I fold the yarn tail in half, and work a stitch over both ends of the tail. Just snuggle the yarn tails right up to the stitches, and continue working over them both.
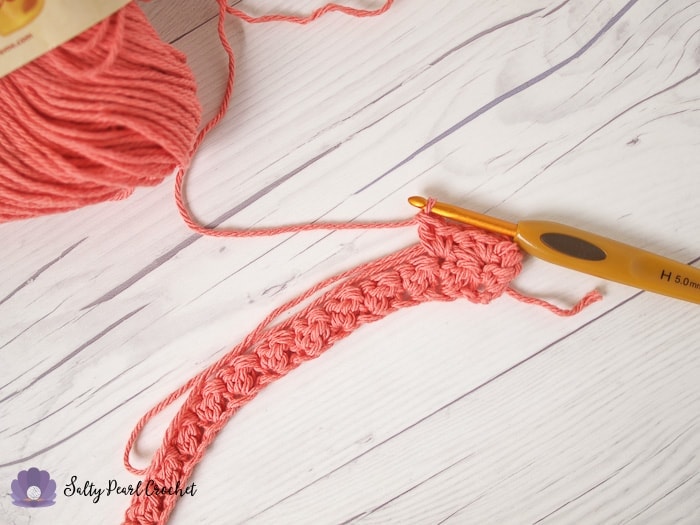
For this stitch, there are some skipped stitches, but it doesn’t affect how well the tail holds for smaller gaps, since you still have the same amount of friction points holding those yarn tails in.
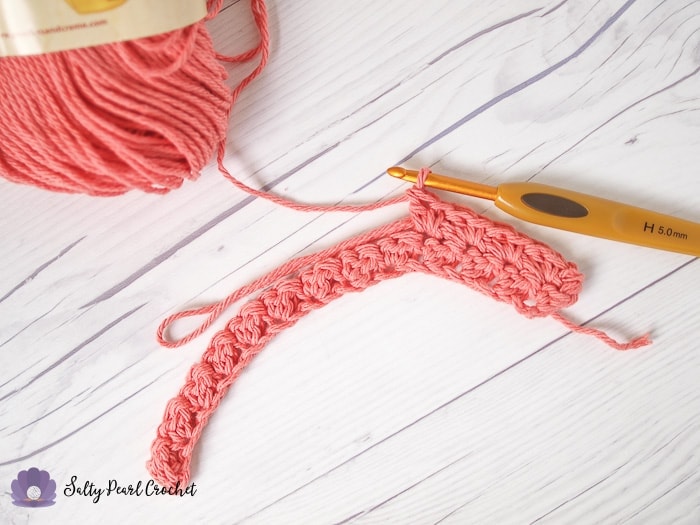
When you near the end of your looped ends, you’ll need to lock in the loop.
To do this, you’ll need to crochet a stitch through that loop. So, insert your hook into the stitch as if to crochet the stitch.
Once you’ve gone through your stitch, you can use your fingers to slip the loop onto your hook.
Then you’re ready to yarn over and draw up a loop through the stitch and your locked loop, securing it in place.
Complete your stitch as normal. Now you can gently tug your yarn tail tight to secure the loop. You’re ready to complete your row, and begin the second row. Continue in pattern until you approach that pesky loose yarn tail. Here, you can see that my little yarn tail is approximately twice as long as the length of unworked stitches.
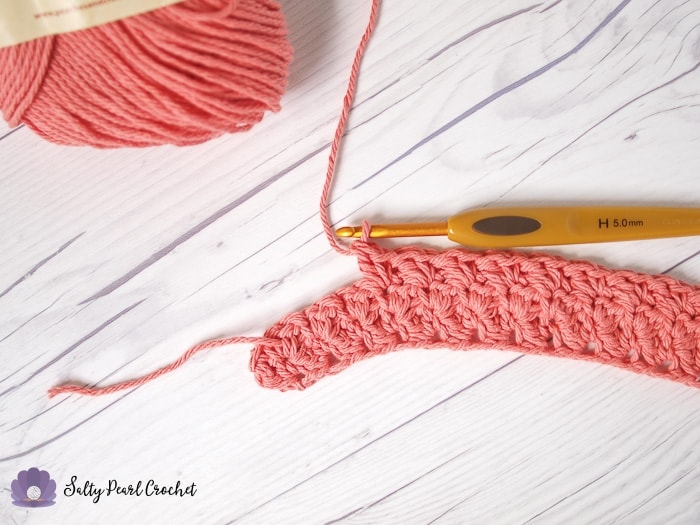
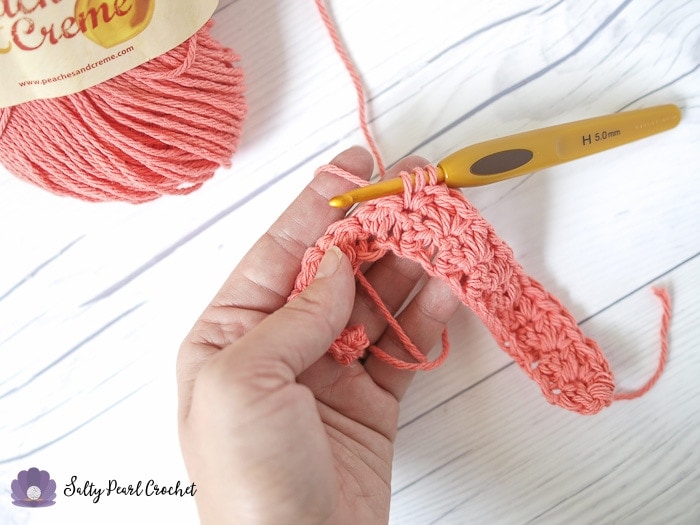
Now, it’s pretty secure already, but if you want some extra security, like me, you’ll want to lock in a second loop. Pull the yarn so it crosses your stitch. The tail will extend beyond your work to the right (or the left if you’re a lefty!). Work one stitch over the yarn to lock it down.

Then, pick up the yarn tail, and bring it back across toward the unworked end of your row. This creates a second loop. Work another stitch or two over both ends to lock them down. Then tug it taut. Voila! You’ve got a second locked loop!
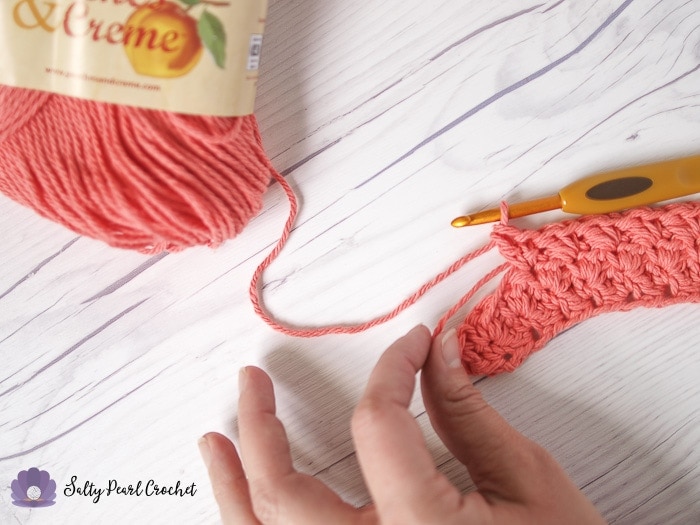
Work over the tail again until the end of your row. If you can, pull that tail just a little tighter than you want it to lay in the end. It should hang out just a bit.

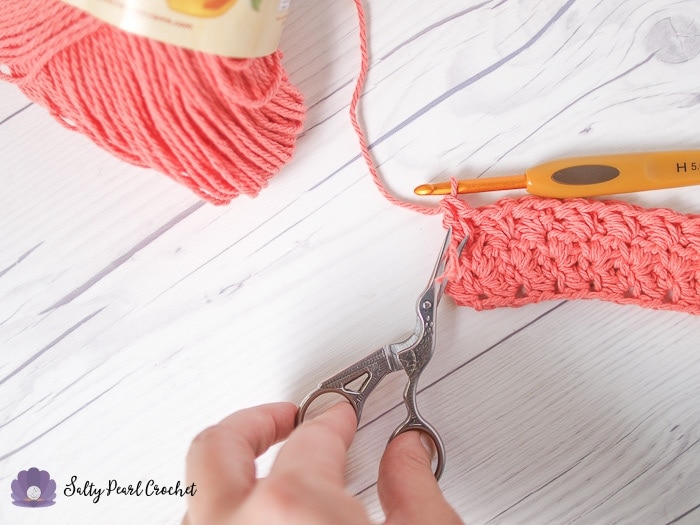
Now, you can confidently snip off the excess tail! Using Locked Loop Ends to work in yarn tails saves me so much time! Plus, you can feel confident in your finished product because you know your tail has been secured in four directions, plus the turning chain! No way that’s coming loose.
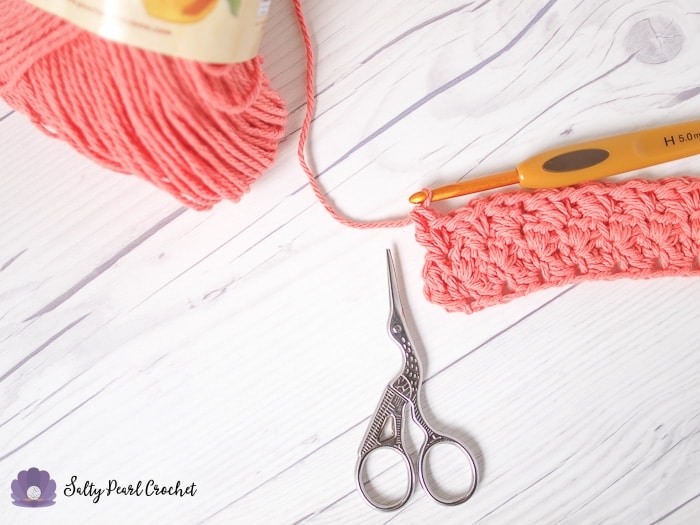
Isn’t this such a nifty trick? Seriously, I love the locked loop ends method! The yarn tail is absolutely invisible, and incredibly secure in there. Better yet? Absolutely NO yarn needles were used in the making of this tutorial!
Hopefully this awesome trick will save you a bunch of time! If you liked using locked loop ends to simplify your crochet, I would love to hear about it! Come visit me on my Facebook page to catch video clips of my best time saving yarn hacks like this one. Or, if you’re looking to connect, come join my brand new group, the Salty Pearl Crochet Circle. Join me there to connect with me and with other crocheters. We can compare projects, share our favorite yarn hacks, and find new crochet ideas and patterns! I’d love to see you there! If you want to be sure you don’t miss out on tutorials like these, subscribe to my email newsletter, so you get the latest and greatest time saving yarn hacks delivered straight to your inbox! (I love to treat my fans with special coupon codes and giveaways, too!)

MD Nelson says
This looks great & I think I follow what you are saying. One thing that might make it more clear is if you could use two different colored yarns in the picture tutorial. Using the same color yarn makes it harder to follow the “tails” of what you are talking about. Just my 2 cents, for whatever that is worth lol 😉 thanks for sharing!
Katie says
Hey there! So glad to hear this is helpful for you!
Thanks for the suggestion to use two colors! What a great idea. I think I will incorporate that tip into my Live video demonstration on my Facebook Page tomorrow afternoon! It would definitely help people see what’s going on.
I’ve also got a tutorial on changing colors with this method planned, so you’ll be able to see photos with different colors there next week!
Happy crocheting,
Katie
Patty Love says
Katie, did you ever make that tutorial about changing colors with the Locked Loop Method? I am working a shawl that has a color change every. freaking. row. I did 10 rows last night, so I already have, like, a bajillion ends to weave in.
The other issue I have is that a lot of the shawl I’m working on is dc, ch1, skip next dc, dc, so there is a lot of laciness to the shawl–is there anything I need to do differently to make the Locked Loop Method work for me? I swear if I have to work in a bajillion ends, I’m going to go Loopy and get Locked in an asylum. 😉
Katie says
Hey Patty!
I haven’t made that tutorial quite yet, but I’m planning to this month. But since you asked so nicely, I’ll share a quick tip here- you can weave that loop in and out of those chains to lock it down! I just take another smaller crochet hook to tuck it through as I go.
The same goes for changing colors! If you change every single row, can you carry them up the sides? Alternately, experiment with carrying that starting tail up to the top of the row to be worked over on the matching color row.
Hope that helps!
Katie
deborah donnelly says
Thats what I thought also,but will try if I can to do it
Angie C says
Have you tried a way with foundation stitches?
Katie says
That’s such a great question, Angie! Thanks so much.
I haven’t used locked loop ends with foundation stitches yet, but it would definitely still work! I will make a tutorial just for you, but the general idea would be you’d need to carry the yarn tail up your first or second foundation stitch, just like you do at the end of the first row in this tutorial. I’ll experiment this week, and let you all know!
Katie
Cindy says
Hi Katie
I just read your “Locked Loop Ends Rows” written tutorial and it was very informative but “Video” tutorials are so much easier for me to understand I was wondering if you were ever thinking of making one for this process. I would love to learn this method that way. Can you use this method for changing colors too?
P.S. I believe I already signed up for the newsletter so I won’t be checking the box below.
Katie says
Hi Cindy! I’m working on starting a YouTube Channel this week! This is one of the first tutorials I want to film. 🙂 I do use this method for changing colors too! You can experiment with different methods but it’s closest to the Joining new yarn with Locked Loop Ends post I have on the blog. I hope to make a tutorial for that, too!
Katie
Cindy Brink says
This was very helpful. Out your thinking cap on again please. I once saw a hint to join two ends without thing a knot. I think somehow they were “woven” together, eliminating joins altogether. Any thoughts?
Katie says
Hey Cindy! So glad this was helpful for you!
I actually have a few favorite techniques. The one I’d guess you’ve heard of is called a Russian Join. It’s really slick but you have to use a yarn needle (my nemesis!). I have also had success simply working a few stitches with two strands of yarn- the end of your tail, and the new ball to be joined. I wrote a post about it here. Hope that helps!
Katie
Meryl Brockway says
Great tip, thankyou so much xxMeryl
Trudy says
I hate weaving in tail an will try this. It looks amazing. How long do you leave the tail when starting?
Katie says
Hopefully you like it as well as I do! Usually I leave my tail about 6-8″ long, and I find that is sufficiently long to feel secure. Hope that’s helpful! And good luck. 🙂
Katie
Jana Hunter says
Sorry, I’m not following. I’m more of a visual (video!) learner. Do you have a video for this and the method in the round? Thanks!
Katie says
Hi Jana!
I don’t have a video YET, but I just got a shiny new HD camcorder for Christmas! Hopefully soon!
Katie
Jana Hunter says
Yay! Look forward to seeing it! 🙂
Gin says
Just signed up for the newsletter, and when I saw this link I couldn’t get here fast enough! Great tip! I will be checking out the other Locked Loop tutorials as well. Thanks so much, Katie!
Kristy Crawford says
Thank you thank you thank you for this tip. I am using it for everything. And when there is no color change , I have worked in my end-of-first-yarn tail in on the next row as I return. Took me a bit to realize that would work, also! (Rolling eyes at self)
I’m going to have to go checkout some of your other tips.
Katie says
Haha! That sounds so like me I had to check if I wrote it. 😛 Glad you worked out an even shorter short cut! Hope you find some more helpful tips! My latest favorite thing has been the yarn cake storage hack. Life changing!
Colleen says
Please do a YouTube video tutorial of the locked loop method for rows and rounds. It’s so much easier to learn when you can actually watch someone do it. Thank you!
Katie says
I absolutely will, Colleen! Thanks for the encouragement!
Georgia says
Have you done your You Tube video for the locked loop method? I am waiting patiently on the video tutorial. I am so sick of weaving in tails.
Katie says
Hi Georgia!
Thanks for the comment! I haven’t yet done this video, but it will be in October! Thanks for the encouragement to get my butt in gear on this video- it feels like a loose end I need to weave in, too!
Katie
Sharon Anderson says
I’m terribly tech challanged so hope I can find this again. I’m intrigued by your process. So far I’ve never found a method that didn’t end up showing or being felt in the weave. Looking forward to trying this on my current WIP. Thank you
Katie says
Hi Sharon! Thanks for taking the time to leave such a nice comment! I hope this works out really well for you- it’s my favorite. 🙂
Katie
Helen says
Hi!
Wud love to try this method but I, too, am looking for the video on this – I noticed that u made one on FB but I find it a little hard to follow – a closer look at the crocheted item wud be helpful, in other words a close-up of what u r doing and a little slower pace for us old folks. When I went to your You Tube channel I did not see the locked loop in rows video only the one in the round. Were u able to make a video for locked loop in rows on You Tube – am I missing it? Many thks – all hints are helpful.
susie says
HEY!! Love your slouchy hat!! Found it then subscribed to your AWESOME page thing. LOVE your helpful VERY HELPFUL tips!!! Great patterns too. Like your presentation style too. NOT boring or droning on n on. I was a teacher/professional student so presentation is a big deal for me. You get an A+
Thanks for the helpful tutorials and TIPS
Katie says
Thanks so much, Susie! <3 I'm so glad to hear you like the tips, and that I'm not boring! I tend to lose focus if I'm reading longer blocks of text so I try to avoid that so people enjoy the tips I can share more! <3 I appreciate your lovely comment and the A+! 😀
Katie
Helen says
Cud u pls do a short video for this method – I am getting confused as u start the method. U can psbly put it on the page itself or on yr You Tube channeol – I did not see it there either (only the tip if u r making something in the round0. Many tks – this looks like it cud save3 a lot of anguish.