This post may contain affiliate links. For more details, see my disclosure page.
Today on the blog, I’m sharing one of the absolute most important products you can buy to improve your crochet. What is it? A yarn winder! When I was new to crocheting, I didn’t know why or how to use a yarn winder.
Looking back, I wish I would have purchased one sooner! Adding a yarn winder to your stash will save you time and frustration, and even makes your crochet prettier! Read on and I’ll explain how, or Click Here to Pin it for Later.
Disclosure: This blog contains affiliate links that help me continue providing free crochet patterns and more useful crochet hacks and tutorials like this one. Thank you for supporting my blog by purchasing my recommended items online!
There are a lot of yarn winder reviews out there. Most of them tell you where you can buy a yarn winder, and recommend about ten different options. That’s great, if you’re already interested in buying one. There are tons of options available! You can purchase any number of yarn winders Amazon sellers have listed, and I’ve heard from a few friends that they bought the yarn winder Michael’s has in stores with a coupon.
But that doesn’t tell you WHY you should use a yarn winder. Nor does answer the question I know most of you are asking: which yarn winder is the best value? I can answer that for you quite simply:
My yarn winder from Knit Picks is one of my absolute necessities for crochet. I love using my yarn ball winder so much (and I use the yarn winder so frequently!) that it sits in a special place of honor in my kitchen.
Even better? The quality of my crochet work improved dramatically when I started using a yarn winder to make yarn cakes!
Now, let’s back up for a second here. Before I tried my Knit Picks Yarn Ball winder, I was the biggest naysayer. I used to scold my friend for “wasting time” winding her yarn into a ball. I didn’t even use the center pull of a yarn skein. I thought it was a waste of time and money. Besides, my crochet projects looked just fine.
Refusing to use a yarn winder doesn’t make you miss stitches, or completely ruin the tension of your crochet work. And yes, you do control the tension of your yarn with your hands. I’m really thrifty, too, so I get that it’s one more expense added to what can sometimes seem like a very expensive hobby!
But now that I have two kids, a dog, a blog to maintain, and just, well, LIFE, I’ve started valuing my time, and the experience I have crocheting.
I bet you do, too! That’s why I spend so much of my time offering helpful tutorials and tips to help you save time crocheting! I know you all appreciate it, too, because my Locked Loop Ends Method for Hats (and the sequel Locked Loop Ends Method in rows) are my most shared and repinned posts ever.
I’ve tried using yarn right from the outside of a skein, and crocheting with a center pull skein. I’ve tried winding my yarn into a ball by hand with a nostepinne. But after using my Yarn Winder from Knit Picks (and my umbrella yarn swift for hanks of yarn), I will NEVER go back.
I think if you try, you’ll agree! Here’s why:
Why YOU Should Use a Yarn Ball Winder
Taking just a few minutes to wind my yarn into a neat yarn cake completely changes the experience of crocheting. I have an easier time working. This helps me feel more relaxed about crocheting! And that, in turn, gives me a much prettier end result.
Maintaining an even tension makes such a noticeable difference in the quality of your crochet work. Using consistent tension helps you meet gauge more easily, so that your garments fit better, and you get a nicer looking project when you crochet.
When you see how easy it is to make a yarn cake with a yarn winder, you’ll understand how this can save you so much more time.
When you use a yarn cake made from a yarn winder, the yarn pulls much more easily. You don’t have to pause to tug more yarn from your ball or deal with yarn barf from a tight center-pull. This means you’ll have less fatigue on your tension hand, which is usually your non-dominant hand.
Can you achieve even tension without using a yarn winder? Of course you can. It just takes a lot more concentrated effort. I would rather spend my crochet time relaxing into the work than hyper focusing on my tension.
Another common objection is that it takes time to set up the winder and wind a yarn cake. Yes, you’ll need a minute or two beforehand to wind your yarn. But consider this: an average crochet sweater can easily have 10,000 crochet stitches. If you have to pause every 20 stitches for two seconds to pull your yarn, you’ll spend 15-20 more minutes and have a much more frustrating experience.
You’ll also know beforehand if there are any manufacturer knots to take care of. This can be absolutely crucial for color pooling projects, but it applies to all crocheters. If you’re making a hat, for example, that uses half a skein, it’d be a shame to find a knot a third of the way in, when you could have simply started from the other end of the ball and avoided needing to sew in an extra tail!
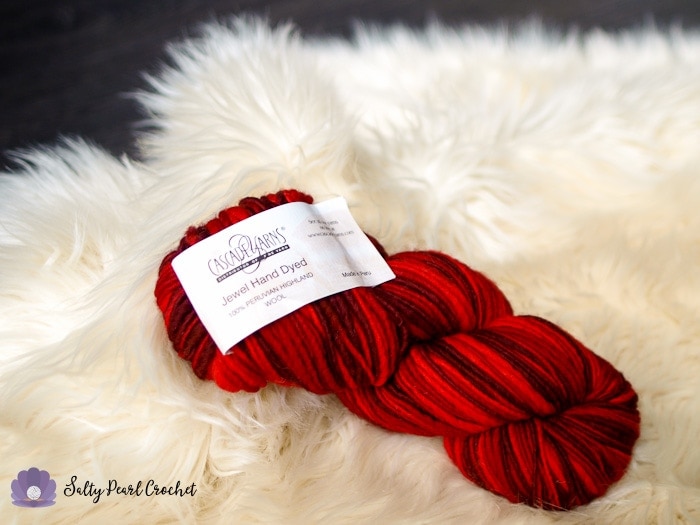
When you buy luxury yarn that comes in twisted hanks, you absolutely MUST wind your yarn beforehand. (It also helps to have a yarn swift to keep it neat!) Some of my all time favorite yarns only come in hanks, and when I’m buying online instead of at my local yarn store, there’s nobody to wind it for me. Plus, yarn fibers are much more relaxed in a twisted hank, so they store better if you don’t plan to use them immediately.
Another reason to use a yarn winder is that yarn cakes are very docile when compared to yarn balls or even skeins! My yarn stays much cleaner in a yarn cake, because cakes sit still while you crochet from them, whether you pull from the outside or the center of the cake.
When I use a yarn ball, I often have to stop crocheting to get up and chase it across the floor, where it inevitably ends up covered in pet fur. (Have you seen my fluff butt of a dog? It doesn’t matter how often I sweep, he’s too hairy to contain!)

Isn’t he such a good boy, though?
How to Use a Yarn Winder from Knit Picks
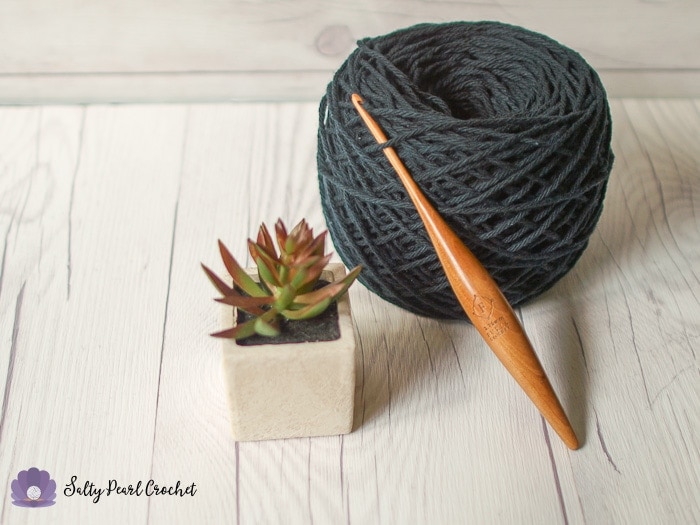
The first thing you’ll need to do is gather your supplies. For this tutorial, I used:
- Furls Streamline Crochet Hook, F. The size isn’t crucial, since we aren’t crocheting, but I like to use a smaller hook so it doesn’t mess up the pretty look of my yarn cake.
- A yarn ball- I’m using Lily Sugar ‘n Cream 100% cotton in black. You can wind any yarn you please, though!
- A table or desk to mount your yarn winder on. I used a folding table in my sunny “crochet nook” because it has such beautiful light for taking photographs.
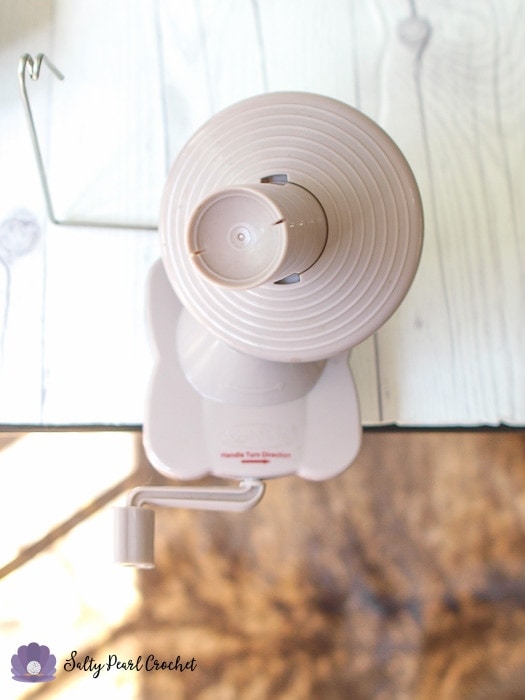
- Your Knit Picks Yarn Winder! You can buy yours directly from Knit Picks here, or if you use Amazon Prime, like I do, check out the helpful Amazon listing below to save a few bucks on shipping costs.
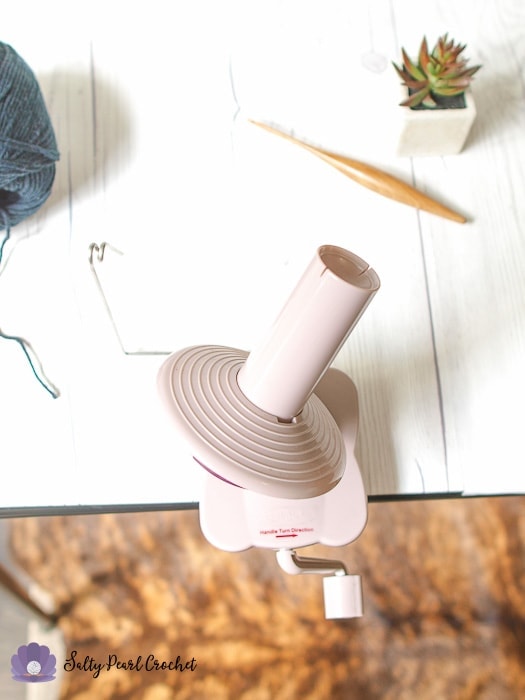
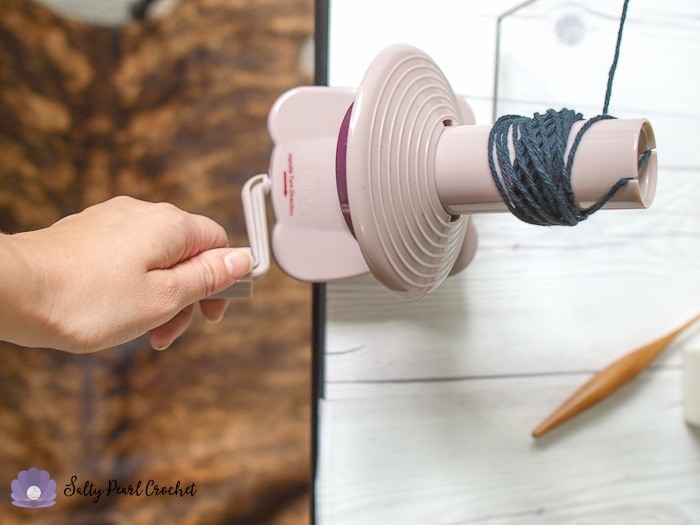
Now we’re all set to make a yarn cake! Clamp your yarn winder to the table, being sure to leave some space to the left for your yarn to sit. This allows the yarn to feed properly around the metal guide arm.
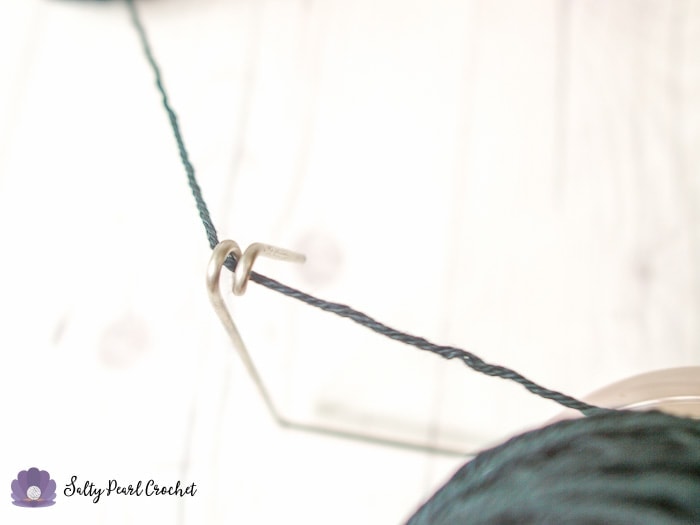
Next, feed your yarn through the guide arm. The open spiral design allows you to hold both ends of the yarn and wind it around without having to thread it directly through. Be sure the end of the yarn is going toward the ball winder.
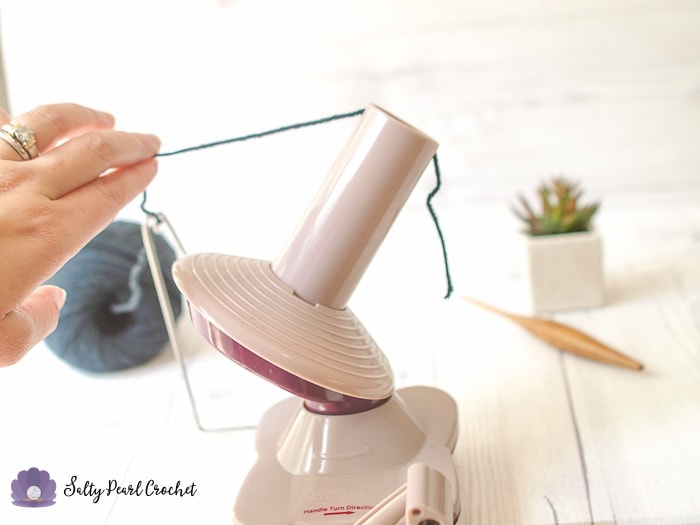
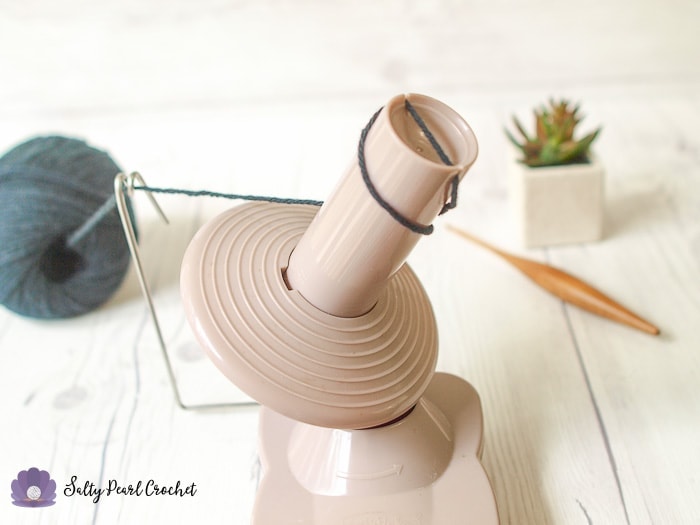
When your yarn is situated in the guide, you need to place it into the notches on top of the yarn winder. This keeps your yarn working with the yarn winder, instead of spinning around it.
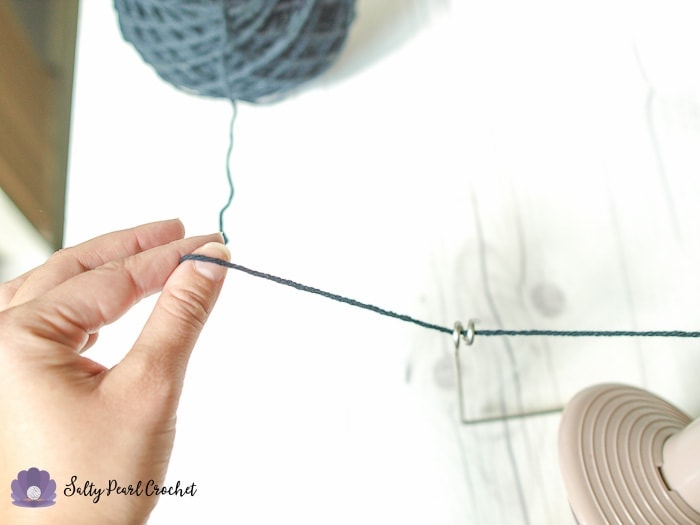
Make sure your first few turns are very slow, to ensure that that little tail gets tucked down into the cake. You’ll be able to pull it out later.
Now you’re ready to begin winding! Using an even rhythm and increasing your speed smoothly and gradually will help your yarn cake turn out more even in the end.
You may find it helpful to use your fingers to add a bit of extra tension to the yarn. This allows you to go a bit faster if you like. Tensioning the yarn also prevents tangles from being hidden inside the cake. You’ll also feel any knots that you need to address this way.
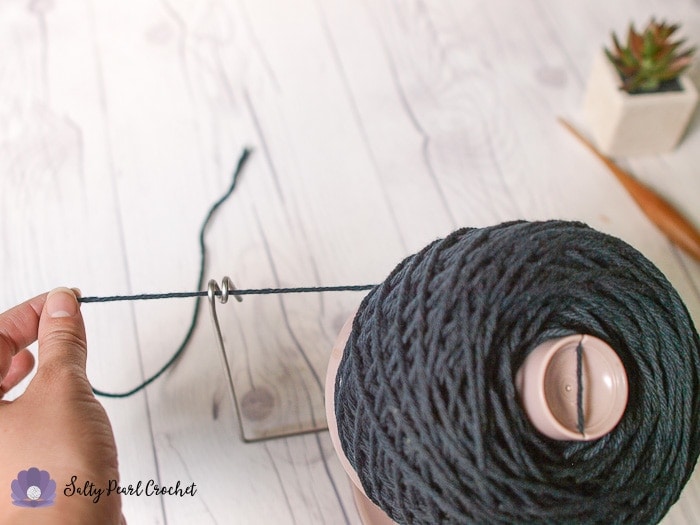
Slow down a bit before you reach the end of your ball. Especially if you have used the center pull, this can minimize tangling.
I like to grab the last little bit of yarn in my fingers to keep it from slipping through too quickly. It’s not necessarily required, but it does prevent your yarn tail from falling below the guard and getting tangled in the gears below the guard.
Next, slip your crochet hook through the top two or three layers of yarn. I like to place it below an “x” point of yarn to keep it held down nicely.
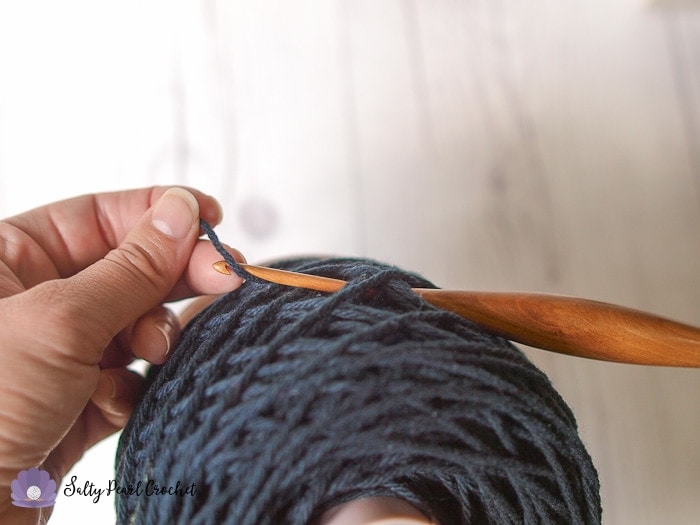
We’ll use the crochet hook to pull that little tail through and keep it in place.
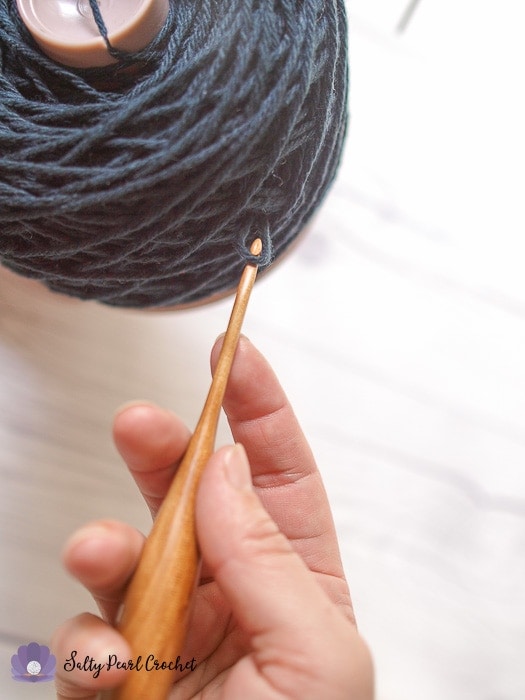
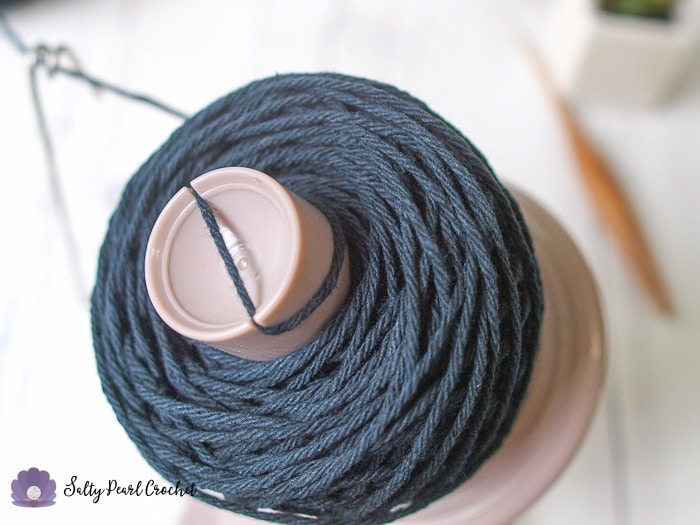
Now, your yarn cake is ready to be taken off the spindle of your yarn ball winder. Grab the center thread from the notches.
And pull a few inches out so you can find it later.

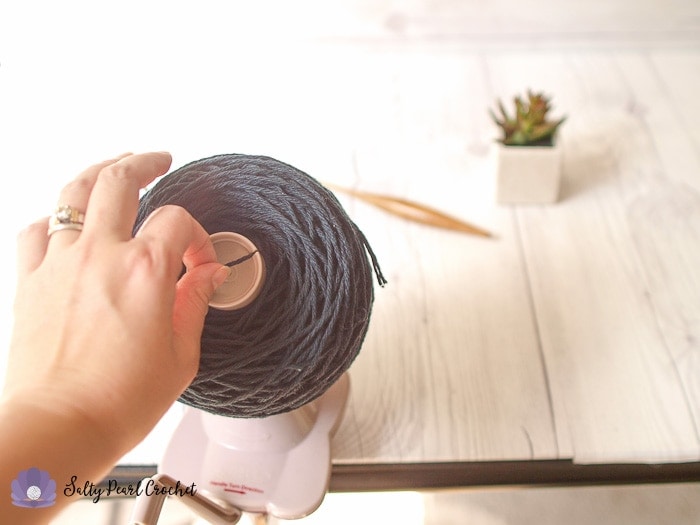
Then, simply remove your yarn cake from your ball winder.
And you’re all ready for crocheting!
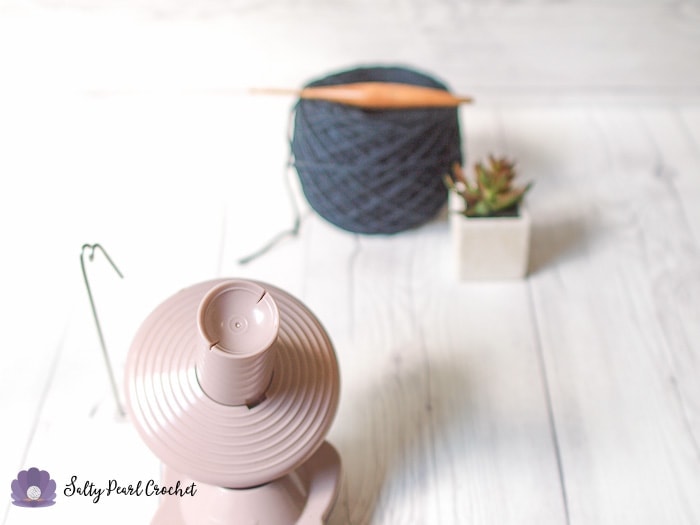
From start to finish, this process takes less than 5 minutes, depending on the amount of yarn you’re winding.
Why Do I Prefer the Knit Picks Yarn Winder?
There are a lot of different yarn winders out there. I am sure if you’re looking to buy a yarn winder, you’ve probably read several yarn winder reviews already.
Here’s why I specifically recommend Knit Picks’ Yarn Ball Winder:
- It’s economical. At the time of writing this, you can buy it for $19.99 on the KnitPicks.com website. I can trust the quality of the Knit Picks brand, but it’s also not irreplaceable should something happen to it. Which leads me to my next point:
- It’s durable. As a mom to two rambunctious kiddos (OK, and a bit of a klutz myself!) I need to know my stuff won’t break! This yarn winder has survived numerous attempts on its life, even though the components are made from plastic.
- It holds 100g of yarn comfortably. That’s about a typical skein that comes in a hank. You can squeeze a bit more on there if you keep a tighter tension. I have a few tips and tricks up my sleeve for using a yarn winder to wind even more yarn, though! I’ll make a tutorial soon to share with you- because I know I love my bargain yarns for certain projects, and it hurts my heart to have to break yarn before even starting a project!
- It’s easy to use. Setting up your yarn winder is very simple- you just need to attach the cone, extend the guide arm, screw in the clamp foot, and attach it to your surface. It takes less than a minute to do so. And,l as you’ve seen above, it’s really quick and easy to learn how to wind your yarn into cakes!
- It’s light and portable! Now, I’ve mentioned that my yarn winder does live out in my kitchen. But, if you don’t have a designated craft room, you can easily store the Knit Picks yarn winder. When I need to move mine, it takes about 15 seconds to loosen the clamp foot, and 15 more to tighten it when I’ve found a new place to put it.
I trust all this will help you decide whether buying a yarn winder would be the right choice for you. I hope to update this with a short video demonstration of the yarn winder soon. You’ll really see just how easy it is to use the Knit Picks Yarn Winder then!
Please let me know in the comments if you have any other questions about this yarn winder. I’m always happy to help out a fellow crocheter any way I can!
PS- Want to connect? Join the Salty Pearl Crochet Circle so we can crochet together on Facebook. I would love to crochet along with you! Join my mailing list and receive the first updates and even some special promos and discounts in my newsletter, or you can follow me on:
Facebook: https://www.facebook.com/SaltyPearlCrochet/
Pinterest: https://www.pinterest.com/theSaltyPearl/
Instagram: https://www.instagram.com/SaltyPearlCrochet

Karen Reedy says
Do you cake all your yarn before storing? I’m still mostly buying squishy round skeins from craft stores, so I’m looking more at easy storage to make more room in my stash! >:)
Katie says
Hi Karen,
I don’t cake all my yarn before storing because it is a bit more prone to tangle unless you store them like THIS. I’ve heard rumors that vacuum seal bags are great, but if anyone asks you didn’t hear it from me. >:) lol
Hope that helps!
Katie