This post may contain affiliate links. For more details, see my disclosure page.
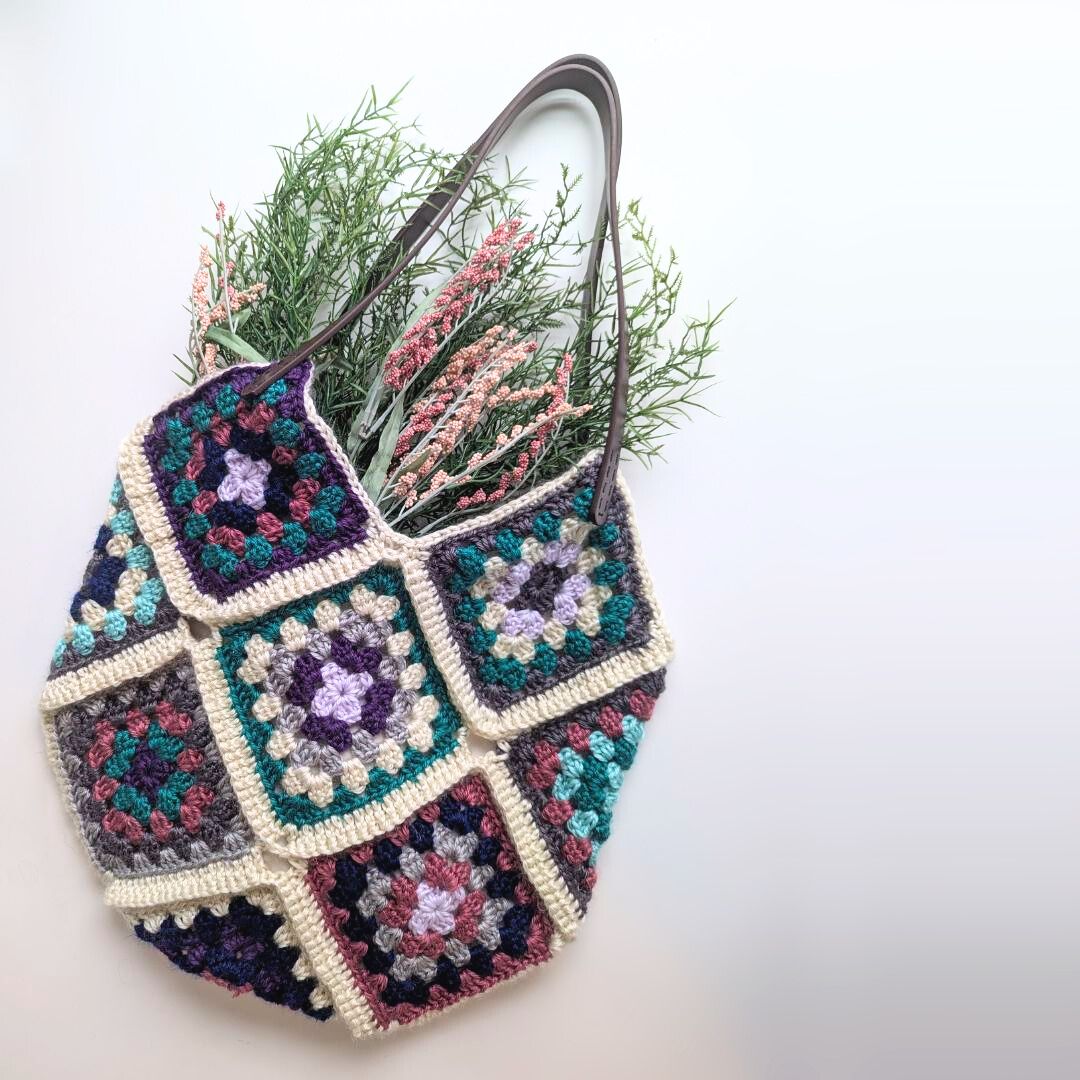
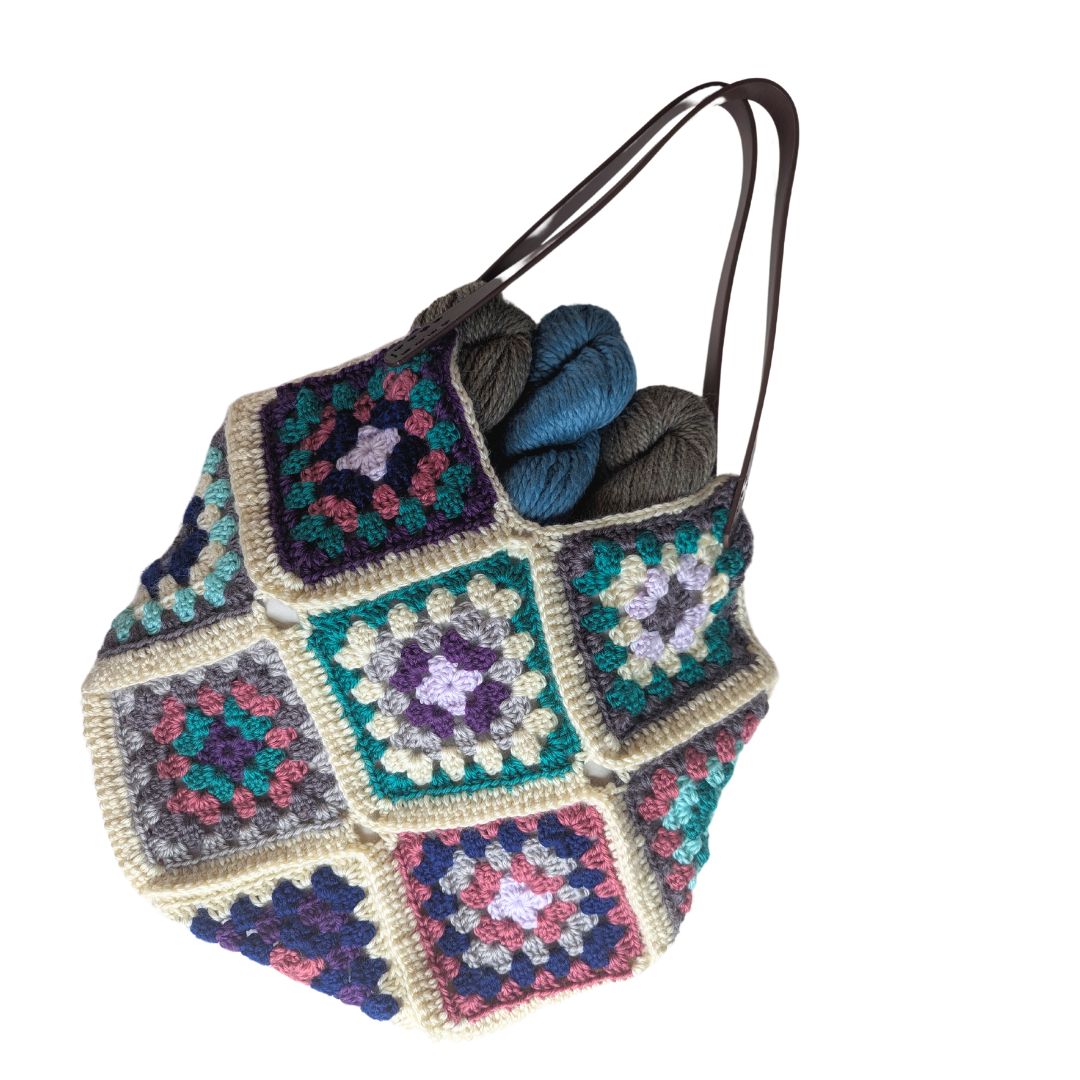
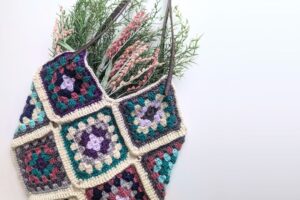
This adorable crochet granny square bag is a classic crochet project! I’ve seen similar bags selling for anywhere from $75 to $1000 online from various designers! But you can probably make one with the scrap yarn you have at home.
My favorite part is the easy crocheted join- I’ve got a video tutorial for it coming soon, so stay tuned!
Materials
H/5.0mm Crochet Hook – I used my new Furls Metal Streamline, they’re so comfortable to use! Get one Here.
7 Colors of Furls Wander Acrylic, worsted [4] weight, 100% Acrylic yarn, 100g; 120 yds/109m per ball.
Yarn Needle and Scissors for dealing with ends.
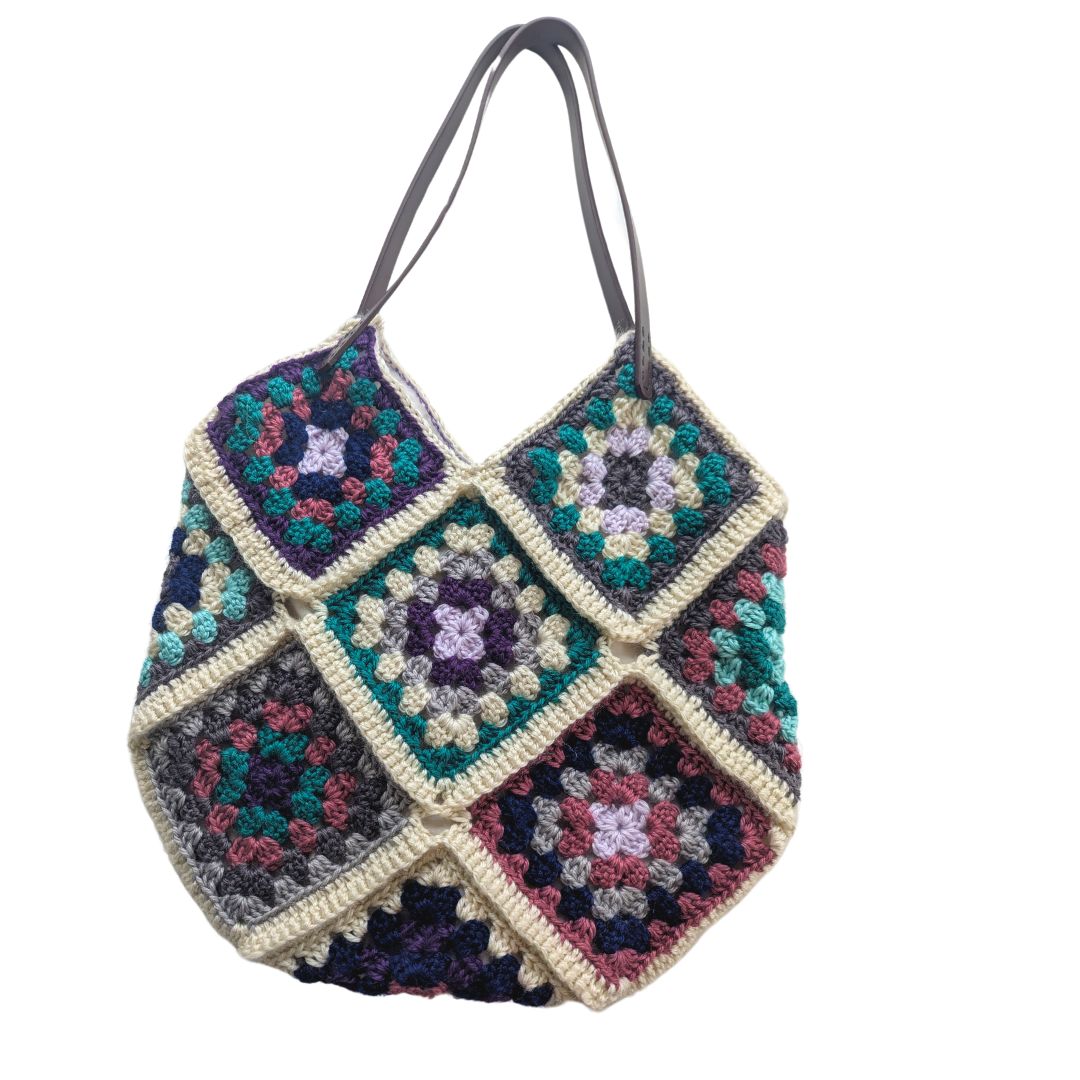
You’ll also need 2 purse straps. I used 24″ x 3/4″ PU Leather straps- they’re really affordable, and you can get them here on Amazon.
Note on Yarn used: My project was a scrappy version that used 7 different colors. However, the whole bag weighs less than 350g, including the straps and lining, so you could get away with less if you’re using fewer colors. I suggest keeping an entire ball of your main color yarn set aside for assembly.
Abbreviations
Ch- chain; Dc- double crochet; Hdc- half double crochet; Sc- single crochet; Sk- skip; Sl- slip; Sp- space; St- stitch;
Gauge / Finished Size
Gauge is not crucial to this project.
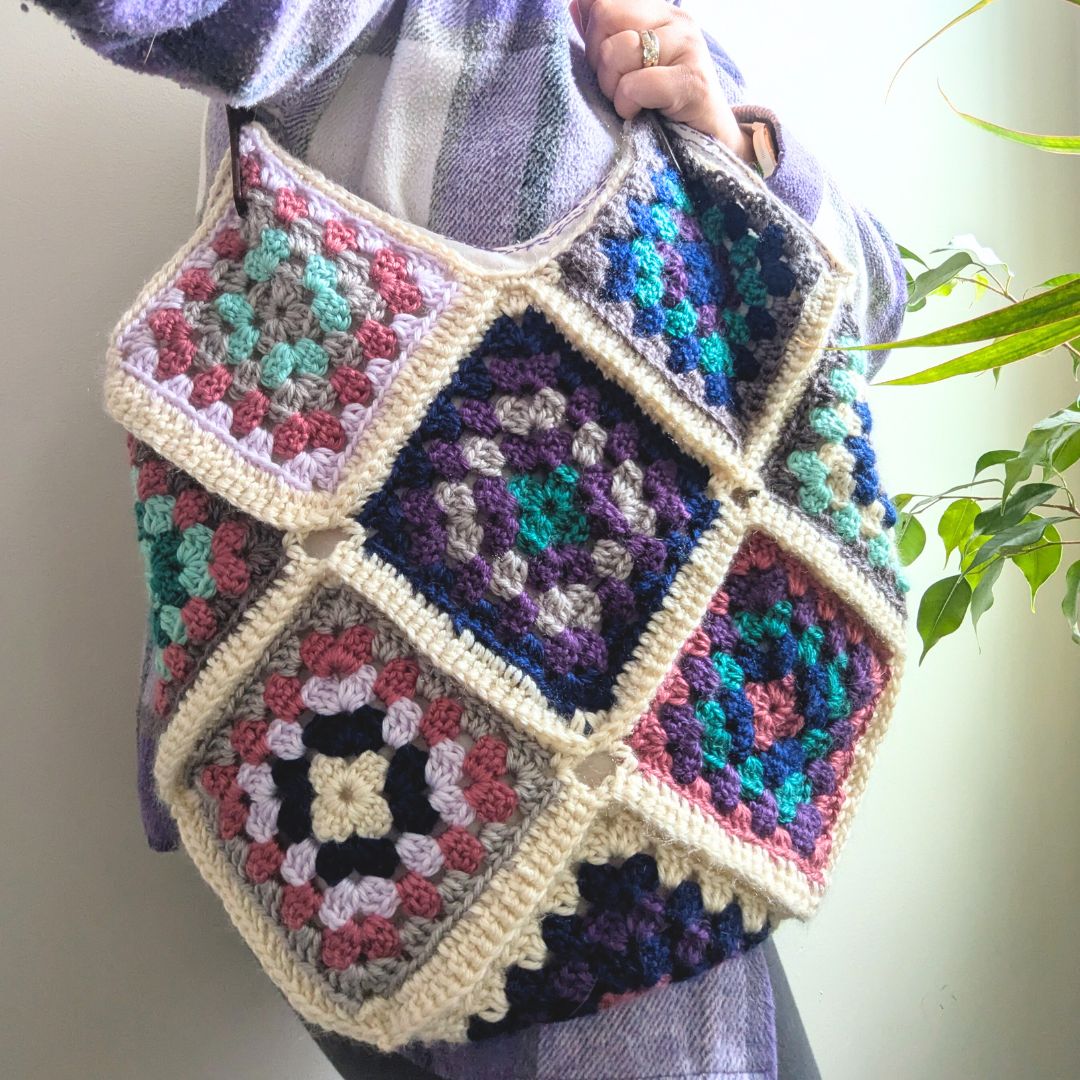
My squares measured 5.25” per side, and 7” diagonal.
My finished bag measured approx 17” wide and 17” from the bottom of the base to the point of the top, excluding the handles.
Special Stitches
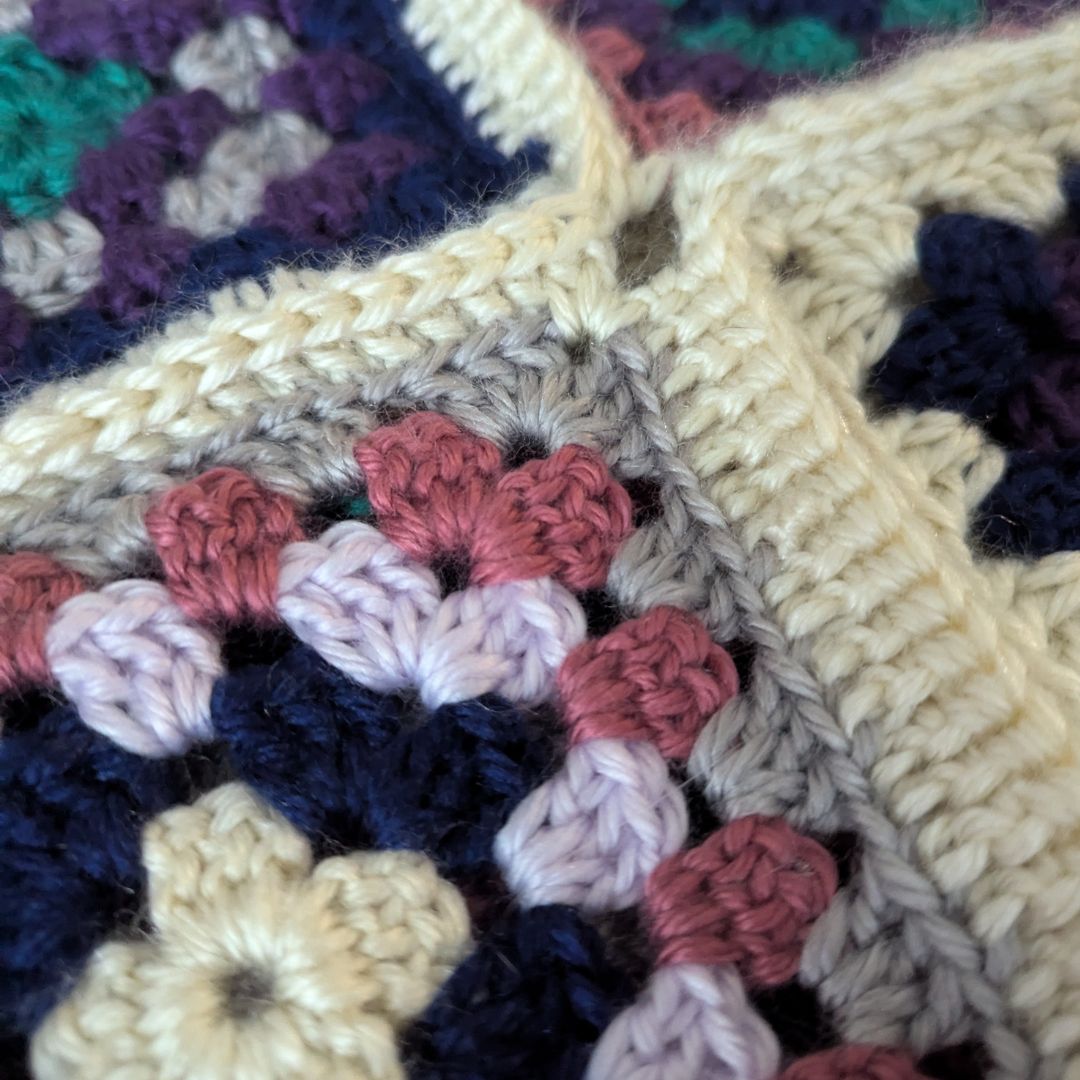
Granny cluster – groups of 3 double crochet worked into the same chain space. Used only for counting purposes.
Notes
Turn your work after each row of your granny squares so they come out more even in the end.
Katie’s Color Scheme Ideas
Here are the square colors I used for my bag- but use whatever colors YOU love for your bag!
1: Navy, Violet, Jade, Navy, Charcoal.
2: Mauve, Navy, Violet, Navy, Cream.
3: Mint, Jade, Mint, Mauve, Charcoal.
4: Cream, Navy, Lavender, Mauve, Gray.
5: Lavender, Mauve, Gray, Navy, Mauve.
6: Charcoal, Navy, Cream, Mint, Charcoal.
7: Lavender, Navy, Mauve, Jade, Violet.
8: Lavender, Violet, Gray, Cream, Jade.
9: Mauve, Navy, Jade, Violet, Mauve.
10: Violet, Jade, Mauve, Charcoal, Gray.
11: Jade, Violet, Gray, Violet, Navy.
12: Charcoal, Lavender, Cream, Jade, Charcoal.
13: Gray, Mint, Gray, Mauve, Lavender.
Granny Square Pattern – Make 13 Squares
Note: I’m writing the pattern to indicate each row’s color as A, B, C, D, or E, but you can substitute as you wish! Or, see my color combos above.
Round 1: (With Color A) Ch 4, sl to first ch to form a ring, ch 2, (work 3 dc in ring, ch 2) four times, sl to first dc to join, then break yarn and fasten off. [4 granny clusters]
Round 2: (With ColorB ) Turn your work. In any corner, join yarn with a standing dc and dc 2 in the same corner, *ch 1, sk next granny cluster, (3 dc, ch 2, 3 dc) in next corner ch-2 sp,* repeat * to * 2 more times, ch 1, sk next granny cluster, 3dc in first corner ch-2 sp, sl to first dc to join, then break yarn and fasten off. [8 granny clusters]
Round 3: (With Color C)Turn your work. In any corner, join yarn with a standing dc and dc 2 in the same corner, *ch 1, sk next granny cluster, 3 dc in next ch, ch 1, (3 dc, ch 2, 3 dc) in next corner ch-2 sp,* repeat * to * 2 more times, ch 1, sk next granny cluster, 3dc in next ch, ch 1, sk next granny cluster, 3dc in first corner ch-2 sp, sl to first dc to join, then break yarn and fasten off. [12 granny clusters]
Round 4: (With Color D) Turn your work. In any corner, join yarn with a standing dc and dc 2 in the same corner, *{ch 1, sk next granny cluster, 3 dc in next ch} two times, ch 1, (3 dc, ch 2, 3 dc) in next corner ch-2 sp,* repeat * to * 2 more times, {ch 1, sk next granny cluster, 3 dc in next ch} two times, ch 1, sk next granny cluster, 3 dc in first corner ch-2 sp, sl to first dc to join, then break yarn and fasten off. [16 granny clusters]
Round 5: (With Color E) Turn your work. In any corner, join yarn with a standing dc and dc 2 in the same corner, *{ch 1, sk next granny cluster, 3 dc in next ch} three times, ch 1, (3 dc, ch 2, 3 dc) in next corner ch-2 sp,* repeat * to * 2 more times, {ch 1, sk next granny cluster, 3 dc in next ch} three times, ch 1, sk next granny cluster, 3 dc in first corner ch-2 sp, sl to first dc to join, then break yarn and fasten off. [20 granny clusters]
Weave in all ends if you haven’t worked them in.
Joining Your Squares
Use your Main Color joining yarn for this entire section. My sample used the Snow (white) colorway.
First, we will choose Square 1, the bottom of your bag, and join it to the 4 squares that will border it, Square 2 – 5 respectively.
Hold your square 1 in front, and Square 2 in back, with the wrong sides facing. (I chose the right side of the 1st and 5th rounds as my right side.)
Row 1: Work a standing double crochet in the corner of your Square 1, work 2 dc2tog sts to connect the corner of Square 1 to the corner of Square 2. Next, working through back loops (note, these loops are touching sandwiched between both squares), dc2tog each stitch of the front square to the back square across the row, then work 2 dc2tog sts to connect the next corner of square 1 to the next corner of square 2.
Row 2: Drop Square 2 and hold the next Square 3 behind Square 1 with wrong sides facing. Double crochet in the corner of Square 1, work 2 dc2tog sts to connect the front square corner to the back square corner, working through back loops (note, these loops are touching sandwiched between both squares), dc2tog each stitch of the front square to the back square across the row, then work 2 dc2tog st s to connect the next corner of square 1 to the next corner of square 3.
Row 3: Repeat Row 2, across squares 1 and 4.
Row 4: Repeat Row 2 across Squares 1 and 5.
You will now have a cross shape group of squares. Fold the Square 1 in half diagonally, and hold the square 2 and 5 together with wrong sides facing.
Row 5: Repeat Row 2, across squares 2 and 5.
Break your yarn, and weave in your ends.
Row 6: Holding Square 4 in front and Square 3 in back, wrong sides facing, Repeat Row 2. (Your work will start at the central Square 1 and work outward.)
Now you’ll add 4 more blocks, Squares 6-9 respectively.
Row 7: Repeat Row 2, across squares 4 and 6
Row 8: Repeat Row 2, across squares 4 and 7
Row 9: Repeat Row 2, across squares 5 and 7
Row 10: Repeat Row 2, across squares 5 and 8
Row 11: Repeat Row 2, across squares 2 and 8
Row 12: Repeat Row 2, across squares 2 and 9
Row 13: Repeat Row 2, across squares 3 and 9
Row 14: Repeat Row 2, across squares 3 and 6.
Break your yarn, and weave in your ends.
Next, you’ll add the final 4 blocks to the top, Squares 10-13 respectively.
Row 15: Repeat Row 2, across squares 6 and 10
Row 16: Repeat Row 2, across squares 7 and 10
Row 17: Repeat Row 2, across squares 7 and 11
Row 18: Repeat Row 2, across squares 8 and 11
Row 19: Repeat Row 2, across squares 8 and 12
Row 20: Repeat Row 2, across squares 9 and 12
Row 21: Repeat Row 2, across squares 9 and 13
Row 22: Repeat Row 2, across squares 6 and 13
Break your yarn, and weave in your ends.
Top border Round: Attach yarn with a sc in the any stitch, then sc evenly across the top edge of blocks 11-13, working extra stitches into the corners as needed to maintain a clean edge.
Break yarn and weave in all ends.
Finishing:
Fasten off and weave in all ends. Block lightly.
Lining Your Bag
Lay your fabric out, right side up, then fold in half, right sides facing.
Place your bag on top, flattened out, and trace the outline of your bag, leaving ½” seam allowance. (This will allow for the slight height of your bag, and a ¼” seam allowance.)
If you like, you can pause here to go on a side quest to add pockets to your bag, but I left mine plain since I prefer to use smaller bags inside my large bag.
Cut out your fabric, then sew the sides and bottom edges together with a ¼” seam allowance.
Fold down the top edges of the bag, trimming if necessary, to create a clean edge along the top triangles.
Flip your bag lining right side out, flip your crocheted bag inside out, and slip the crocheted bag inside the lining.
Using a needle and thread (or a sewing machine if you’re braver than me!) sew the lining to the edge of your bag.
Flip the bag right side out, and attach your purse handles with a needle and thread. You can choose to sew just to the crochet, for a cleaner look on the inside of the bag, or sew through the crocheted bag AND the lining to help prevent any stretching of the crochet shell of your bag.
More Crochet Bag Patterns to Try
Granny Hobo Bag
Read More
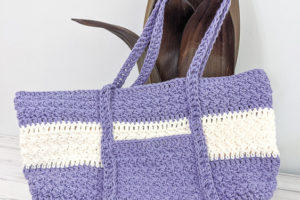
Largo Tote Bag Free Crochet Tote Pattern
Read More
Coquina Beach Market Bag Crochet Pattern
Read More
Free Pentagonal Mesh Market Bag Pattern
Read More