This post may contain affiliate links. For more details, see my disclosure page.
As summer approaches, I’ve been looking or the perfect crochet market bag pattern. I wanted something easy to crochet that didn’t take a ton of yarn, but could come with me to the beach, the farmer’s market, or even just the park.
After indulging myself browsing on Ravelry and Pinterest for an hour, I decided I may as well just create my own!
Pin this to your Crochet Bag Patterns board, or Click Here to Add it to your Ravelry Favorites.

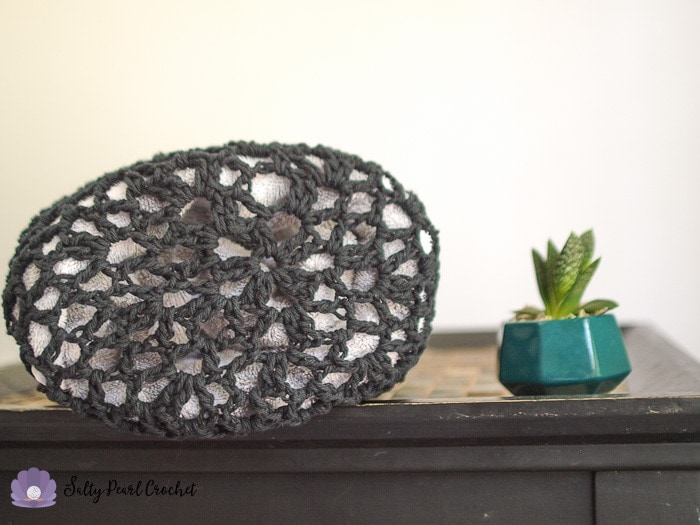
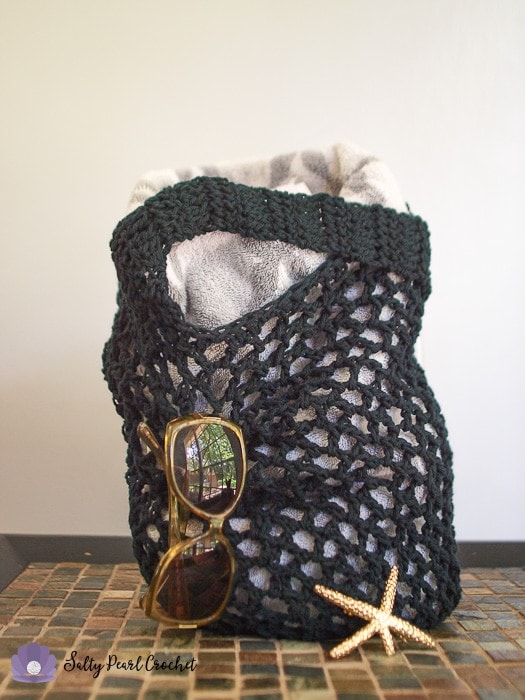
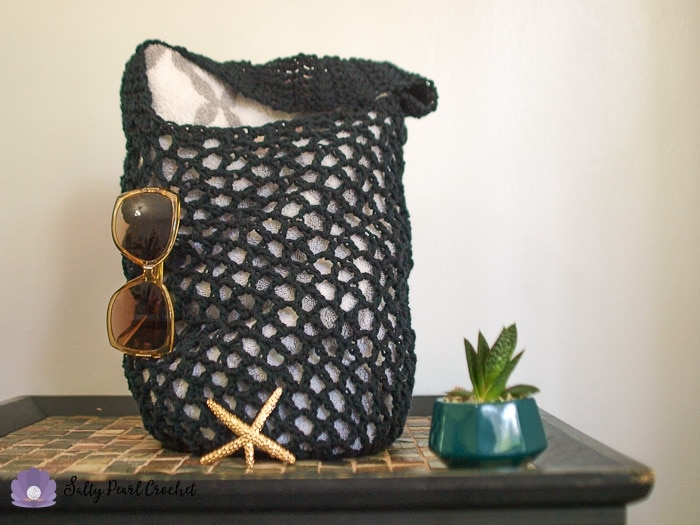
This surprisingly simple one row mesh repeat worked in multiples of five makes a beautiful and functional market bag. The allover mesh is light, but not too wide open, which makes it perfect for the beach or the farmer’s market. Plus, you’ll only need about 200 yards of worsted weight cotton to complete it.
This post may contain affiliate links. When you purchase through one, I may receive a small commission at no additional cost to you. Thanks for supporting Salty Pearl Crochet!
This free crochet market bag pattern makes a perfect last minute gift. Or, just treat yourself! The pattern is super simple and relaxing, and it works up in just a few hours.

Materials
2 Skeins Lily Sugar N Creme 4/Worsted 100% Cotton 2.5oz/120yds. (Shown in Black)
Abbreviations
Ch- chain
Dc- double crochet
Dctog- double crochet two together
M- mesh repeat
Sk- skip
Sp- space
St- stitch
Tbl- through back loop
Special Stitches
Mesh Repeat- (Dc, ch 3, dc) into same chain space.
Gauge / Finished Size
5 rows and 12 dc per 4”. Finished bag measures 16” tall (excluding handle), 13” across widest point.
Notes
Bag is worked in joined rounds. Do not turn after each round.
Handle continues in rows, and is slip stitched to opposite side of bag.
Throughout pattern, the turning ch2 does NOT count as a stitch.
Market Mesh Bag Body
Begin with the base color.
Round 1: In magic loop, ch 2 and work 5 mesh repeats, sl to join. [5 M (10dc, 5 ch3 loops)]
Round 2: Sl to ch sp, ch 2, work 2 mesh repeats into each ch sp around, sl to join. [10 M]
Round 3: Sl to ch sp, ch 2, *work 2 M in first ch sp, then 1 M into next ch sp,* repeat * to * 4 more times around, sl to join. [15 M]
Round 4: Sl to ch sp, ch 2, *work 1 M in next 2 ch sp, then work 2 M into next ch sp,* repeat * to * 4 more times around, sl to join. [20 M]
Round 5: Sl to ch sp, ch 2, work 1 M in each ch sp around, sl to join. [20 M]
Rounds 6-17: Repeat Round 5. [20 M]
Round 18: Ch 2, *dc in dc, sc in ch sp, dc in dc,* repeat * to *, sl to join. [60sts (40 dc, 20 sc)]
Crochet the Handle
Row 1: Ch 2, dc 12. [12 dc]
Row 2: Ch 2, turn, dc2tog, dc 8, dc2tog. [10dc]
Row 3: Ch 2, turn, dc2tog, dc 6, dc2tog. [8 dc]
Row 4: Ch 2, turn, dc2tog, dc 4, dc2tog. [6dc]
Row 5: Ch 2, turn, dc 6. [6 dc]
Row 6-17: Repeat Row 5.
Row 18: Ch 2, turn, 2dc in first dc, dc 4, 2dc in last dc. [8 dc]
Row 19: Ch 2, turn, 2 dc in first dc, dc 6, 2dc in last dc. [10 dc]
Row 20: Ch 2, turn, 2dc in first dc, dc 8, 2dc in last dc. [12 dc]
Row 21: (wrong side) Use your stitch markers to mark the 18th sts from either side of your handle on the base of the bag. Holding the right side of the handle to the 12 sts between markers, slip stitch together across all 12 sts.
Finishing Instructions
Break yarn and weave in ends.

Thank you so much for supporting Salty Pearl Crochet! Please let me know if you have any questions or would like additional information about the pattern. I love seeing your creations on Ravelry or Instagram (#SaltyPearlCrochet), and I am always happy to offer pattern support for all of my crochet patterns as written.
You are more than welcome to sell any finished items made from this pattern. Please use your own photos and credit Katie Clary as the designer. Links back to my blog post are greatly appreciated! Please feel free to share this pattern by directing others to this blog post or the Ravelry listing, NOT by distributing the pattern or photos as your own.
Want to connect? Join the Salty Pearl Crochet Circle so we can crochet together on Facebook. I would love to crochet along with you! Join my mailing list and receive the first updates and even some special promos and discounts in my newsletter, or you can follow me on:
Facebook: https://www.facebook.com/SaltyPearlCrochet/
Pinterest: https://www.pinterest.com/theSaltyPearl/
Instagram: https://www.instagram.com/SaltyPearlCrochet


Mary says
I’ve been meaning to make a bag just like this, because I’m so sick of all the plastic bag waste! Thank you for the free pattern!
Katie says
Yes! I love that this is eco friendly, as well! Thanks so much for your lovely comment. <3 Katie
Monica says
Thank you for this pattern. “Less than 200 yards” was the selling point for me, as the required amount of cotton yarn for other market bag patterns would have been expensive where I live ( New Zealand). I just started my bag a couple hours ago and am about to start the handle. It’s working up nicely.
Katie says
Hi Monica!
Thanks so much for stopping to let me know! I absolutely agree, I usually have a great big yarn stash but for some reason my brain is SO angry when I have to use more than one ball of cotton in a project. Glad you’re enjoying this pattern for the bag!
Katie
Cathie Green says
Hi Katie
What is the magic loop in Round 1 of the mesh bag pattern ?
Ie the instructions read for Round 1
In magic loop, ch 2 and work 5 mesh repeats, sl to join. [5 M (10dc, 5 ch3 loops)]
Do you start with chain and slip stitch to create the magic loop ?
Thanking you for any instruction to clarify – Cathie
Katie says
Hi Cathie,
The magic loop is also called the magic circle or magic ring. It’s an easy way to start a pattern in the round. You can see my video tutorial for it on this page about easy hat starts. That should help!
Thanks,
Katie