
This post may contain affiliate links. For more details, see my disclosure page.

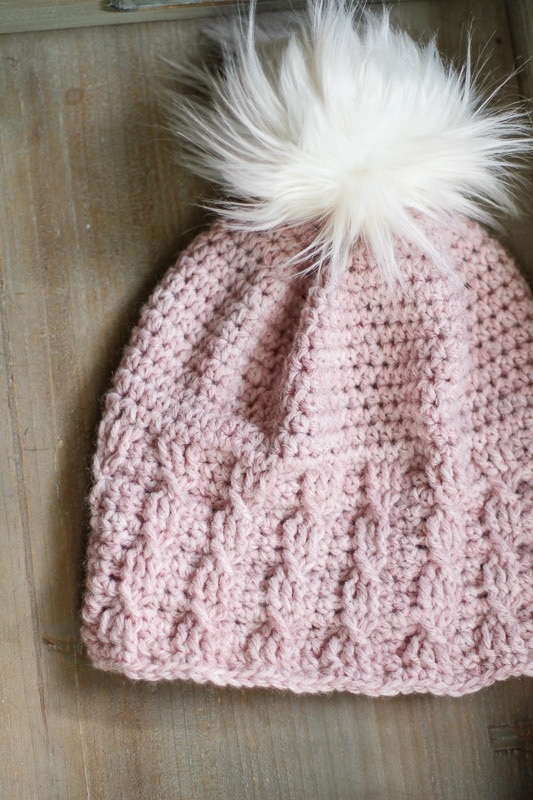
The Simple Cable Brimmed Beanie is the perfect free crochet hat pattern to learn how to crochet cables with. When you try this simple crochet cable hat pattern free on my blog, you’ll be able to practice using post stitches to make a really neat twisted effect.
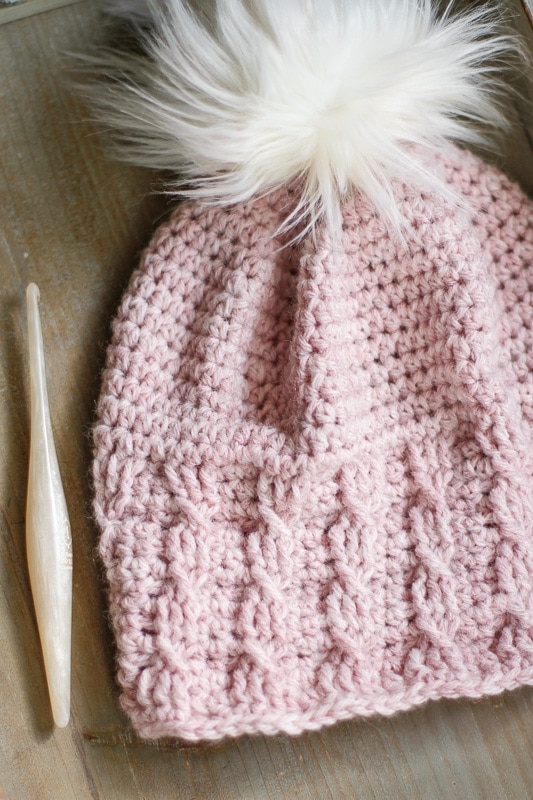
Crochet cable beanie patterns often start with complex stitches at the crown of the hat, but I wanted to try something a bit simpler. Juggling cables and increase or decrease stitches is hard work, but this easy cable brim section is worked in a simple 5 stitch, 4 row repeat.
If you can make a post stitch, you can make this hat.
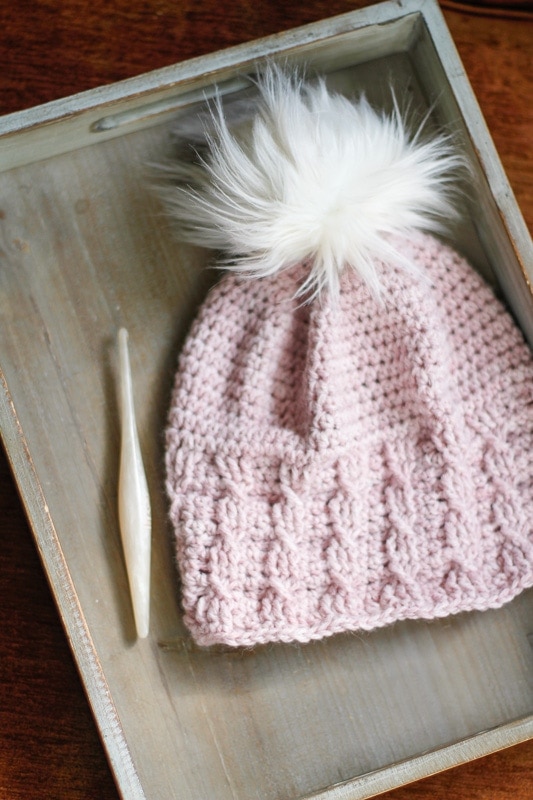
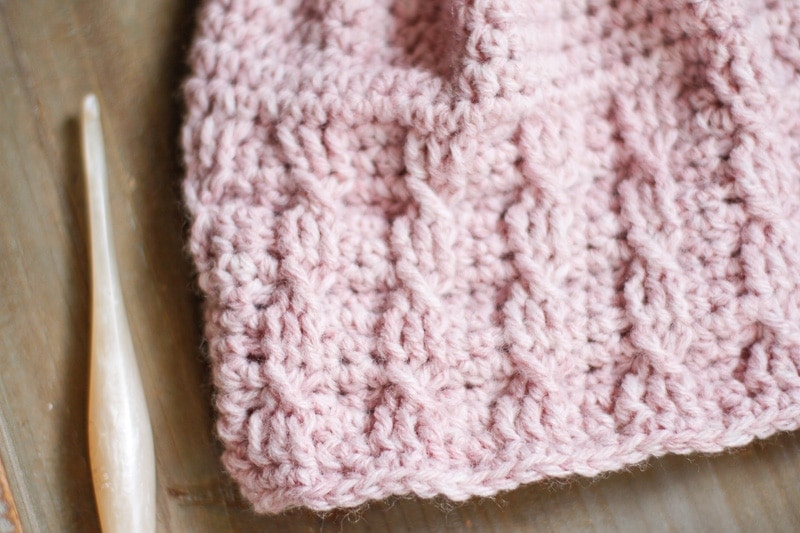
Don’t you think this crochet cable stitch looks awesome in place of a basic ribbed brim? I love it!
Click here to add this pattern to your Ravelry Favorites or purchase the ad-free PDF copy!
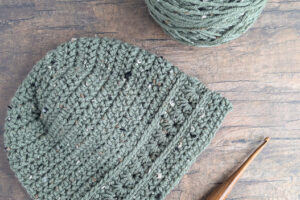
– More Crochet Beanie Patterns –

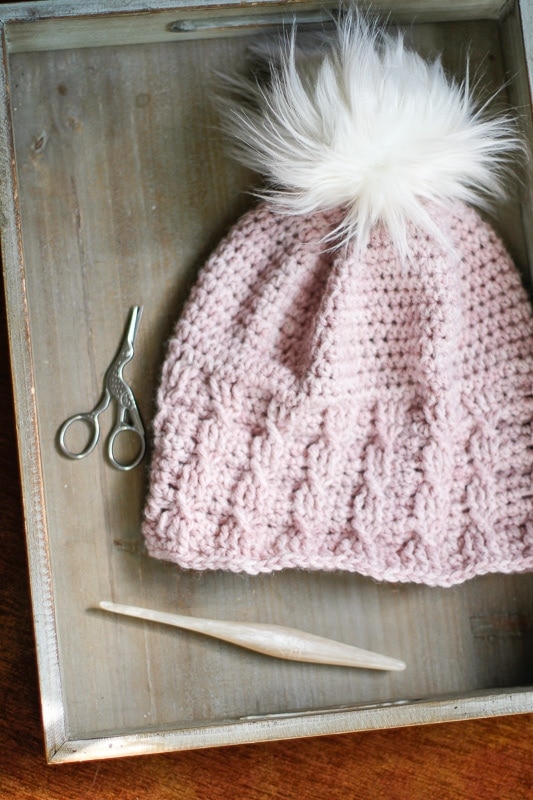
Here’s everything you’ll need to get started.
Materials
I/5.5mm Crochet Hook – (try the Furls Streamline Swirl in Cream!); Lion Brand Wool Ease, 197yds/180m, 3oz/85g, 80% Acrylic, 20% wool, Worsted [4] Weight yarn in Blush Heather colorway; Yarn Needle; Scissors
Abbreviations
Ch- chain; Hdc- half double crochet; Fpdc- front post double crochet; Rpt- repeat; Sk- skip; Sl- slip stitch; St(s)- stitch(es)
Gauge / Finished Size
8 hdc and 6 rounds is 2” square in hdc.
Sized Newborn (Baby, Toddler, Child, Small, Large) to fit 13.5 (14, 17, 19, 21.5, 23) inch head. Finished hat measures 5 (6.25, 7.5, 8.25, 10, 11) inches across brim, and 5.5 (6, 7.5, 9, 9.5, 10) inches crown to brim.
Notes
Hat worked from crown downward in joined, unturned rounds.
Turning chain does not count as a stitch throughout. Join in first st of round.
Simple Cable Brimmed Beanie Pattern
Crown of Hat
Round 1: In an adjustable ring, ch 1 and work 10 hdc, sl. [10]
Alternately, Ch 2, work 10 hdc into 2nd ch from hook, sl.
Round 2: Ch 1, work 2 hdc in each st around, sl. [20]
Round 3: Ch 1, *hdc in next st, 2 hdc in next st,* rpt from * to * around, sl. [30]
Round 4: Ch 1, *hdc in next 2 sts, 2 hdc in next st,* rpt from * to * around, sl. [40]
Newborn Size Stop and continue at Round X.
Round 5: Ch 1, *hdc in next 3 sts, 2 hdc in next st,* rpt from * to * around, sl. [50]
Baby size stop and continue at Round X.
Round 6: Ch 1, *hdc in next 4 sts, 2 hdc in next st,* rpt from * to * around, sl. [60]
Toddler Size stop and continue at Round X.
Round 7: Ch 1, *hdc in next 5 sts, 2 hdc in next st,* rpt from * to * around, sl. [70]
Child Size stop and continue at Round X.
Round 8: Ch 1, *hdc in next 6 sts, 2 hdc in next st,* rpt from * to * around, sl. [80]
Small size stop and continue at Round X.
Round 9: Ch 1, *hdc in next 7 sts, 2 hdc in next st,* rpt from * to * around, sl. [90]
Round X: Ch 1, hdc in each st around, sl. [40 (50, 60, 70, 80, 90)]
Repeat Round X for a total of 4(4, 8, 7, 8, 7) times. Your hat will have 8 (9,14, 14, 16, 16) rows at this point.
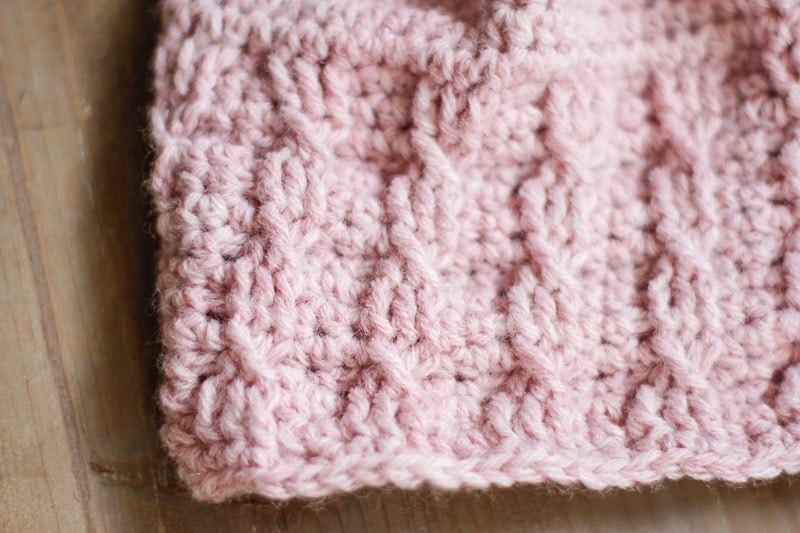
Crochet Cable Braid Stitch Brim
For ease of counting, the row counts start over with the first cabled round.
Round 1: Ch 1, *hdc in next 2 sts, leaving next 3 sts from prev round unworked, fpdc into next 3 sts from 2 rounds below,* rpt from * to * around, sl. [40 (50, 60, 70, 80, 90)]
Round 2: Ch 1, hdc in each st around, sl. [40(50, 60, 70, 80, 90)]
Round 3: Ch 1, *hdc in next 2 sts, working into fpdc from 2 rounds below (sk 1 fpdc, fpdc around next 2 fpdc, fpdc in skipped fpdc),* rpt from * to * around, sl. [40(50, 60, 70, 80, 90)]
Round 4: Ch 1, hdc in each st around, sl. [40(50, 60, 70, 80, 90)]
Round 5: Ch 1, *hdc in next 2 sts, working into fpdc from 2 rounds below fpdc in next 3 fpdc,* rpt * to * around, sl. [40(50, 60, 70, 80, 90)]
Newborn, Baby, and Toddler Size stop and skip ahead to Round 14.
Child, Small, Large Sizes ONLY
Rounds 6-13: Rpt Rounds 2-5 twice.
Round 14: Ch 1, sc in each st around, sl. [40(50, 60, 70, 80, 90)]
Finishing
Fasten off and weave in all ends. Block as desired.
Thank you so much for supporting Salty Pearl Crochet! Please let me know if you have any questions or would like additional information about the pattern. I love seeing your creations on Ravelry or Instagram (#SaltyPearlCrochet), and I am always happy to offer pattern support for all of my crochet patterns as written.
You are more than welcome to sell any finished items made from this pattern. Please use your own photos and credit Katie Clary as the designer. Links back to my blog post are greatly appreciated! Please feel free to share this pattern by directing others to the blog post or the Ravelry listing, NOT by distributing the pattern or photos as your own.
Want to connect? Join the Salty Pearl Crochet Circle so we can crochet together on Facebook. I would love to crochet along with you! Join my mailing list and receive the first updates and even some special promos and discounts in my newsletter, or you can follow me on:
Facebook: https://www.facebook.com/SaltyPearlCrochet/
Pinterest: https://www.pinterest.com/theSaltyPearl/
Instagram: https://www.instagram.com/SaltyPearlCrochet

Andrea says
Hi…absolutely LOVE this pattern! May I ask how many stitches to make the magic circle? I note that many patterns do not include that… Is there a standard amount? I would be so ever grateful if you could tell me how many stitches to create the magic circle for this(these) hats? Thank you so so much for sharing!
Katie says
Hi Andrea!
The Magic Circle is a technique in and of itself, so doesn’t have a stitch count. If you are looking to learn more about hat starts, you can check out this page here, where I compare the 3 more common ways to start a top down hat.
I really think that the videos on that page will help explain it better than I can in a post!
Katie
Dj says
Not sure how you can go from 90 stitches, drop 3 stitches working the cable pattern and still have 90 stitches???
Katie says
Hi DJ,
The stitch count remains the same because your stitches are simply being placed an extra row down. That means that you’ll have a stitch that “belongs with” that unworked stitch, but is placed in a different stitch.
Katie