This post may contain affiliate links. For more details, see my disclosure page.
Welcome back to part 2 of the Clear Skies Cardigan CAL! Looking for the other parts? You can find the complete supplies list and schedule on the main Clear Skies CAL page HERE.
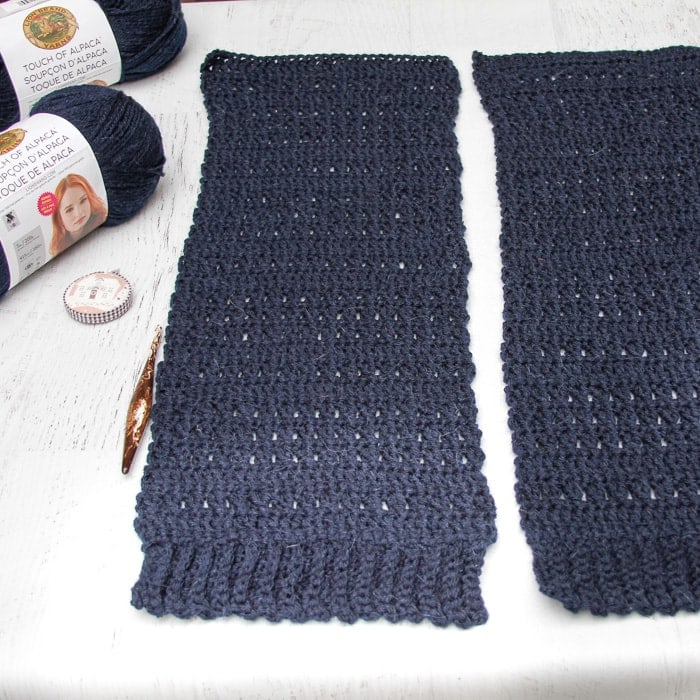
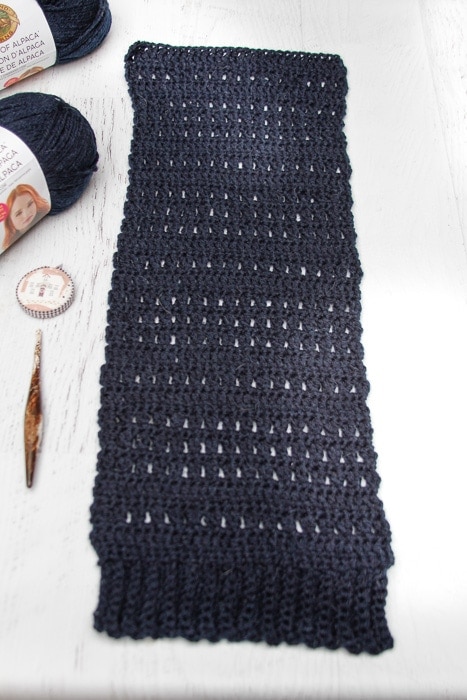
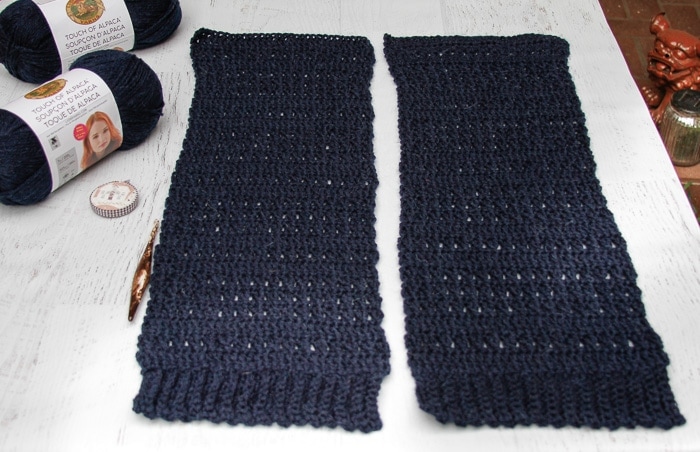
This week’s segment of the cardigan pattern includes two matching front panels.

Materials
J/6.0mm Crochet Hook; Lion Brand Touch of Alpaca Bonus Bundle Yarn, Worsted [4] weight, 90% Acrylic, 10% Alpaca yarn, 7oz/200g; 415yds/380m, shown in Navy; Yarn Needle; Scissors
Abbreviations
Ch- chain; Cl- cluster; Dc – double crochet; Sc- single crochet; Sk- skip; St- stitch;
Special Stitches
Cluster: Yarn over, insert hook into stitch indicated, yarn over and draw loop through stitch, yarn over and pull through two loops (2 loops on hook), yarn over, insert hook into same stitch, yarn over and draw loop through stitch, yarn over and pull through two loops (3 loops on hook), yarn over and pull through three loops to complete stitch.
Notes
Front panels are worked from the top of the piece down, then a ribbed hem is added across the final row.
Catching Up? Here are all the Clear Skies CAL Links
Clear Skies CAL Materials List, Sizing Guide, and Index
Part One: Gauge swatches and Pocket Squares
Part Five: Assembly and Collar Ribbing

Clear Skies Cardigan Front Panel Pattern (Make Two)
Row 1: Ch 2, fsc 23(25, 29, 31, 35, 37, 41). [23(25, 29, 31, 35, 37, 41) sc]
Alternately, Ch 24(26, 30, 32, 36, 39, 42), sc in 2nd ch and across.
Row 2: Ch 2, turn, dc in each st across. [23(25, 29, 31, 35, 37, 41)dc]
Row 3: Ch 1, turn, sc in each st across. [23(25, 29, 31, 35, 37, 41) sc]
Row 4: Ch 2, turn, cl in first st, *ch 1, sk 1, cl,* repeat * to * across. [12(13, 15, 16, 18, 19, 21) cl]
Row 5: Ch 1, turn, sc in each st and ch across. [23(25, 29, 31, 35, 37, 41) sc]
Rows 6-7: Repeat Row 2-3.
Row 8: Ch 2, turn, cl in first st, *ch 1, sk 1, cl,* repeat * to * across. [12(13, 15, 16, 18, 19, 21) cl]
Row 9: Ch 1, turn, sc in each st and ch across. [23(25, 29, 31, 35, 37, 41) sc]
Rows 10-13: Repeat Rows 8-9.
Repeat Rows 2-13 until your piece measures 23(23, 24, 24, 24.5, 24.5, 25.5) inches long, ending after an odd numbered row. (Both panel counts match.)
For simplicity, the final rows will continue with number 14 even though you’ll have rows between. This allows you to work to your size’s measurements.
Row 14: Ch 2, turn, dc in each st across. [23(25, 29, 31, 35, 37, 41) dc]
Row 15: Ch 1, turn, sc in each st across. [23(25, 29, 31, 35, 37, 41) sc]
Continue to the ribbing section without breaking your yarn.

Ribbing:
For ease of counting, we’ll start over at row 1 for the ribbing.
Row 1: Ch 9, working through back bumps, sc in 2nd ch and across. [8 sc]
Row 2: Sk first st from top row of pocket, and sl in next 2 sts, turn; working in blo, sc across. [8 sc]
Row 3: Ch 1, turn, working through blo, sc across. [8]
Row 4: Sl next 2 body sts, turn, working through blo, sc across. [8]
Repeat rows 3 and 4 across the edge of the piece.
Finishing:
Fasten off and weave in all ends. Block lightly.


Theresa says
I am making the XL and I’m confused starting with the count of row 9. Row 7 has 35 sc – row 8 has 18 cl However row 9 says I should end with 77 sc – if I’m reading it right I do not know how to get this number.
Could you please explain
Thank you
Katie says
Hi there, Theresa! You’re absolutely right. That is a typo, your count should stay consistent.
I’ve corercted it in the pattern text. Sorry for any confusion, and thank you for bringing that to my attention!
Katie
Theresa says
Thank you so much. I am so intrigued by this pattern. And when I reached this part – I was totally stumped. 🤔 I tried every way to get that count and it just wasn’t happening. Now I can keep going. 😊
Lucy Blum says
For row 5, would the sc go into the ch st or into the ch space?
Betty Aziz says
Katie, I am crocheting left handed. When I get to the ribbing do I still use the back loop.It seems like if I used back bump I would be going the wrong way.
Katie says
Hi Betty,
I think if you end up using the back loop it will twist around properly after the second row of ribbing, but if you prefer the way it looks working into the front of the chain, that’s totally okay, too! Whatever makes it easiest for you is totally fine, and will work out great.
Katie