This post may contain affiliate links. For more details, see my disclosure page.
Today’s the day! The final part of our Clear Skies Cardigan Crochet Along starts today. We are assembling our cardigan, as shown above, then seaming it all together before adding our final ribbing around the collar.
I’m truly so proud of all of you who have worked so hard on your cardigan! Crocheting sweaters is a lot of work, but it’s so rewarding!
Catching Up? Here are all the Clear Skies CAL Links
Clear Skies CAL Materials List, Sizing Guide, and Index
Part One: Gauge swatches and Pocket Squares
Part Five: Assembly and Collar Ribbing
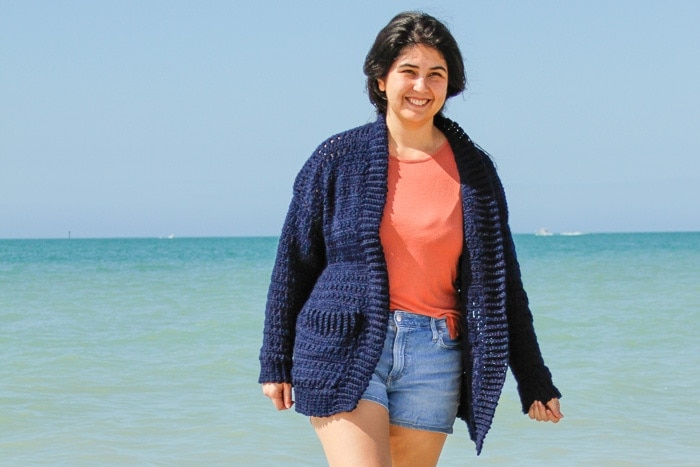
And now, I know you’re so excited to see what the finished sweater will look like, so without further ado, here’s a photo of me wearing it:
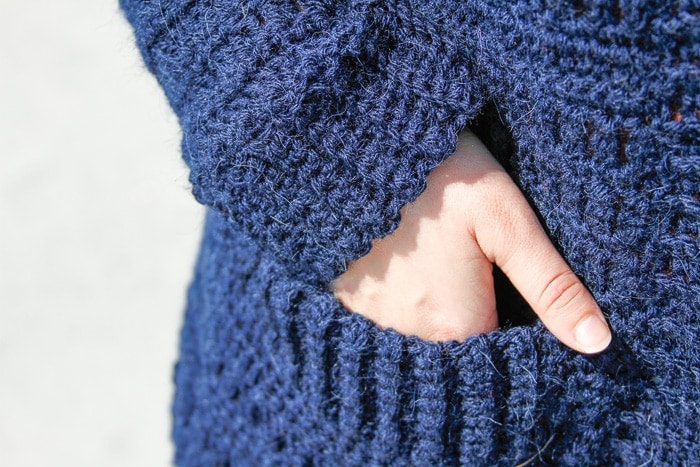
Isn’t it gorgeous? I know, I’m a stinker for that teaser photo. Here they really are!
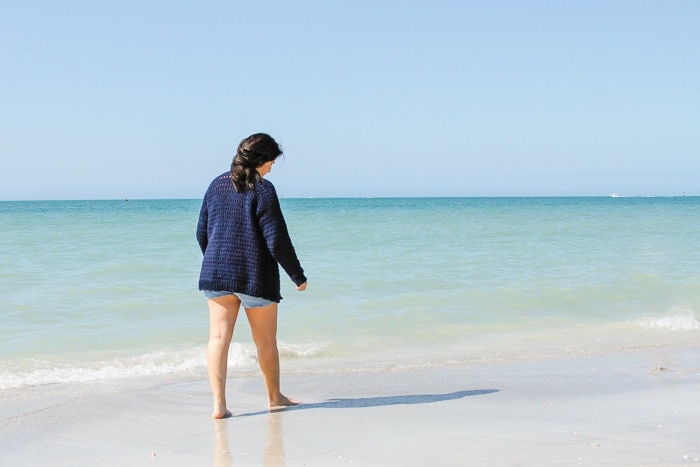
I’ll admit, sweater weather looks a little different for us down here in Florida, but I still think this cardigan will be a wardrobe staple for me!
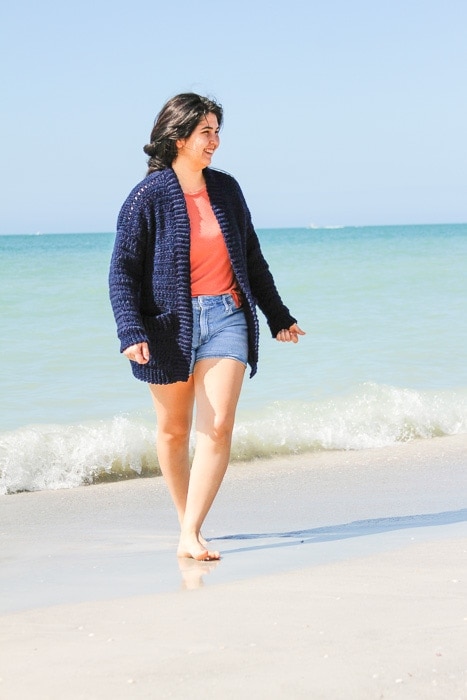
These photos were taken on Clearwater Beach, and it’s my favorite place to relax and unwind. Just be sure to bring a good project bag- the sugar sand is so hard to get out of yarn if your beach project takes a tumble!
Now here’s the instructions for this part of the CAL.
Clear Skies Cardigan CAL Part 5:
Assembly and Collar Ribbing
Assembly:
- Lay the Back Panel flat, with the right side facing up. Arrange the back panels on top, aligned with the outer edges, right side facing down.
- Sew a running stitch along the shoulder edges using a length of yarn 3 times the width of your panel and a tapestry needle.
- Leave a gap for the arm hole opening measuring 7(7.5, 8, 8.5, 9, 9.5, 10), then sew the outer sides of the front and back panel together with a running stitch using a length of yarn 3 times the length of the side seam and a tapestry needle.
- If desired, you may leave a few inches of the seam left open as a side slit but the pictured cardigan did not.
- Repeat for the opposite front panel.
- Turn a sleeve inside out, and line up with your arm hole. Attach the sleeve to the body with a running stitch around the edge.
- Repeat with the opposite sleeve.
- Turn your cardigan back right side out.
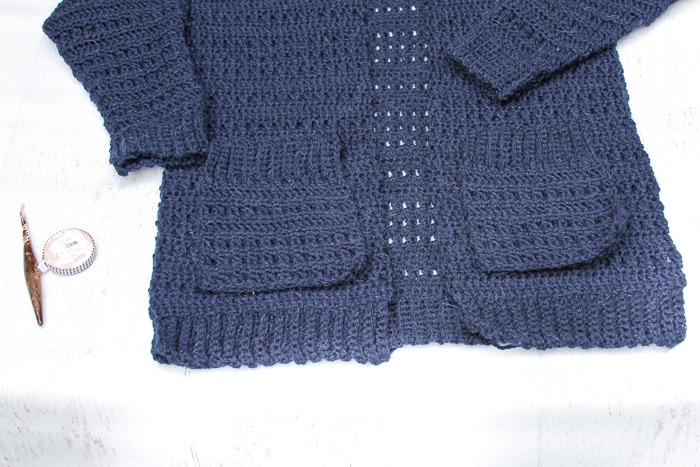
- Attach pockets to cardigan using a running seam and a length of yarn 3 times as long as the outer edge of the pocket. When choosing placement, remember your collar ribbing will add 2.5” to the center neckline.
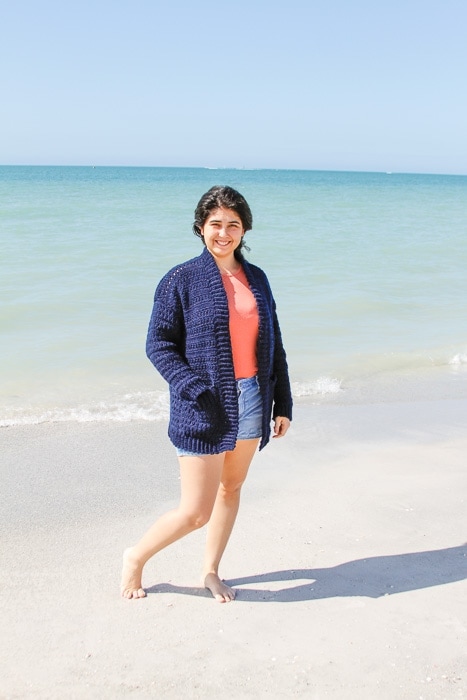
Collar Ribbing:
For ease of counting, we’ll start over at row 1 for the collar ribbing.
Row 1: Attach yarn with a slip stitch to the bottom corner of the right front panel at the ribbing, ch 9, working through back bumps, sc in 2nd ch and across. [8 sc]
Row 2: Sl 2 evenly up piece, turn; working in blo, sc across previous row. [8 sc]
Row 3: Ch 1, turn, working through blo, sc across. [8]
Row 4: Sl 2 evenly up piece, turn; working in blo, sc across previous row. [8 sc]
Repeat rows 3 and 4, working up the first front panel, across the skipped stitches at the center of the back panel, then down the opposite edge of the front panel.
Finishing:
Fasten off and weave in all ends. Block lightly. Wear with pride!
Share photos of your finished cardigan with me!
I’d love to see your creations! Follow and tag me on Instagram @SaltyPearlCrochet or post a photo or two in the Salty Pearl Crochet Circle on Facebook.


Karen J says
Hello,
I did not get to share this project with ya’ll due to the fact I am in school and making a blanket for my aunt at the same time. How can I put the tutorials where I can get to them when I am ready start this project?
Katie says
Hi Karen!
If you’re looking for a done-for-you pattern, you can purchase the full PDF copy of this through Ravelry here: https://www.ravelry.com/patterns/library/clear-skies-cardigan. Alternately, you’re always welcome to format your own copy of the document, just be aware that the pattern will only be available online in parts through March 31, 2020. If you’re on my email list, I will be letting you know about a pattern bundle this will be included in soon, too.
Katie