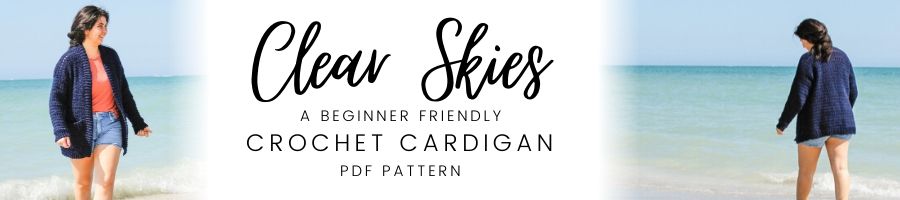
This post may contain affiliate links. For more details, see my disclosure page.
If you’re gearing up to make this cardigan, you probably already know that gauge is crucial to getting the right fit. And if you’re going to put the hours into making a sweater, it’s really important that it fits!
Still, sitting down to make a gauge swatch to throw away is NO fun. Who wants to waste all that time and yarn?
That’s why I’m so excited that the gauge swatches we’ll be making today will actually end up being USED in the pattern: as pockets! So grab your hook, grab your yarn, and let’s get down to business!
![]()
![]()
Materials
J 6mm crochet hook – I used my Furls Streamline Swirl
Lion Brand Touch of Alpaca Bonus Bundle, Worsted [4] weight, 90% Acrylic, 10% Alpaca yarn, 7oz/200g; 415yds/380m, shown in Navy
Looking to buy from outside the US? Shop here at LoveCrafts- they ship worldwide!
Yarn Needle
Scissors
Abbreviations
Ch- chain; Cl- cluster; Dc – double crochet; Sc- single crochet; Sk- skip; St- stitch;
Special Stitches
Cluster: Yarn over, insert hook into stitch indicated, yarn over and draw loop through stitch, yarn over and pull through two loops (2 loops on hook), yarn over, insert hook into same stitch, yarn over and draw loop through stitch, yarn over and pull through two loops (3 loops on hook), yarn over and pull through three loops to complete stitch.
Notes
This gauge swatch/pocket square combo is worked from the bottom of the piece upwards, then a ribbed edge is added, working across the top row.
Catching Up? Here are all the Clear Skies CAL Links
Clear Skies CAL Materials List, Sizing Guide, and Index
Part One: Gauge swatches and Pocket Squares
Part Five: Assembly and Collar Ribbing
![]()
![]()
Clear Skies Cardigan Pocket Pattern
Ch 21.
Row 1: Ch 2, cl in 3rd ch from hook, *ch 1, sk 1, cl,* repeat * to * across. [11 cl]
Row 2: Ch 1, turn, sc in each st across. [21 sc]
Row 3: Ch 2, turn, cl in first st, *ch 1, sk 1, cl,* repeat * to * across. [11 cl]
Row 4: Repeat row 2.
Row 5: Repeat row 3.
Row 6: Repeat row 2.
Row 7: Ch 2, turn, dc in first st and across row. [21 dc]
Row 8: Repeat row 2.
Row 9: Repeat row 3.
Row 10: Repeat row 2.
Row 11: Repeat row 7.
Row 12: Repeat row 2.
At this point your pocket square will measure approx. 7” wide x 5.5” tall.
Ribbing:
For ease of counting, we’ll start over at row 1 for the ribbing.
Row 1: Ch 9, working through back bumps, sc in 2nd ch and across. [8 sc]
Row 2: Sk first st from top row of pocket, and sl in next 2 sts, turn; working in blo, sc across. [8 sc]
Row 3: Ch 1, turn, working through blo, sc across. [8]
Row 4: Sl next 2 body sts, turn, working through blo, sc across. [8]
Repeat rows 3 and 4 across the edge of the piece- 20 rows total.
Your ribbing should measure 2.5” from the edge of the piece, and may be 6.5” wide near the edge.
Finishing:
Fasten off and weave in all ends. Block lightly.
Don’t Miss a CAL Update!
Before you go, be sure you’ve subscribed to get the announcements! Don’t forget to share our Crochet Along Page with that friend who you KNOW is dying to make her first crochet cardigan, too!

Betty Aziz says
Hi Katie, I am crocheting left handed. Any changes I should make in pattern to adjust for this? This is my first sweater and I am so excited to see how it turns out.
Katie says
Hi there, Betty!
So excited to have you with us. You shouldn’t have to adjust anything at all for being left handed, other than in part 5, when you’re adding the collar ribbing, just start at whichever bottom corner feels most intuitive for you. But since the collar’s fully reversible, it should work just fine either way.
Hope you enjoy making your first cardigan!
Katie