This post may contain affiliate links. For more details, see my disclosure page.
Star Sand Beanie: a Free Textured Crochet Hat Pattern
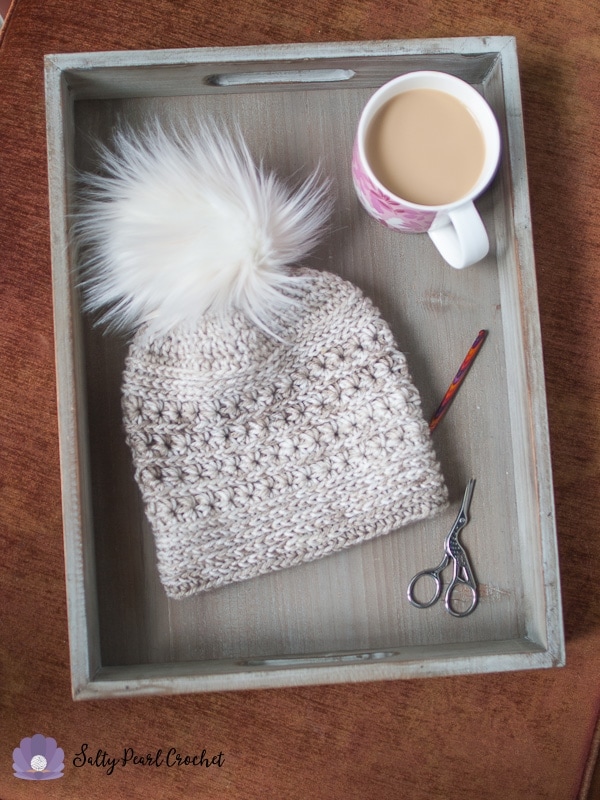
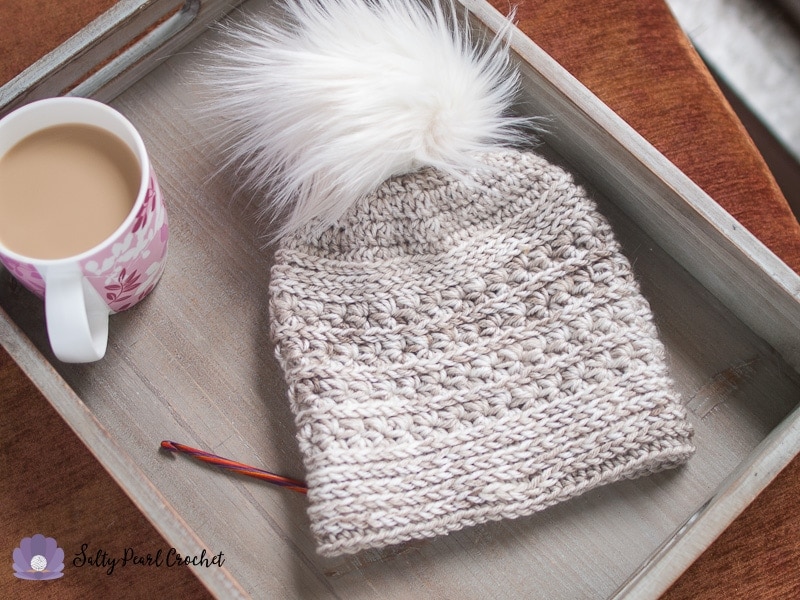
This decadently textured crochet beanie pattern uses the camel stitch and the star stitch together to make stripes of gorgeous, airy texture. This may be one of my all time favorite crochet hat patterns! I loved it SO much, that I made a matching textured crochet cowl pattern to go with it!
If you’d like to adapt for a different size, purchase the ad-free PDF copy on Ravelry, or you can use my Hat Size Checker to DIY a custom size. I’ll email it to you for FREE via the form below:
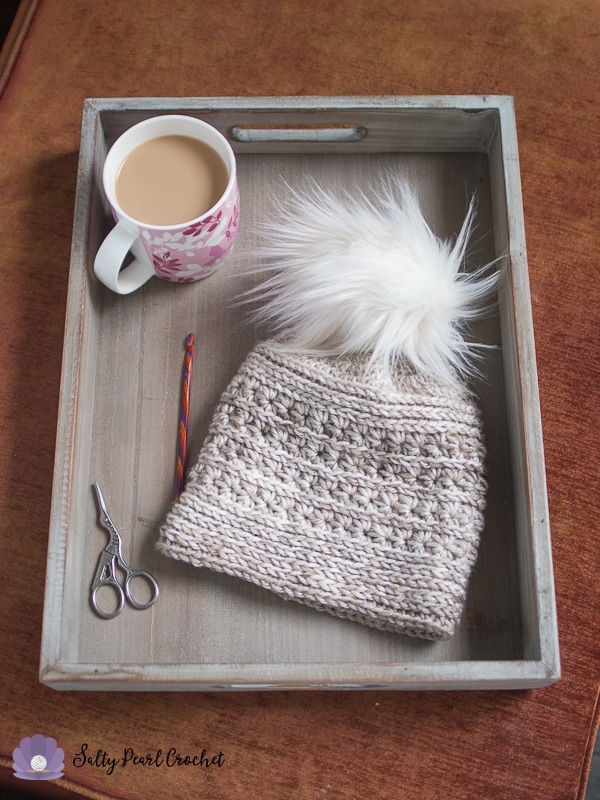
Of course, I had to top it off with a faux fur pompom. Doesn’t it add just a little bit of luxury? I made a special removable pom pom for this hat so it can still be washed normally. (I’ll be sure to post the tutorial for that soon!)
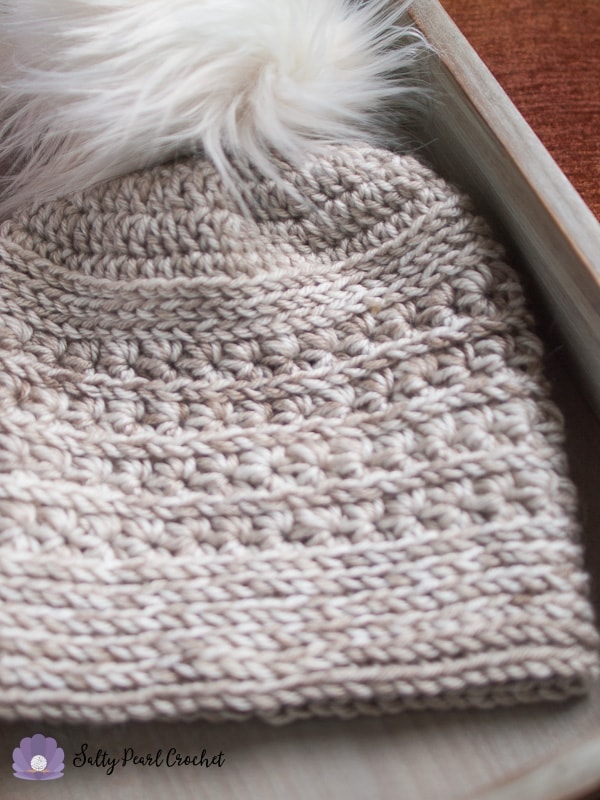
If you’re anything like me, crocheting is an indulgence. Lately, my absolute favorite treat is simply to sit down and crochet a hat in one or two uninterrupted sittings, with nothing but my latte to distract me. Of course, between life and dealing with a carpal tunnel diagnosis, I don’t usually get the chance to crochet as much as I want to!
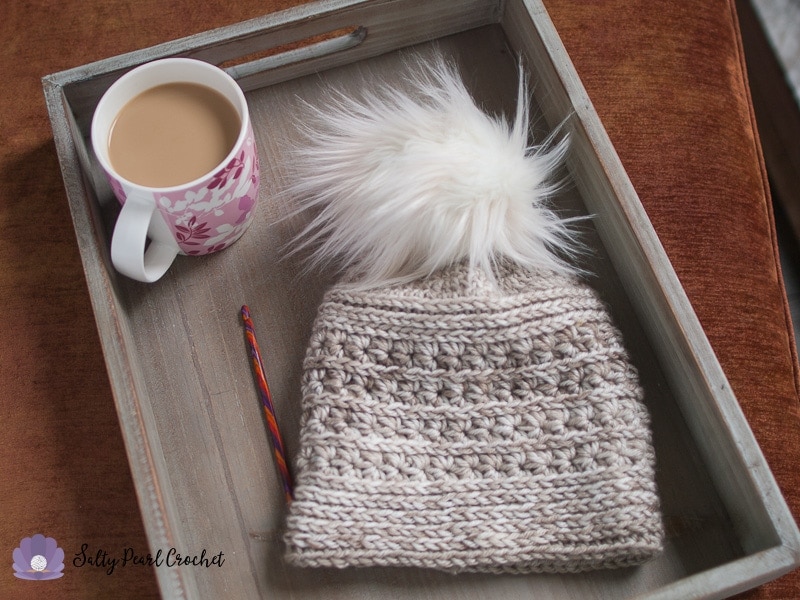
So, as is human nature, I crammed as much goodness into this quick project as humanly possible. This crochet hat pattern uses several wonderful crochet texture stitches. I went all out and splurged on my fur yarn at JoAnn for the pom pom. (I even got some cash back through Ibotta!) And to top it all off, I used a brand new (to me) yarn, in the prettiest, beachiest sandy taupe color I have ever seen.
Add the Star Sand Hat Pattern to your Ravelry Favorites or Pin it on Pinterest!
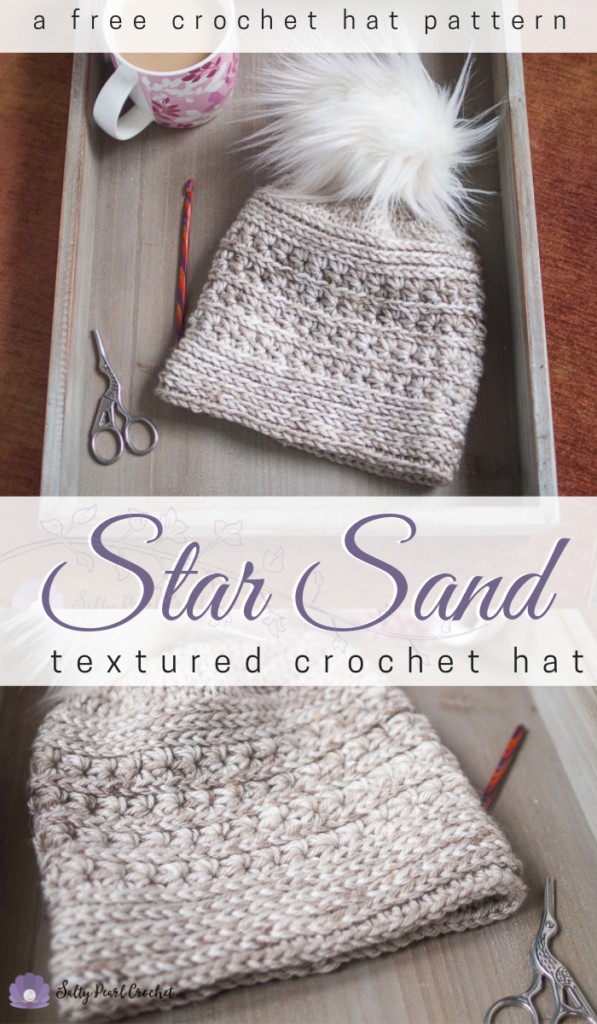
Materials
1 skein Deborah Norville Everyday yarn, 180 yds/165 m; 3.5 oz / 100 g, 100% acrylic Worsted (4) weight yarn, shown in Taupe Tone
I/9 5.5mm Crochet Hook – pictured: Knit Picks Radiant Wood
Scissors
Yarn Needle
Pom pom, if desired.
Abbreviations
Ch- chain; Hdc – half double crochet; Dc – double crochet; Lp – loop; Sk – skip
Special Stitches
HDC through 3rd loop: Yarn over, insert your hook under the 3rd loop of the st, yarn over and pull up a loop, yarn over and draw through all 3 loops on hook.
Star Stitch: For the first star in round, ch 3, pick up a loop in the 2nd ch from hook and next 4 spaces (6 loops on hook), yarn over and pull through all loops on hook, ch 1 to complete st. For next stitches, pick up a loop in the center of previous star, in the legs of previous star, in the same st as previous st, and next 2 sts (6 loops on hook), yarn over and pull through all loops on hook.
Gauge / Finished Size
8 stitches and 6 rows hdc through 3rd loop in 2” square
Notes
The turning chain does not count as a stitch in this pattern.
Hat is worked from top down in joined rows.
Looking to make a custom sized hat? Check out my Flat Circle Hat Sizing Method, or Download my Hat Size Checker Printable through the form below:
Crown of Hat
Round 1: Ch 2 and work 12 dc into a magic ring, slip to join. [12]
Round 2: Ch 2, work 2 dc into each st around, slip to join. [24]
Round 3: Ch 2, *work 1 dc in the first st, then 2 dc into the next st,* repeat * to * around, slip to join. [36]
Round 4: Ch 2, *work 1 dc in the first 2 sts, then 2 dc into the next st,* repeat * to * around, slip to join. [48]
Round 5 : Ch 2, *work 1 dc in the first 3 sts, then 2 dc into the next st,* repeat * to * around, slip to join. [60]
Ridges
Round 6: Ch 2, work a hdc in each st around, slip to join [60]
Round 7-8: Ch 2, working through 3rd loops, hdc in each st around, slip to join. [60]
Star Stitch Section
Round 9: Working through 3rd loops, ch 3, work the star stitch around, working the final star across the slip stitch from the previous row; sl to top of ch to join. [30 stars]
Round 10: Ch 2, work 2hdc in the center of each star around, sl to join. [60 hdc]
Rounds 11-16: Repeat Rounds 9-10.
Brim
Rounds 17-21: Repeat round 7.
Finishing
Fasten off and weave in ends.
Add a pom pom if desired.
Thank you so much for supporting Salty Pearl Crochet! Please let me know if you have any questions or would like additional information about the pattern. I love seeing your creations on Ravelry or Instagram (#SaltyPearlCrochet), and I am always happy to offer pattern support for all of my crochet patterns as written.
You are more than welcome to sell any finished items made from this pattern. Please use your own photos and credit Katie Clary as the designer. Links back to my blog post are greatly appreciated! Please feel free to share this pattern by directing others to this blog post or the Ravelry listing, NOT by distributing the pattern or photos as your own.
Want to connect? Join the Salty Pearl Crochet Circle so we can crochet together on Facebook. I would love to crochet along with you! Join my mailing list and receive the first updates and even some special promos and discounts in my newsletter, or you can follow me on:
Facebook: https://www.facebook.com/SaltyPearlCrochet/
Pinterest: https://www.pinterest.com/theSaltyPearl/
Instagram: https://www.instagram.com/SaltyPearlCrochet



Kim Ladouceur says
Thanks for the free download, Katie! It’s beautiful 😀
Nancy says
Thanks so much for the free download! Love the hat!
Katie says
You’re so welcome, Nancy! Glad you love it as much as I do! <3
Kirin says
This is beautiful! Your generosity is very much appreciated!
Alexandra says
Hi! This is a gorgeous hat! Is it slouchy? If so, would I crochet less repeat rounds before the brim to make it more of a traditional fit? Thanks so much!
Katie says
Hi Alexandra!
Glad you like it! This particular hat is not slouchy, it wears more like a fitted beanie without a brim. Hope that helps!
Katie
Carol S. Ortiz says
This hat is gorgeous! Thank you for sharing your pattern,…and…free too!! So very generous. Now, I will try to do it. 😉
Katie says
So glad to hear that you love it! Enjoy!! It’s one of my favorite stitches to make.
Katie
inkey says
I love the hat pattern. When do you think you will make a larger size pattern?
Katie says
Hats are always on my to-do list, but I’ve got another big collaboration design coming up soon! For this specific one, I believe I have the fully sized pattern in my Ravelry store for purchase.
Hope that helps, and thank you for your kind comment!
Katie
Kim says
Just increase the diameter more. Every increase adds 12 more stitches. Try dc four and two dc next stitch all the way around that will give you 72 stitches. Then continue her pattern the same. Add more repeats for each section.
Carol McCarthy says
Very beautiful pattern but I do not understand this sentence –
working the final star across the slip stitch from the previous row.
Please explain. Thanks, Carol
Katie says
Hi there, Carol!
For the star stitch pattern to work out perfectly in the round, your last stitch might look like it needs one more little space to draw up a loop from. I like to use the first stitch, or rather that slip stitch, to complete it. Hopefully that helps.
Katie
Gale says
Love this
Katie says
Thanks so much, Gale!
Kathie says
I really enjoyed this pattern. I love how the different stitches provide a lovely texture! The directions were easy to follow once I got into the flow. My hat however turned out way too small for any head. I think I may have either used the wrong yarn or crochet hook size. My bad. I am a beginner. However, I just wanted to let you know how beautiful this turned out even though it is the wrong size.
Katie says
Oh no! Sorry to hear that happened, Kathie!
That happened to me a LOT as a beginner, too, and honestly even still now lol! If you still have trouble with gauge sometimes, check out my gauge tips article here! Lots of people say it helped them out.
Best, Katie
Helen Vaughan Barrieau says
Hi! I purchased this pattern through Ravelery for an ad-free version, but when I made it, it came out very very small (7 inches wide, 7 inches long). I used #4 worsted weight yarn and followed your instructions and made sure to count every stitch and flower to make sure it was identical to the pattern… I went back to check what the finished size should be, and I couldn’t find it… is this intended for adults or kids? I love the look of the hat and how it works up… just hoping to fix whatever I am doing so that it can fit.
Thanks for your help!
Helen
Katie says
Hi Helen,
Likely you just have a tighter tension than me, which is completely normal! You can check out my gauge tips guide here and see if any of those tips help out, but this hat was written for an adult and should be closer to 9 or 8 in instead of 7.
Hope it’s helpful!
Katie