This post may contain affiliate links. For more details, see my disclosure page.
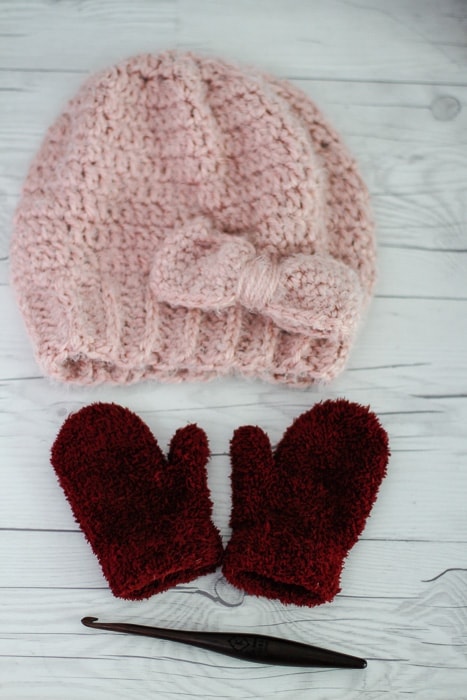
If you’re in need of a quick last minute crochet gift idea, you’ve got to try this easy crochet slouch hat pattern free on my blog. Nessa’s Easy Slouchy Bow Hat is a really fun and easy crochet hat pattern.
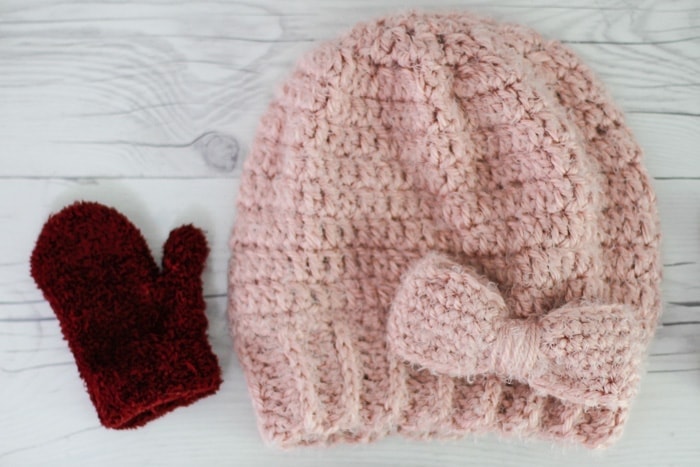
You’re sure to love working with the Red Heart Hygge yarn. It’s so full of soft texture and interest that I wanted to let the simple stitches shine through in this slouchy hat pattern.
Sometimes, simple easy crochet hat patterns are just the way to relax and make crocheting fun!

My favorite part of this adorable chunky slouch hat is the cute little bow attached at the brim. You could make one without it, of course, but it’s adorable! My daughter specifically requested a hat with a bow.
Add it to your Ravelry Favorites or buy the PDF Copy here.
Here’s what you’ll need to get started:
Materials
K/6.5mm Crochet Hook (Furls Streamline is my favorite!); Red Heart Hygge Bulky [5] weight yarn, 8oz/227g, 212yds/194m, Powder colorway; Yarn Needle; Scissors
Abbreviations
Ch- chain; Dc – double crochet; Dc2tog- double crochet two together; Hdc- half double crochet; Fhdc- foundation hdc; Sc- single crochet; Sl- slip stitch; St(s)- stitch(es)
Gauge / Finished Size
5 sts and 3 rounds in dc is 2”.
Sized for Baby, Toddler, Child, Adult, to fit heads 15 (18, 20, 23) inches.
Finished hat is 5.75 (7, 8.25, 9.5) inches across brim and 6.75 (7.5, 8.75, 9.5) inches from crown to brim.
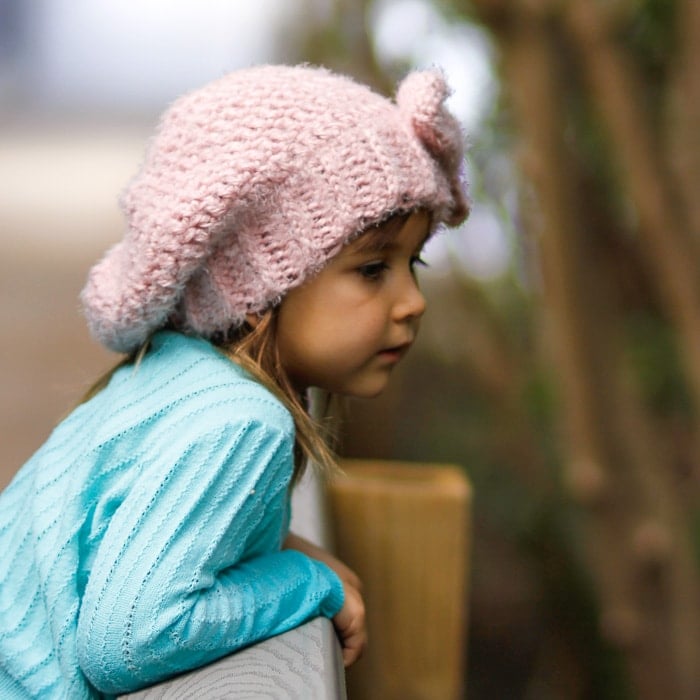
Photographed on a 5 year old in Adult size (my kids have huge heads!)
Notes
Hat worked starting with the sideways ribbed brim, then joined and worked upward in joined, turned rounds.
Turning chains do NOT count as stitches throughout the pattern. Slip stitch joins should go through the first stitch, not the chain.
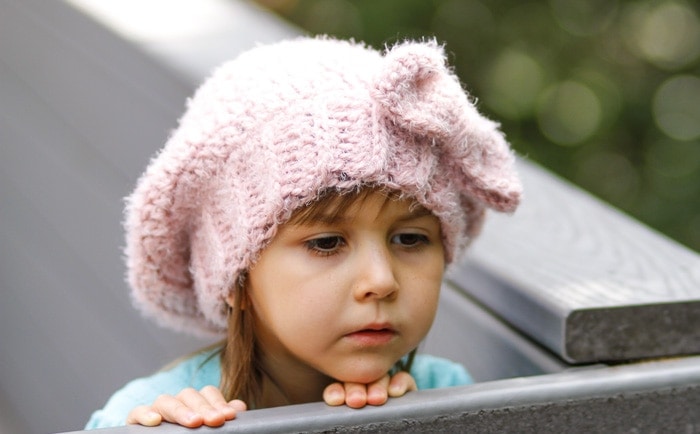
Vanessa’s Easy Slouchy Bow Hat Pattern
Brim
Row 1: FHDC 8. [8] Alternately, ch 9, hdc in 2nd ch and each ch across. [8]
Row 2: Ch 1, turn, working in 3rd loops, hdc across. [8]
Rpt Row 2 {18(22, 26, 30)} times, for a total of {20(24, 28, 32)} rows.
Join Row: Without twisting, bring opposite end of brim behind current row, then sl through 3rd loop and foundation edge together. [8]
Body
Round 1: Ch 1, work 2 sc evenly across each row, sl to join. [40 (48, 56, 64)]
Round 2: Ch 2, dc in each st around, sl. [40 (48, 56, 64)]
Rpt Round 2 {2 (3, 5, 6)} times, for a total of {4(5, 7, 8)} rounds.
Decrease Rounds
For ease of counting, we will start over at Round 1 for the decrease round.
Round 1: Ch 2, dc2tog around, sl. [20 (24, 28, 32)]
Round 2: Ch 2, dc2tog around, sl. [10 (12, 14, 16)]
Round 3: Ch 2, dc2tog around, sl. [5 (6, 7, 8)]
Finishing
Break yarn, leaving a 12” tail. Sew top closed, then weave in all ends. Block lightly as desired.
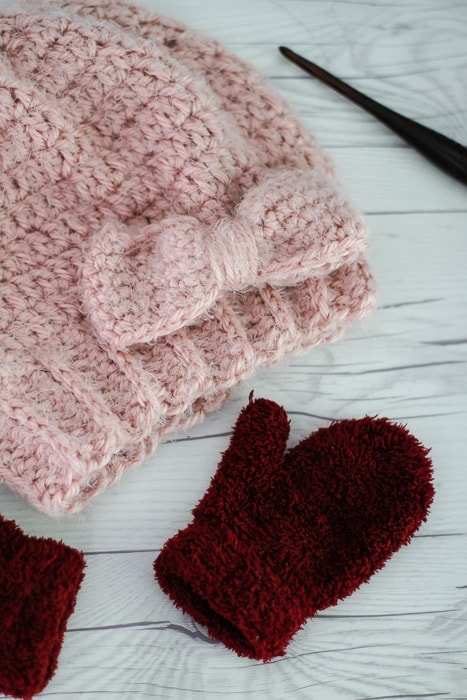
Easy Free Crochet Bow Pattern
Ch 20 (30), without twisting, sl to join.
Round 1: Ch 1, sc in each ch around, sl. [20 (30)]
Rpt Round 1 {3(5)} times, for a total of 4(6) rounds.
Fasten off, leaving an 18” tail. Using tail, cinch together the center of the tube by wrapping, to form a bow shape. Knot to the starting tail, then sew onto the hat at the brim.
Thank you so much for supporting Salty Pearl Crochet! Please let me know if you have any questions or would like additional information about the pattern. I love seeing your creations on Ravelry or Instagram (#SaltyPearlCrochet), and I am always happy to offer pattern support for all of my crochet patterns as written.You are more than welcome to sell any finished items made from this pattern. Please use your own photos and credit Katie Clary as the designer. Links back to my blog post are greatly appreciated! Please feel free to share this pattern by directing others to the blog post or the Ravelry listing, NOT by distributing the pattern or photos as your own.
Want to connect? Join the Salty Pearl Crochet Circle so we can crochet together on Facebook. I would love to crochet along with you! Join my mailing list and receive the first updates and even some special promos and discounts in my newsletter, or you can follow me on:
Facebook: https://www.facebook.com/SaltyPearlCrochet/
Pinterest: https://www.pinterest.com/theSaltyPearl/
Instagram: https://www.instagram.com/SaltyPearlCrochet
Ravelry: https://www.ravelry.com/designers/Katie-Clary
Looking for more? I love to share all my crochet ideas and free patterns on my blog, http://www.SaltyPearlCrochet.com.



Kim says
I love the look of this hat (East Slouch Bow Hat) and would like to try making it. Just wondering if there is a reason you only do a chain 1 for a turning chain for HDC and chain 2 for a turning chain for a DC, instead of the standard chain 2 and chain 3, respectively. Thanks!
Katie says
Hi Kim!
That’s a great question! You’re right, the standard is 2 and 3 for hdc and dc, but I just find that using a turning chain as a stitch makes my work look a little less neat. I would rather use one less chain, and do an extra stitch. That’s just my own personal preference/weird habit! If the turning chain works better for you, OF COURSE you are always free to do what you feel looks best for your project! I usually leave a note about this in my notes section, but I never read those when I’m making a pattern either LOL.
Thanks for your comment!
Katie