This post may contain affiliate links. For more details, see my disclosure page.
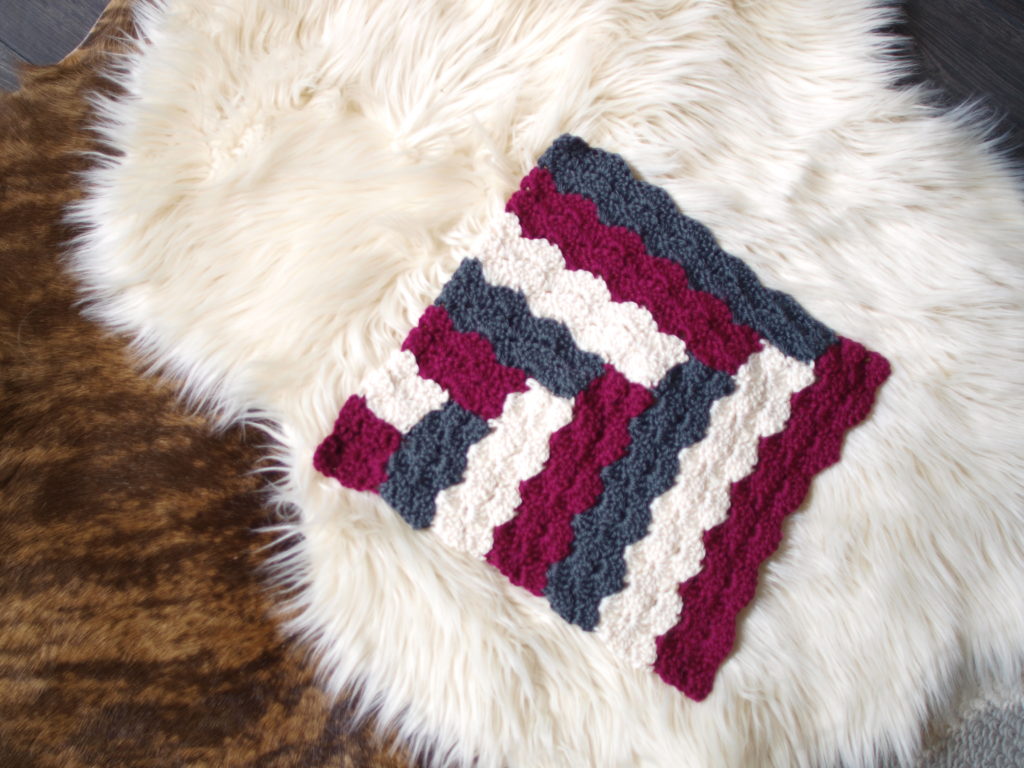
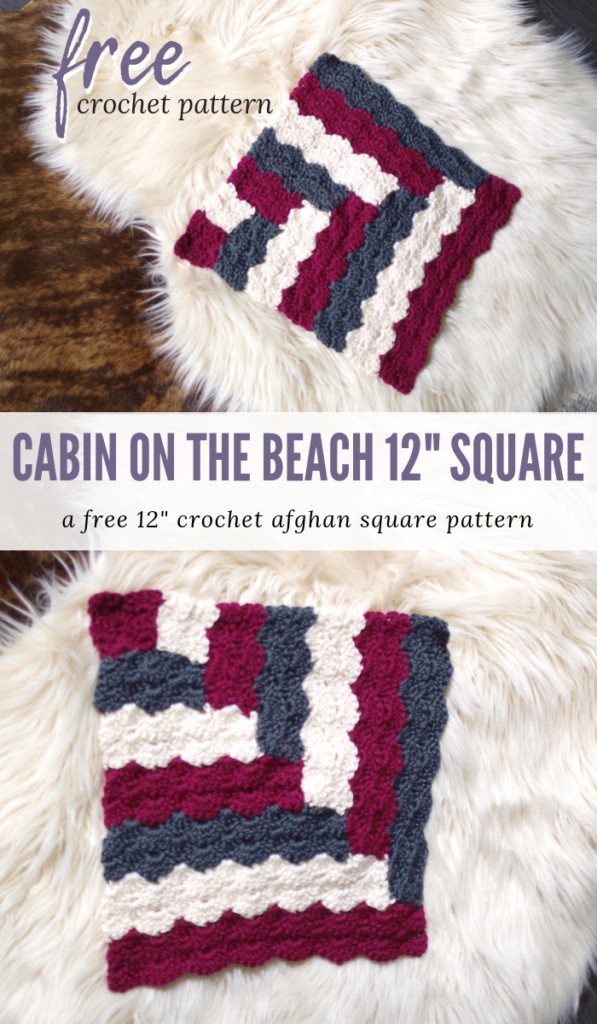
This fun, beachy twist on the traditional Log Cabin quilt square is called the Cabin on the Beach Afghan Square. I love that it’s such an awesome scrap-busting pattern!

Last year, I collaborated with a few friends to create a crochet sampler afghan for a friend and business mentor of ours. We all made and designed squares for a blanket, which came out beautifully!
The Cabin on the Beach 12 Crochet Afghan Square was one of my three contributions! You’ll be able to see the rest of the squares I contributed over the next few weeks- I’ll be sure to update them soon.
You can see them in my Ravelry Page here.
This block looks great in a wide array of colors and sizes. Make a true hodge-podge scrapghan, use matching squares to imitate a larger log cabin quilt, or even work this pattern as a continuous square!
Before you start- if you use many different colors, there are TONS of ends to weave in! Use the Locked Loop Ends Method to save yourself HOURS of time sewing in the ends with a yarn needle!
Materials
H 5.0mm Crochet Hook
Red Heart Soft Yarn – scrap amounts of Berry, Off White, and Charcoal are pictured here.
Scissors
Yarn Needle
Abbreviations
Ch- Chain
Sc- single crochet
Dc – double crochet
Sk – skip
Special Stitches
Shell: work 5dc stitches into the same stitch.
Gauge / Finished Size
Makes a 12” square afghan block.
12 stitches (2 shells and 2 sc) in 3”
After the third color your square should measure approx. 3”
Notes
Use the pattern to make a 12″ square, or customize to your preferred size blocks by simply adding the number of repeats needed to achieve your ideal size.
There are TONS of ends to weave in! Use the Locked Loop Ends Method to save yourself HOURS of time sewing in the ends with a yarn needle!
12″ Crochet Afghan Square Pattern Instructions
Block one:
Ch 8.
Row 1: Sc in 2nd ch from hook, sk 2, shell, sk 2, sc. [7] Right side facing.
Row 2. Ch 2, turn, 3dc in first st. Sk 2, sc, sk 2, 3dc. [7] Wrong side facing.
Repeat the previous two rows.
Break yarn and weave in ends.
Block two:
Change to your next color. Turn your work to continue in pattern on the front of your work.
Row 5: Sc in 1st st, sk 2, shell, sk 2, sc. [7]
Row 6: Ch2, turn, 3dc in first st. Sk 2, sc, sk 2, 3dc. [7]
Repeat the previous two rows.
Break yarn and weave in ends.
Block three:
Turn your work so the right side is facing, then rotate left 90 degrees. Change to your next color.
For Row 9, you are working into the selvedge edge. For this pattern, each sc row end counts as one stitch, and each dc row end counts as two stitches.
Row 9: Sc in the side of the first sc row. Sk 2, and place a shell into the side of the next sc row. Skip 2, placing the next sc into the sc just after the color change. Skip 2, and place a shell into the side of the next sc. Skip 2, and finish the row with a sc into the side of the final sc stitch. [13]
Row 10: Ch 2, turn. 3dc in first st, sk 2, sc, sk 2, shell, sk 2 sc, sk 2 3dc. [13]
Row 11: Ch 1, turn. Sc, *sk 2, shell, sk 2 sc.* [13]
Row 12: Repeat Row 10. [13]
Break yarn and weave in ends.
Block Four:
Turn your work so the right side is facing, then rotate right 90 degrees. Change to your next color. (My sample used three colors, so I was back to Color one, Berry.)
Row 13: Sc in the side of the first stitch. Sk 2, placing your next shell into the top of the next dc row. Sc 2, and sc into the top of the dc from Block 2. Sk 2, Shell, sk 2, sc. [13]
Row 14-16: Repeat rows 10-12. [13]
Break yarn and weave in ends.
Block Five:
Turn your work so the right side is facing, then rotate left 90 degrees. Change to your next color.
Row 17: Sc in the top of the first dc of Block Three, *sk2 Shell, sk 2 sc* Continue across the previous block, placing a shell in the top side of the dc row, and the last sc into the top side of the final dc. [19]
Row 18: Ch 2, turn. 3dc in first st. *sk 2, sc, sk 2, shell* across, sk 2 and place 3dc into the final st. [19]
Row 19-20: Repeat Rows 11 and 12. [19]
Repeat the steps for Block Four and Block Five until your square reaches your desired size. My 12” Granny square Crochet Pattern added four additional repeats, for a total of 13 blocks.
You are more than welcome to sell any finished items made from this pattern. Please use your own photos and credit Katie Clary as the designer. Links back to my blog post are greatly appreciated! Please feel free to share this pattern by directing others to this blog post or the Ravelry listing, NOT by distributing the pattern or photos as your own.
Want to connect? I would love to crochet along with you! Join my mailing list and receive the first updates and even some special promos and discounts in my newsletter, or you can follow me on:
Facebook: https://www.facebook.com/SaltyPearlCrochet/
Pinterest: https://www.pinterest.com/theSaltyPearl/
Instagram: https://www.instagram.com/SaltyPearlCrochet


Ashley says
I LOVE this!! I made a toddler bed-size quilt for my oldest daughter last year having the Log Cabin quilt block and it’s darling! Thanks for sharing 🙂
Katie says
Aww thank you so much Ashley! I appreciate you taking the time to share! I’m sure your quilt looks amazing, and I would LOVE to learn to sew quilts! My mom used to meet with a quilt guild when I was a kid, and I loved watching and helping them choose fabrics.
Katie
Irma Hendricks says
pretty, I saved it to my pinterest.
Katie says
Thank you, Irma! So glad you like it!
Happy New Year!
Katie
Kristy Crawford says
Katie,
I have a question about block 5. Where it tells you to repeat earlier rows, shouldn’t they be numbered 19 and 20?
Katie says
You’re so right! Nice catch! Updated. 🙂
Charlotte says
Hi Katie!
I absolutely LOVE this square and can’t wait to try it out. If I was wanting to make this into a large throw out of multiple squares, what would you recommend be the best way to connect them? I see that they only have 2 flat/straight edges. How would you go about connecting the wavy edges?
Thanks so much!
Charlotte
Katie says
Hi Charlotte!
I would honestly just sew up these squares just like normal. The edges are slightly wavy on 2 sides, but they’re honestly close enough that you could either just skip the sc and leave a small gap, or just stitch it twice. You could even use a crochet join and just use a sc instead of a sl on that spot, if you like.
Hope that helps!
Katie