This post may contain affiliate links. For more details, see my disclosure page.

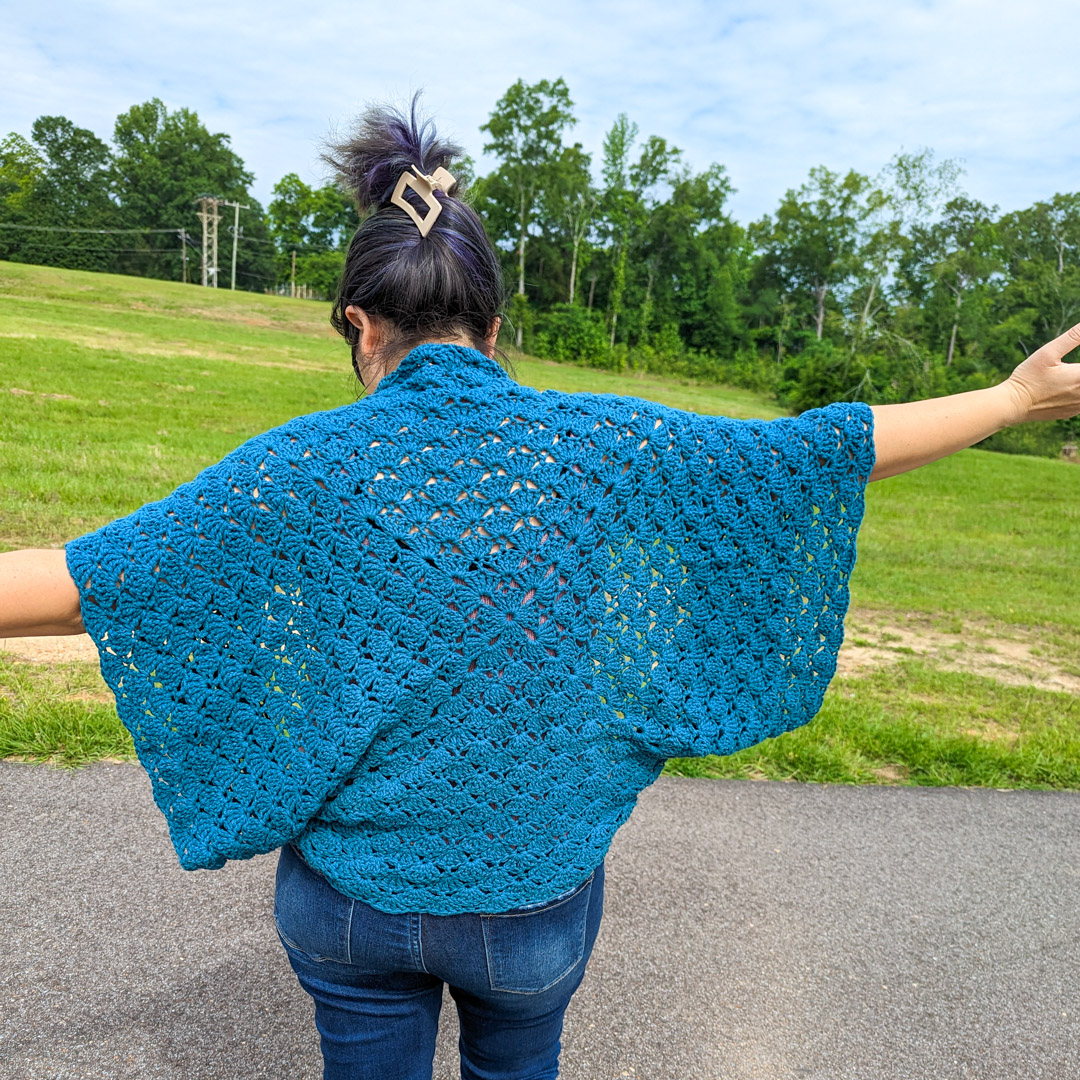
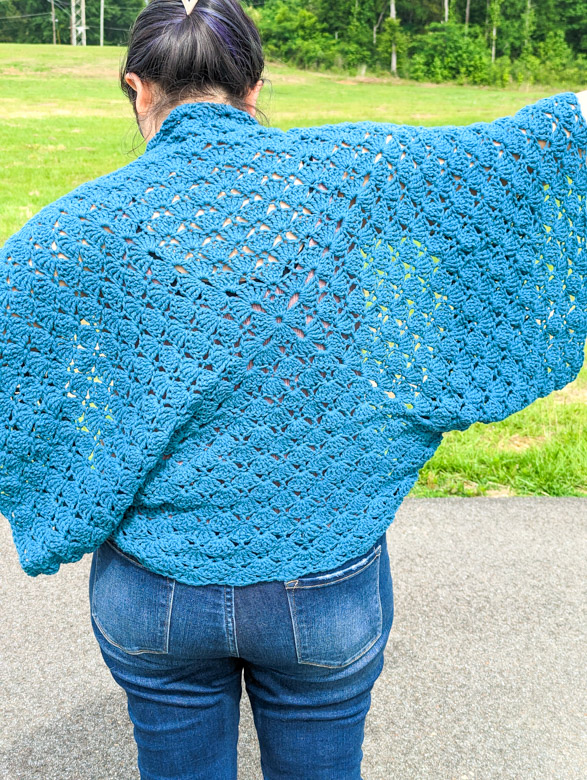
Have you been wanting to crochet your first cardigan project? If so, this easy crochet cocoon cardigan would make the perfect choice!
This easy crochet sweater pattern has just 4 steps:
- Make a square
- Add extra rows for length on the sleeves
- Sew two short seams to create sleeves and the body
- Add a few extra rounds to the opening for a shawl collar
You’ll love how easy it can be to create really fun crochet clothing you can wear!
Plus, tall lacy stitches like the treble crochet shells in my Venus Shell series (with the matching Crochet cowl pattern, crochet slouch hat pattern, and crocheted shawl pattern) are super quick and easy to make. They look amazing, too!

How much yarn does it take to crochet a cocoon sweater?
This pattern (which should fit most straight sizes- I am an XL/2X in these photos) uses only 930 yards of worsted weight yarn.
Materials
K/6.5mm Crochet Hook – I recommend Furls Streamline Wood (my favorite!), but all their hooks are so comfortable!
5 skeins Lion Brand Feels Like Butta, worsted [4] weight, 100% Polyester yarn, 3.5oz/100g; 218 yds/199 m, shown in Teal. (425 g /930 yds of yarn used)
Yarn Needle and scissors.
Abbreviations
Ch- chain; Dc- double crochet; Sk- skip; Sl- slip; Sp- space; St- stitch; Tr- treble crochet;
Gauge / Finished Size
6 sts and 2 rows in 2”
Finished sweater measures 40” from sleeve to sleeve laid flat, and 34” from neck to waist stretched flat. The sleeves measure 18” laid flat (folded in half.
Special Stitches
Shell stitch: 5tr in same st.
This will be written out in the pattern, but it makes stitch counts much easier!
Notes
Turning chains do NOT count as a stitch throughout.
To add additional height, work more rounds after the Main Body section, in pairs of two. Note that this will increase the length of the sleeves also.
To add additional width/length to the sleeves, work more repeats in the Sleeves section in pairs of 2 rows.

Venus Shell Cocoon Cardigan Pattern
Main Body
Round 1: Ch 4, sl to form a loop, ch 3, [5tr, ch 2] four times into loop, sl to first st to join. [4 shells]
Round 2: Ch 3, turn, *5tr in same ch-sp, sk 2, dc in center st of shell, sk 2, 5tr in next ch-sp, ch 2,* repeat * to * around, sl to first st to join. [8 shells]
Round 3: Ch 3, turn, *5tr in same ch-sp, sk 2, dc in center st of shell, sk 2, 5tr in dc, sk 2, dc in center st of next shell, sk 2, 5tr in next ch-sp, ch 2, * repeat * to * around, sl to first st to join. [12 shells]
Round 4: Ch 3, turn, *5tr in same ch-sp, [sk 2, dc in center st of shell, sk 2, 5tr in dc,] until 1 shell remains before next ch-sp, sk 2, dc in center st of next shell, sk 2, 5tr in next ch-sp, ch 2* repeat * to * around, sl to first st to join. [16 shells]
Rounds 5 – 18: Repeat Round 4. [Count increases by 4 shells every round]
Note: If you need additional height, simply add more rows here.
Break yarn and continue to the Sleeves Section.
| Round Number | Stitch Count |
| Round 5 | [20 shells] |
| Round 6 | [24 shells] |
| Round 7 | [28 shells] |
| Round 8 | [32 shells] |
| Round 9 | [36 shells] |
| Round 10 | [40 shells] |
| Round 11 | [44 shells] |
| Round 12 | [48 shells] |
| Round 13 | [52 shells] |
| Round 14 | [56 shells] |
| Round 15 | [60 shells] |
| Round 16 | [64 shells] |

Sleeves
Note: to make wider sleeves, we are going to add several rows of straight shells across 2 opposite edges of our square.
For ease of counting, we will begin with row B1 here.
Join yarn to corner ch-sp with a sl st,
Row B1: Ch 3, 3tr in ch-sp, *sk 2, dc in center st of next shell, sk 2, 5tr in next dc of prev round,* repeat * to * across row until 1 shell remains before ch-sp, sk 2, dc in center st of last shell, sk 2, 3tr in ch-sp. [15 shells, 2 3tr half shells]
Row B2: Ch 2, turn, dc in first st, *sk 2, 5tr in next dc of prev round, sk 2, dc in center st of next shell,* repeat * to * across row until 1 dc remains, 5tr in dc, sk 2, dc in last st. [16 shells]
Rows B3 – B6: Repeat Rows B1 and B2.
Break yarn and fasten off. Fold the sleeve in half and stitch together the edges of the previous 6 rows.
Repeat these steps on the opposite side for the other sleeve.

Shawl Collar (optional)
Add an additional 2 rounds of shells for a finished edge that can nicely fold over for a shawl collar if desired.
For ease of counting, we will begin with row C1 here.
Round C1: Join yarn to center of one seam with a sl st, ch 3, 5tr in same space as your first ch, *sk 2, dc in center st of shell, sk 2, 5tr in next st,* repeat * to * around (Note: count the opposite seam as a st to work a shell into.), sl to first st to join, then sl in next 2 tr to reach center st of shell.
Round C2: Ch 2, turn, *dc in center st, sk 2, 5tr in dc, sk 2* repeat * to * around, sl to join.
Finishing:
Fasten off and weave in all ends. Block lightly if desired.


Leave a Reply