This post may contain affiliate links. For more details, see my disclosure page.
How to Crochet the Diamond Lattice Stitch
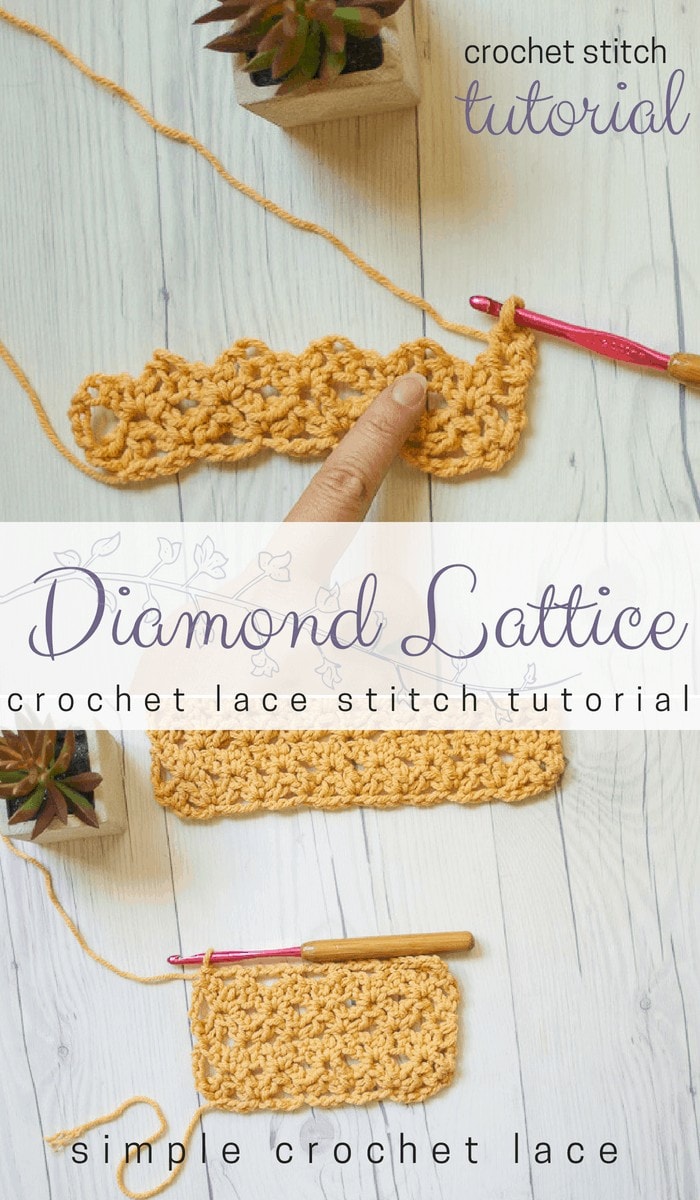
The Crochet Diamond Lattice Stitch uses clever placement of chains and double crochet decreases to create a beautifully symmetrical diamond mesh. The result is a pretty open lace that blocks beautifully!
There are only two rows to remember, but learning the stitch does take a bit of practice! I found that using stitch markers to indicate the final stitch of each row really helped me visualize the correct placement.
Disclosure: This post contains affiliate links. Purchasing through them helps support the free patterns and tutorials made available here. Thanks for your support!
Since the diamond stitch uses very little yarn, it’s a perfect stash busting project. I used some old worsted weight cotton yarn with no label. (It was probably Hobby Lobby I Love This Cotton!) But any cotton or cotton blend yarn will do for a washcloth!
I’ll be featuring this beautiful stitch in a few boho crochet projects soon. I think it would make a fantastic Crochet Summer Scarf, or lightweight beach cover up!
Before you start, Pin this image to your crochet stitch tutorials board on Pinterest!
Let’s get started! Here’s what you’ll need:
Materials for Crocheting the Diamond Lattice Stitch:
- Scrap amount of worsted weight yarn. For this tutorial, I’m using Hobby Lobby I Love This Cotton! but any cotton yarn (like Lion Brand Kitchen Cotton) will do for a spa washcloth or dishcloth (I used less than half for one spa cloth), and a practice swatch would look great in Red Heart Soft.
- For this tutorial, I’m using an I/9 5.5mm Susan Bates Bamboo Handle Silvalume Crochet Hook. I originally bought mine in a Michaels, but I can only find them online now.
Feel free to substitute the yarn and hook of your choice! I have a fairly average tension, so I usually use the hook size recommended by the manufacturer.
Abbreviations
Ch: chain
Dc: double crochet
Dc2tog: double crochet two together
DcTrTog: double crochet treble together
Sc: single crochet
St: stitch
Special Stitches
Dc2Tog- double crochet 2 together: Yarn over, insert hook into first stitch indicated, pull up loop, yarn over pull through 2 loops (first leg complete); yarn over, insert hook into next stitch indicated, pull up loop, yarn over, pull through 2 loops, yarn over and pull through all loops to complete stitch.
DcTrTog- double crochet treble together: Yarn over, insert hook in first stitch indicated, pull up loop, yarn over, pull through 2 loops; yarn over twice, insert hook in next stitch indicated, pull up loop, yarn over and pull through 2 loops twice, yarn over, pull through remaining loops to complete stitch.
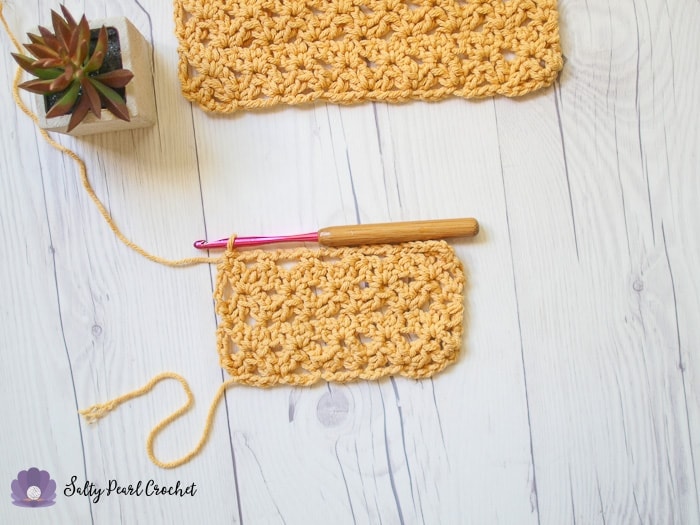
Crochet Diamond Lattice Stitch Instructions:
Begin by chaining a multiple of four stitches plus one, and one more for your turning chain. You’ll end up with an even number of chains.
Row 1: Sc in second ch. *Ch 2, place first leg of a dc2tog in same ch as sc, sk 3 ch, place the second leg into the 4th ch; ch 2, sc in same ch as second leg.* Repeat from * to *across, turn.
Row 2: Ch 4, dc in next dc2tog (counts as dctrtog), ch 2, sc in same st. *Ch 2, place first leg of dc2tog in same st, place second leg in next dc2tog, ch 2, sc in same st.* Repeat from * to * across until last dc2tog, ch 2, dctrtog in same st and sc of previous row, turn.
Row 3: Ch 1, sc in dctrtog, *ch 2, dc2tog in same st and next dc2tog, ch 2, sc in same dc2tog st.* Repeat from * to * across, ending with a sc in the final dctrtog, turn.
Repeat row 2-3 until you’ve reached your desired length, or you feel comfortable with the stitch.
Then work a final row:
Final Row: Ch 1, sc in first st. *Ch 3, sc in next dc2tog.* Repeat from * to * until final dc2tog, ending with ch 3, sc in last st.
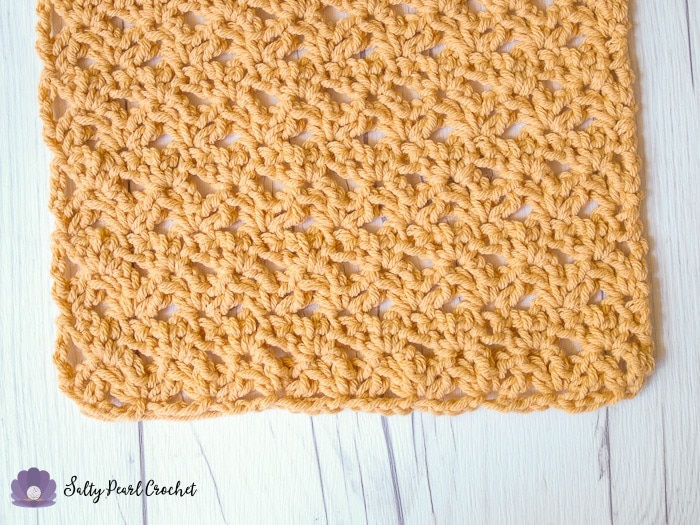
Yay, you did it! Wasn’t that SO easy?
…
…
…
Of course I’m totally kidding! I like to tell myself that I’m an experienced crocheter that can tackle anything, and even I needed a little more guidance than that!
Now that you’ve read through, here are some more detailed photos to help it all click. I’ll include even more helpful hints later, too.
Diamond Lattice Stitch Crochet Photo Tutorial
Now that you’ve read through the basic instructions, let’s break it down into more workable steps.
First, chain multiples of 4, plus two. I started with 22 chains.
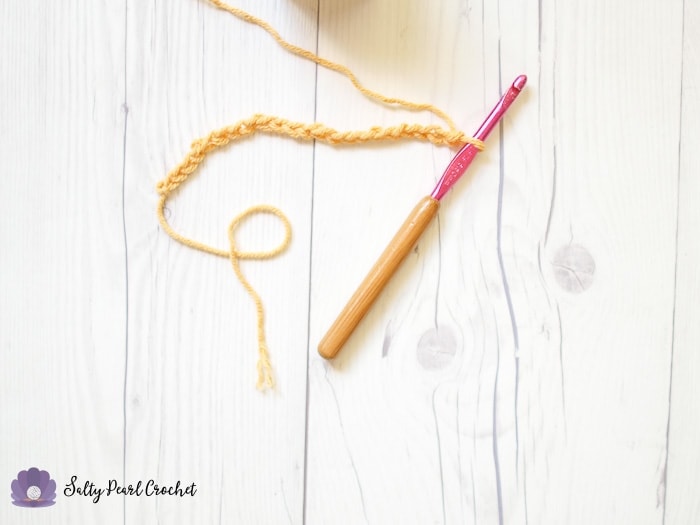
The first stitch is a single crochet into the second chain from the hook. (You’ll probably have guessed that one of the chains counts as a turning chain, and your stitch count is a multiple of 4+1, or 21 in this swatch.)
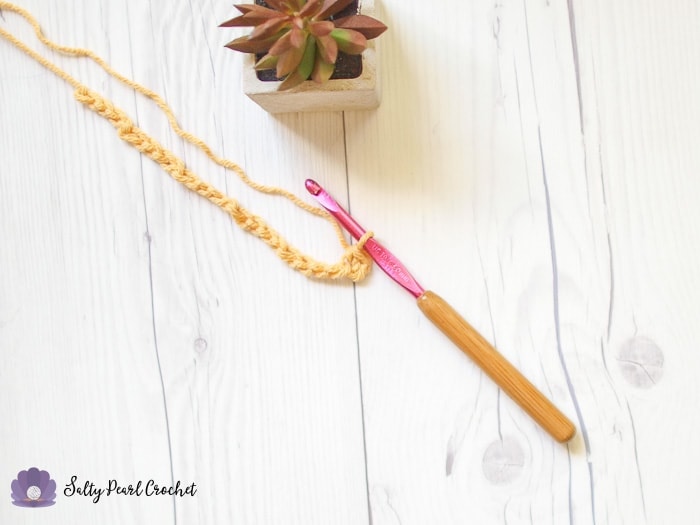
Next, chain two. (What do you mean that didn’t need its own photo?! Well, alright, but it’s MY blog. :P)
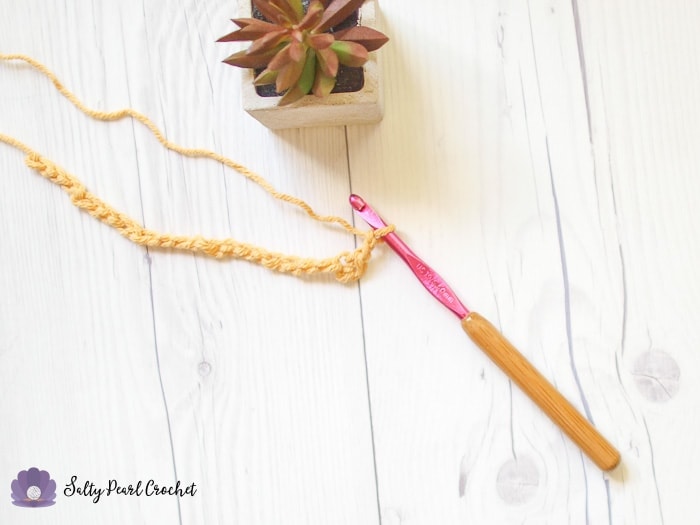
Now you can begin a dc2tog. Place the first leg in the same stitch as the sc you just made. Pausing with two live loops on the hook, count over 3 chains. That’s where the second leg of the dc2tog decrease will go.
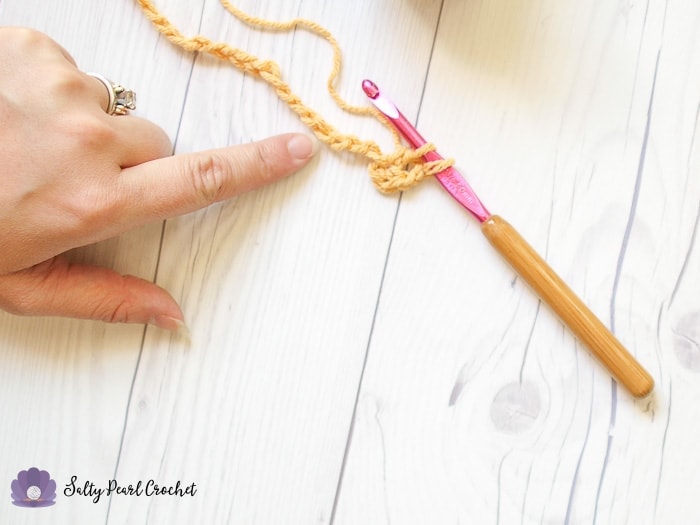
Yarn over again and insert your hook there.
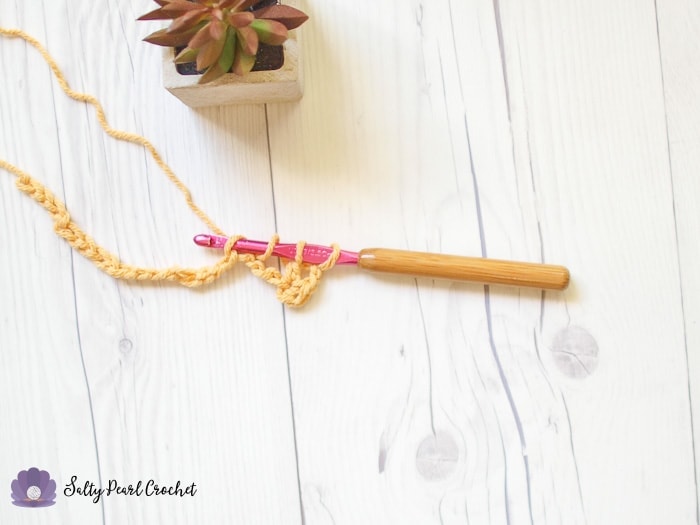
And now you can simply complete the second leg of the dc2tog.
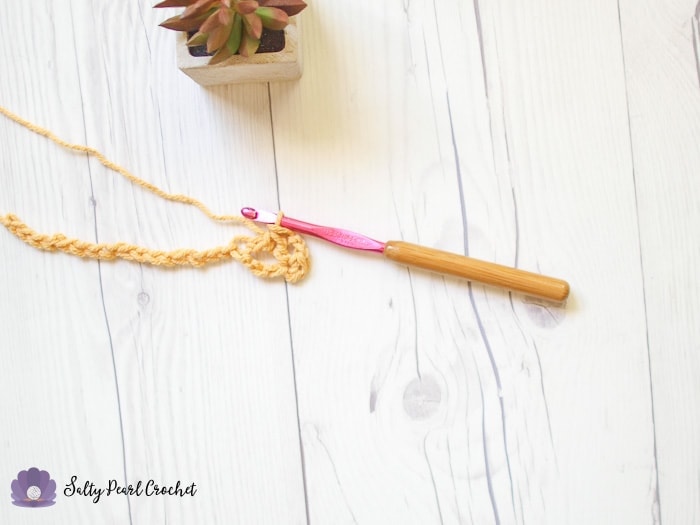
Then you’ll chain two… (yep, I photographed it again. It’s just how I roll.)
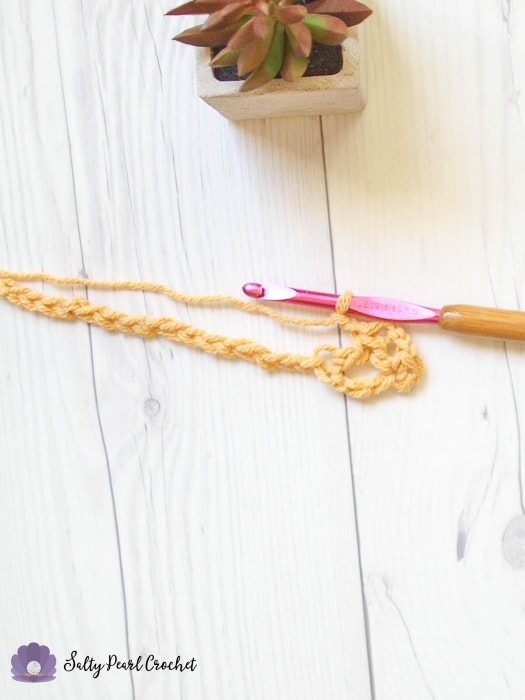
…and place a sc in the same stitch.
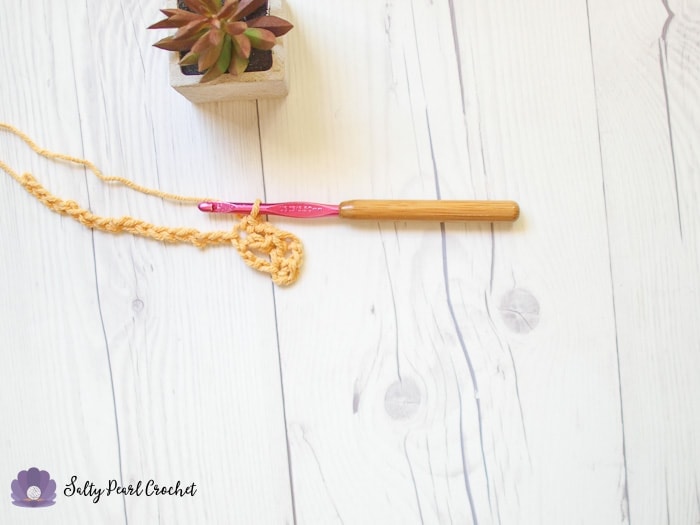
Chain two once more, and begin the next repeat. Keep in mind, you’re placing one leg of a dc2tog into the SAME stitch, then skipping 3 chains, and working into the fourth chain.
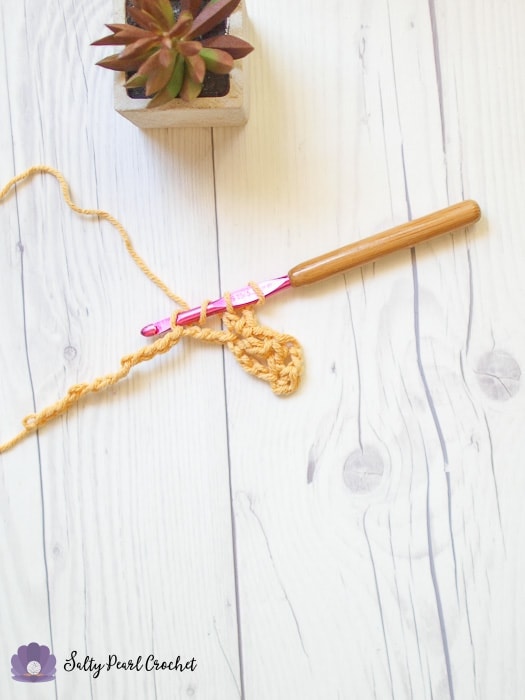
The stitch pattern starts to come together quickly after that!
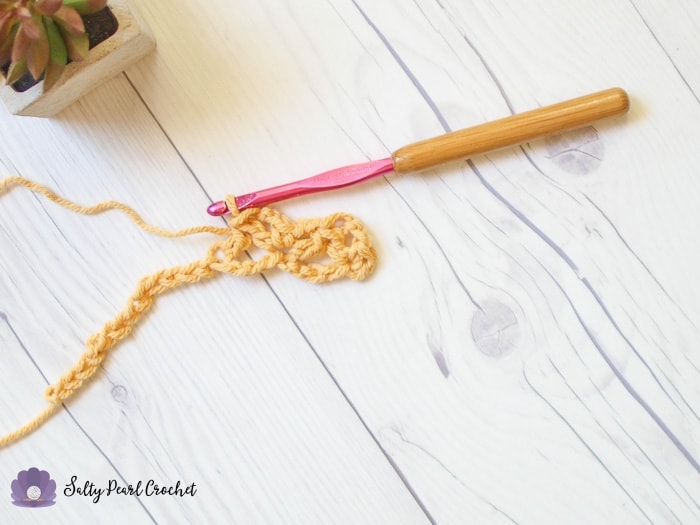
See? Just remember to end on your single crochet. Now you’re ready to start Row 2!
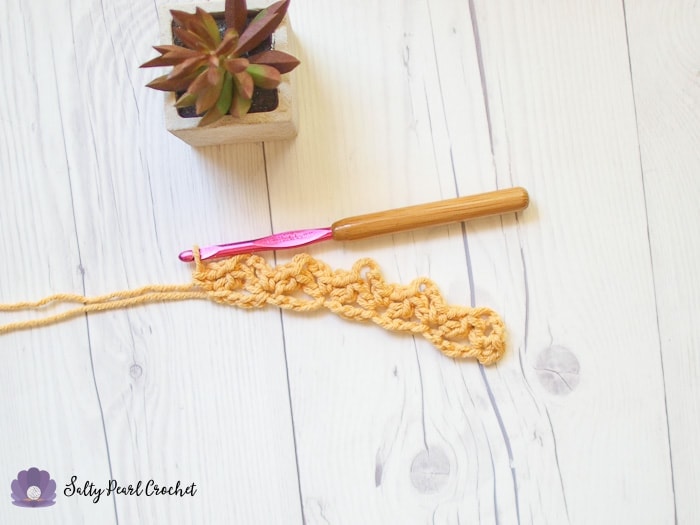
Row 2: Chain 4, turn, skip the first sc and ch2 space, and place a dc into the first dc2tog stitch. This counts as a DcTrTog stitch.
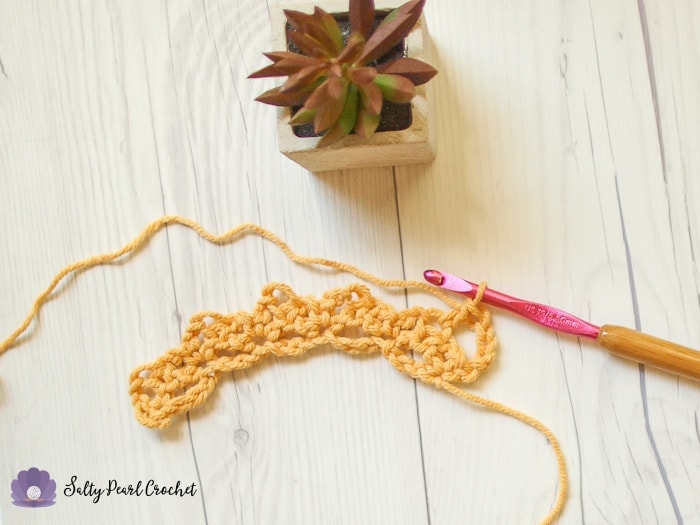
Then, chain two, and place a single crochet into the same stitch, and chain two again.
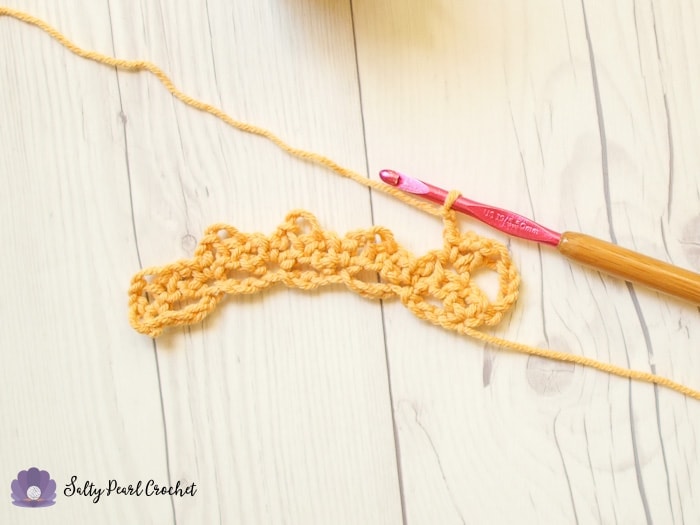
Now, you’re ready to make your first dc2tog stitch of the row. From here on out, work each leg of the stitch into the dc2tog stitches of the previous row.
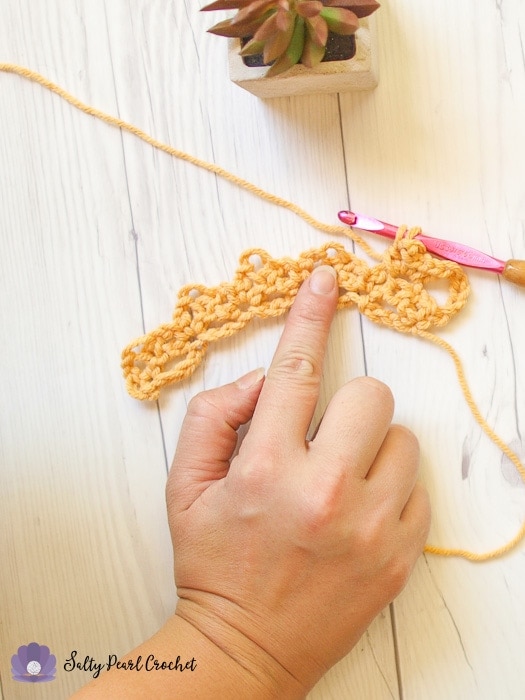
When you’ve reached the last dc2tog stitch of the row, it’s time to place the final stitch- your DcTrTog.
Chain two, and place the first leg as before- yarn over once, insert your hook, draw up a loop, and yarn over and pull through two loops.
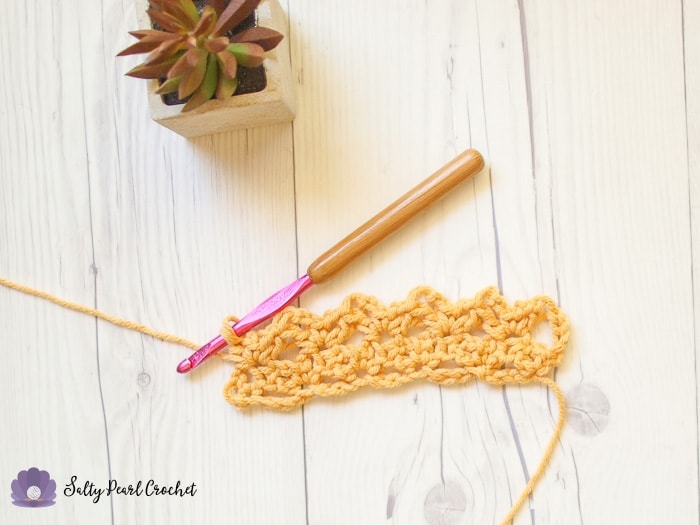
The second leg of the stitch needs to be taller- like a treble crochet, since we’re reaching all the way down to the single crochet below. Yarn over twice, then insert your hook into the single crochet and draw up a loop.
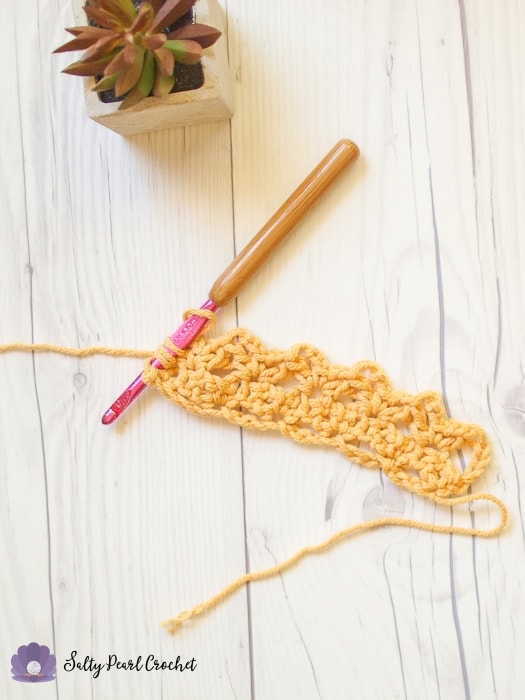
To complete the stitch, yarn over and pull through two loops three times, then yarn over and pull through the final three loops.
Then, you’ll start row three. Chain one, turn, and place a single crochet into the dctrtog. From here, the stitching is exactly the same as row 1, except that you’re working into the dc2tog stitches indicated, instead of into every fourth chain.
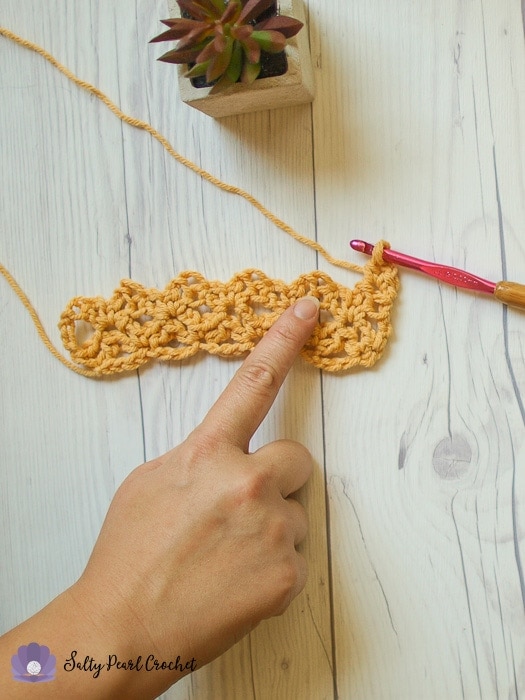
Complete your swatch by repeating rows 2-3, ending after a row 2 repeat.
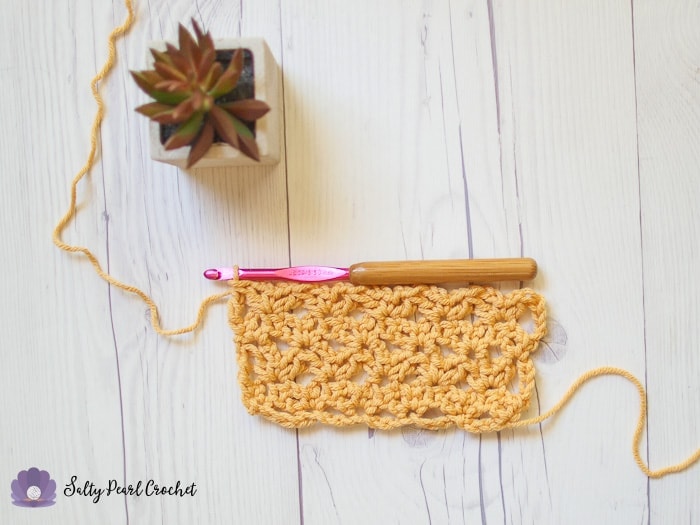
To square off, chain one, turn, and place a sc into the first stitch. Then, chain 3.
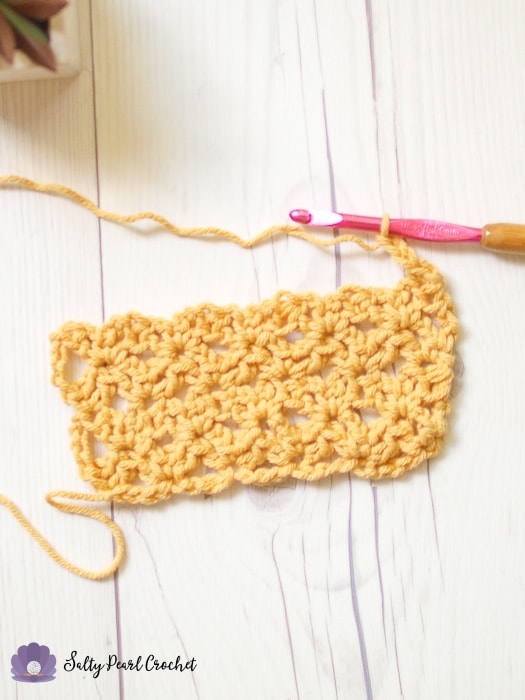
Place a single crochet into the next “peak” made by a dc2tog stitch.
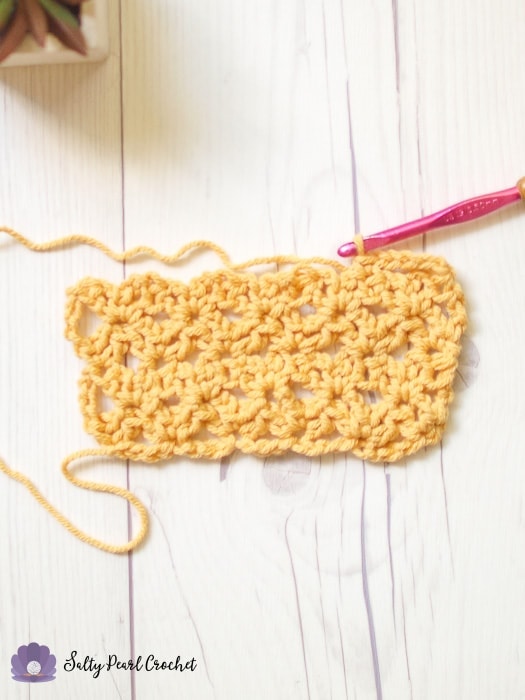
Continue in this fashion across the row, placing a single crochet in the final stitch.
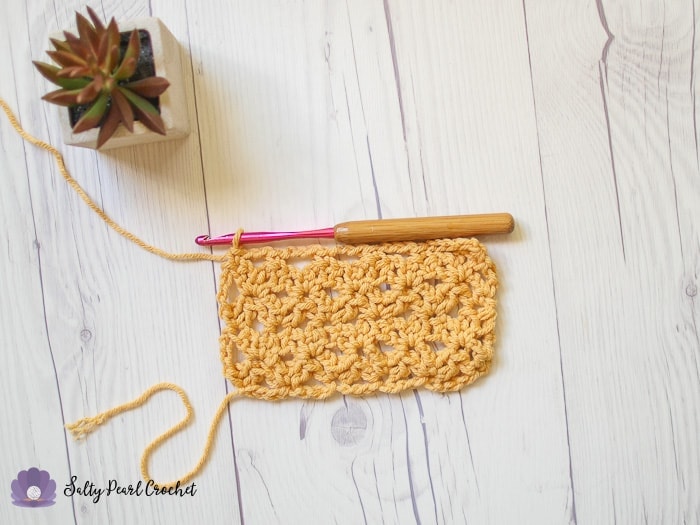
Materials to Crochet the Diamond Lattice Dishcloth
Scrap amount of worsted weight cotton yarn. Pictured is Hobby Lobby I Love This Cotton, but any cotton (like Lion Brand Kitchen Cotton) will work!
I/9 5.5mm Susan Bates Bamboo Handle Silvalume Crochet Hook.
Abbreviations
Ch- chain
Sc- single crochet
Dc – double crochet
Sk – skip
Diamond Lattice Stitch Crochet Washcloth Pattern
Row 1: Sc in second ch. *Ch 2, place first leg of a dc2tog in same ch as sc, sk 3 ch, place the second leg into the 4th ch; ch 2, sc in same ch as second leg.* Repeat from * to *across, turn.
Row 2: Ch 4, dc in next dc2tog (counts as dctrtog), ch 2, sc in same st. *Ch 2, place first leg of dc2tog in same st, place second leg in next dc2tog, ch 2, sc in same st.* Repeat from * to * across until last dc2tog, ch 2, dctrtog in same st and sc of previous row, turn.
Row 3: Ch 1, sc in dctrtog, *ch 2, dc2tog in same st and next dc2tog, ch 2, sc in same dc2tog st.* Repeat from * to * across, ending with a sc in the final dctrtog, turn.
Repeat row 2-3 for 11 more rows, or until your piece is approximately square, ending after a row 2 repeat.
Final Row: Ch 1, sc in first st. *Ch 3, sc in next dc2tog.* Repeat from * to * until final dc2tog, ending with ch 3, sc in last st.
Break yarn and weave in ends.
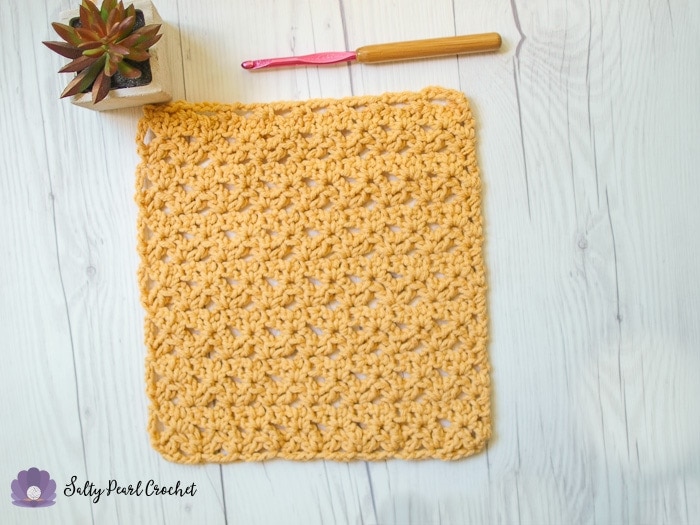
I hope you’ve enjoyed learning a new and unique crochet stitch pattern! I would love to see your WIPs and Finished Projects using this easy crochet texture stitch! Share them with me on the Salty Pearl Crochet Facebook Page or Crochet Circle or tag me on Instagram @SaltyPearlCrochet or use the hashtag #saltypearlcrochet.


Mary says
Where is the free pattern? I cannot print from here.
Katie says
Hi Mary,
This pattern is at the very bottom of this page, if you’ve missed it you probably have not quite scrolled far enough. Hope that helps. It’s not currently set up as a PDF; you’re welcome to make your own printable copy but it would be pretty clunky if you just press the print key without formatting it in your favorite word processor.
Katie
Gayle says
I love your detailed block. Especially for beginners. Very well explained and the photos are great.
Katie says
Thanks so much! I’m glad you enjoyed it and found it easy to make. <3
Katie