This post may contain affiliate links. For more details, see my disclosure page.
I have a confession to make. Lately, I’ve taken some huge strides toward a minimalist household. However… I hoard plastic grocery bags.
We use them for trash, emergency doggy bags… they serve so many purposes. I used to keep them inside another bag, but that quickly multiplied. Why? Nobody needs 100 grocery sacks!

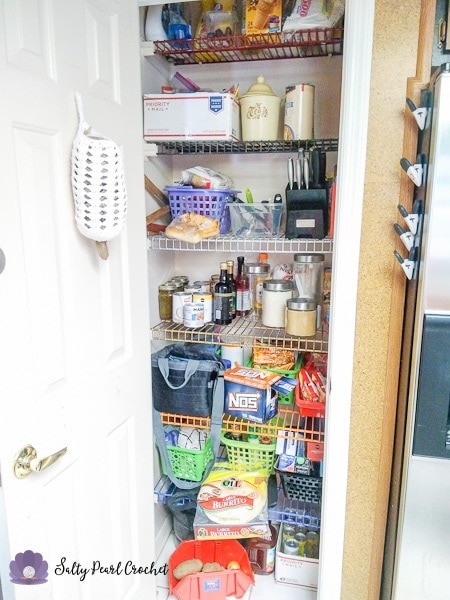
My new functional pantry- complete with a pretty plastic bag holder.
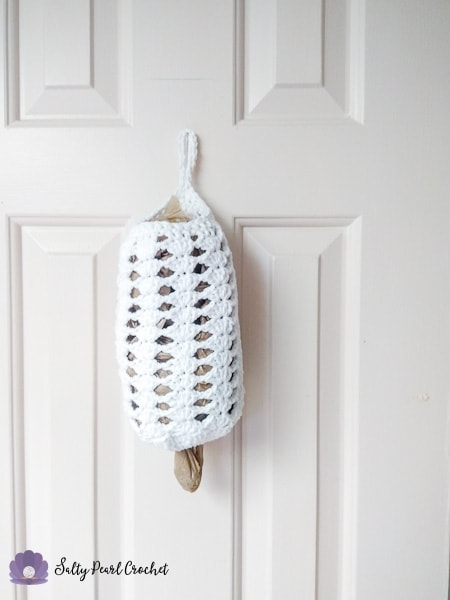
Since I know reducing them will keep my pantry looking tidy, I made myself a pretty little plastic bag holder- emphasis on little! Only 12 plastic bags fit inside the sleeve, which works just great to keep me from acquiring too many.
The super simple, yet pretty lace plastic bag holder cheers up my pantry and brings a smile to my face when I open the door. Better yet- this makes a great stash-busting project! I chose to use up some cotton yarn from my stash, but feel free to use whatever fiber you have on hand.

Materials
Disclosure: this post contains affiliate links. For more information, see my Disclosure page.
To make your grocery bag sleeve you’ll need:
- 1 Ball Lily Sugar ‘n’ Cream 100% cotton yarn or approximately 100 yards of any (4) Worsted weight yarn from your stash.
- G6/4.0mm ergonomic crochet hook
- Yarn Needles and scissors for finishing.
Abbreviations
- Ch – chain
- Dc – double crochet
- Sk – skip
- Sl – slip stitch
Special Stitches
Shell- place 5dc stitches into the stitch or space indicated.
Note
Do not include the turning chains in your stitch counts.
Gauge and Finished Size
My gauge was 12 dc and 4 rows in 2″. The sleeve measures 14″ around, and 9″ tall when stuffed. Make sure the hole at the bottom measures at least an inch to allow the bags room to slide through. Otherwise, gauge affects this project very little.

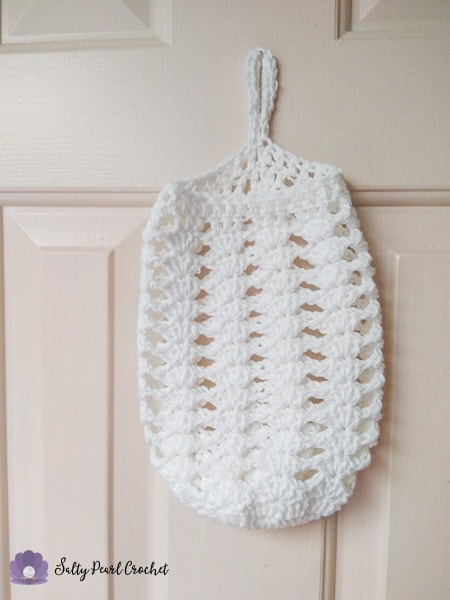
Here’s the empty bag to give you an idea of how it’ll look as you’re crocheting.
Instructions
Ch 12. Sl to join. (your loop should be at least 1” in diameter)
Row 1: Ch2, dc 24 around the chain, sl to first Dc to join. [24]
Row 2: Ch2, 2dc in dc in 1st st and each st around, sl to first dc to join. [48]
Row 3: Ch2, *dc in next 3 sts, 2dc in next st. * Sl to join. [60]
Row 4: Ch1, *sc, sk 2 sts, shell, sk 2.* Sl to join. [10 shells, 10 sc]
Rows 5-23: Sl in next 3 sts. Ch 2, 3dc in top of shell, ch1. * sk 5, shell, ch 1* Repeat around, ending with 2dc to complete the first shell. Sl to join. [10 shells]
Note: I designed my sleeve to hold exactly 1 dozen bags, because I’m steering my home towards minimalism. If you want yours to be bigger, simply add more repeats of row 5 to add extra height. You may need an extra skein of yarn to make an oversized sleeve.
Row 24: Ch 2, dc in next 2 sts, sk 3. *Dc 3, sk 3.* Dc in final st, sl to join. [30]
Row 25: Ch 2, dc around. [30]
Hanging Loop: Ch 12, sl to next st. Turn, sc 18 around the loop.
Finishing: Break yarn, weave in ends.
That’s it! Don’t you love quick projects that help keep your home looking great? Knowing how useful this little bag holder would be allowed me to really relax into my crochet time.
The convenient printable PDF is available for purchase in my Ravelry Store and Etsy Shop.
If you make this, I would love for you to tag me on Instagram (@SaltyPearlCrochet) or upload photos of your finished projects to the Ravelry pattern page so I can see! I have checked and double-checked this pattern, but I’m only human- please let me know if you have any questions or if I have missed anything at all so I can correct it for you all.


Teresa Joudrey says
Shells are not standard, so please expand on your instruction.
Katie says
Hi Teresa!
The shells I used here are 5dc in the same stitch, hope that helps! I will update the pattern as well. Thanks for the heads up! I appreciate it.
Katie