This post may contain affiliate links. For more details, see my disclosure page.
One of the (many) requests I’ve gotten from my daughter is for me to make her a purse to carry. Since she loves the leather fringe tassels on my bag best of all, I decided to make her a crochet fringe clutch purse!
Take a moment to add this pattern to your Ravelry Favorites, or Pin it on Pinterest for later!
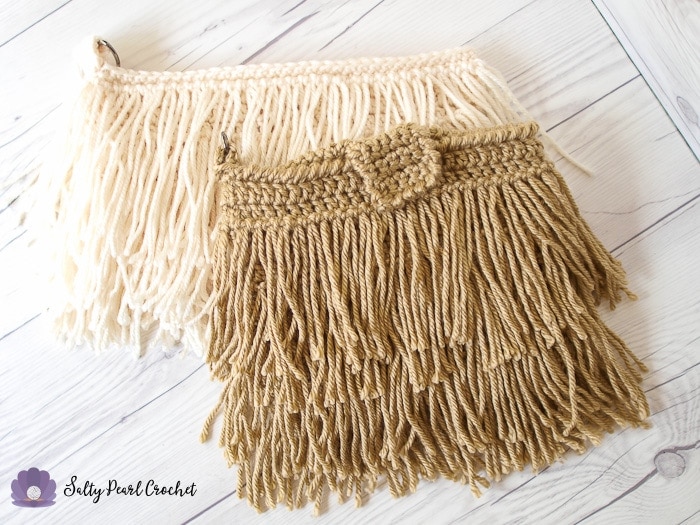
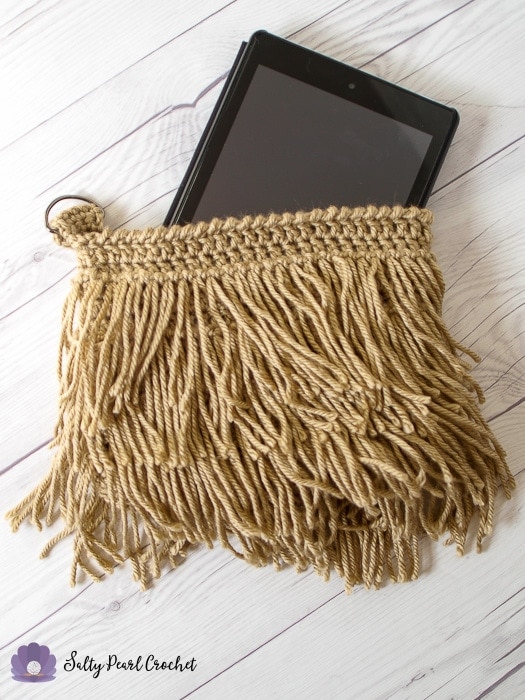
I’m just in love with this little bag. In fact, I loved it so much that I made a second one to hold my tablet in! Fringe accessories are so popular lately, and I just can’t get enough of them. This crochet clutch purse free pattern has four rows of fringe tassels for an all-over fringed look.
Disclosure: I use affiliate links in this blog post. You’ll get the same price, and I may earn a small commission. Thanks for supporting my blog so I can bring you more free patterns!
I thought that this pattern would be a yarn hog, but I completed each bag with only 2/3 of a skein of Red Heart Soft Yarn that I had left over from different projects. What a perfect crochet stash buster!
This fringe clutch purse would make such a stylish pencil holder, and I think if you added a second D ring and a strap, it would look adorable as a shoulder bag, too. I love how versatile this is!
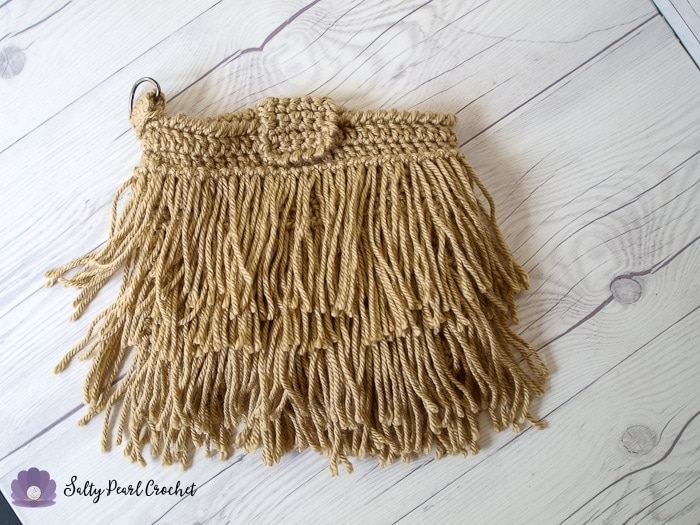
It does look like a lot of fringe, but the project only took me a few hours, including crocheting, cutting the fringe, and attaching it all one strand at a time. I’ll be including a handy tutorial for how to attach fringe to crochet patterns and how to easily cut even fringe for your yarn in this post.
My way of attaching fringe to crochet is easy enough for a beginner to pull off. Plus, it creates a really nice, consistent fringe. I didn’t trim the tan colored bag’s fringe at all! They came out this pretty even without any help.
Let’s get started!
Materials to Crochet this Fringed Clutch Purse
Less than 1 ball Red Heart Soft Yarn (Approximately 100 yds (4) Worsted Weight Yarn)
Scissors
Yarn Needle
DVD case for making even fringes – I highly recommend watching Pocahontas while making this purse. Humor me. It really does make it more fun!
Abbreviations
Ch- chain
Dc – double crochet
Blo – back loop only
Special Stitches
Crab stitch: working from left to right, insert your yarn into the stitch, yarn over and pull up a loop, yarn over and complete the stitch. Crab stitch made. (Also known as reverse single crochet.)
Gauge / Finished Size
7 stitches and 4.5 rows double crochet per 2”
Finished Clutch measures 8” wide by 6” tall, excluding the fringe, 8” square with fringe.
Fringed Clutch Purse Crochet Pattern
Ch 24.
Row 1: 3dc in 3rd ch, dc across. Place 5dc in the last chain, and continue working around the opposite side of the chain. Dc across, and place 2 more Dc in the first chain. Sl to join. [52]
Row 2: Ch 2, Dc in first st. 2Dc in next st, then dc 22. 2Dc in next stitch, Dc 1, and 2dc in next stitch. Dc 22, 2dc in last st. Sl to join. [56]
Row 3: Ch 2, Dc in first st and around. Sl to join. [56]
Row 4: Working in BLO for this row, ch 2, and dc around. Sl to join. [56]
Row 5-6: Repeat Row 3.
Row 7: Repeat Row 4.
Row 8-9: Repeat Row 3.
Row 10: Repeat Row 4.
Row 11-12: Repeat Row 3.
Row 13: Repeat Row 4.
Row 14: Repeat Row 3.
At this point, your purse will look a little something like this:
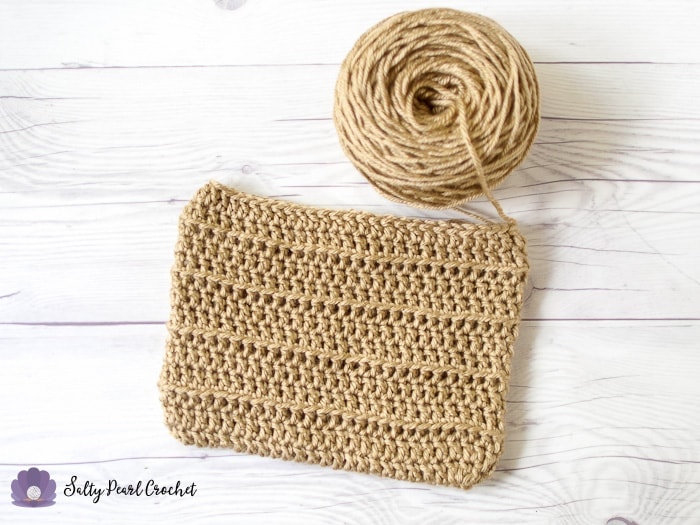
Edging for zippered purse.
To add a button tab, see additional instructions below.
Row 15: ch 1, crab stitch around until 4 stitches remain. Turn your work, sc 4 through BLO.
Row 16-21: ch1, turn, sc 4. [4]
Row 22: break yarn, leaving a 24” tail. Slip your D Ring over the tab, then fold over and slip through the leftover front loop and the previous row together to join the loop.
Instructions to add a button tab
On my tan colored purse, I decided to use a magnetic purse snap instead of a zipper closure. To do that, I crocheted an extra button tab that you can see in this photo. You’ll need to mark this out before you finish your edging!
First, use some stitch markers to mark the center four stitches of your purse.
When you begin edging, crochet the crab stitch until the marker, then turn your work.
Rows 1-7: Sc 4. Ch 1, turn. [4] slip stitch down the edge of the button tab, turn and continue your crab stitch edging around the button tab. Then, continue as indicated in the pattern above.
How to Add Fringe to Crochet Projects Easily
Now that the base of your bag is done, you’re ready to move on to attaching the fringe! If this is the first time you’ve made a fringed crochet project, don’t worry! It really is very easy.
The first thing you’ll need to get even fringe is a guide for cutting your yarn. Sure, I could just individually measure the pieces. Let’s be honest though- there are 54 stitches in each of the fringe rows. Multiply that by four, and that would be 216 measurements! Odds are, even if I did have time for that, I’d have at least a few strands of yarn come out slightly long or slightly too short.
Instead, you can use my secret weapon. (Optional but recommended, turn the DVD on to help pass the time!)
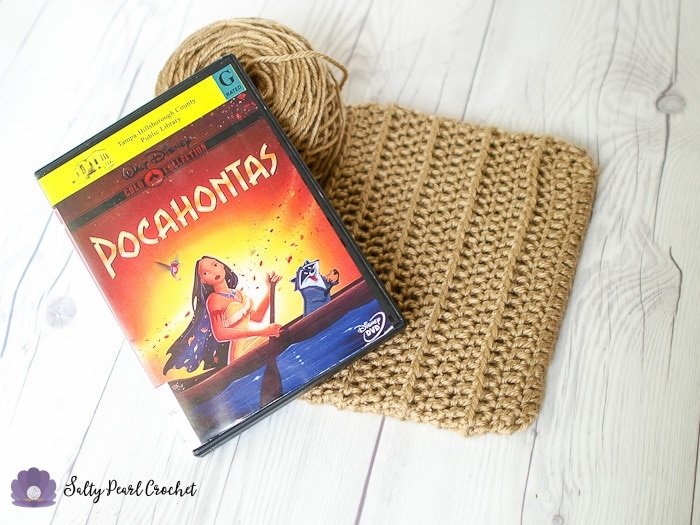
Pocahontas is one of my FAVORITE DVDs ever! Let’s be honest, she definitely helped inspire this cute fringed purse- I could picture her carrying one!
The long edge of the dvd case was just the right size for a fringe. Simply wrap your yarn evenly around the case. I wrapped mine 54 times, so that I only had two sets of cuts. (Making them in batches also ensures that each row is even with itself!)
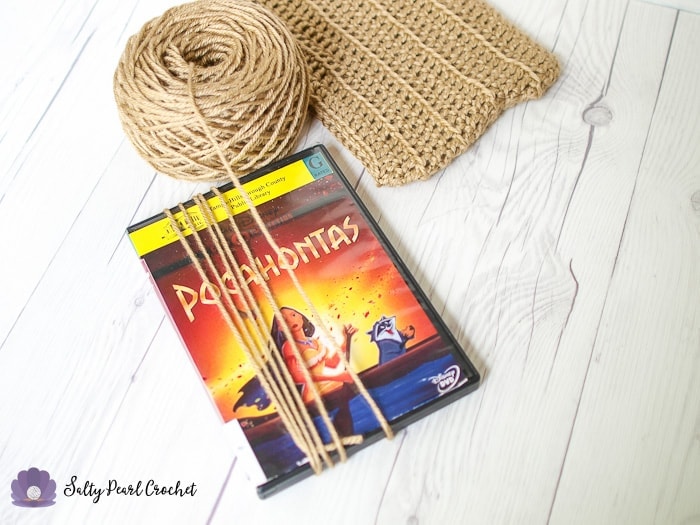
Try to maintain an even tension, so the yarn doesn’t get stretched shorter in places. Also, make sure you spread out the strands so they don’t grow longer as you wind outwards. (Otherwise you’ll need to give your finished bag a haircut!)
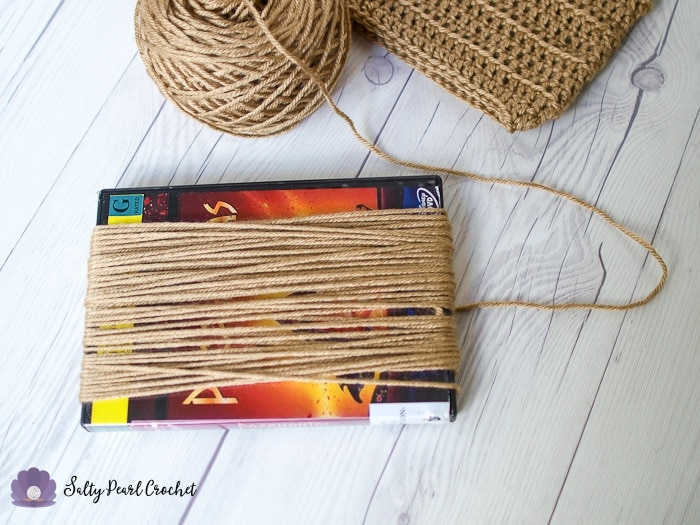
You could cut your yarn right on the DVD case if you have sharp enough scissors. I chose to slide my yarn strands right off to cut them.
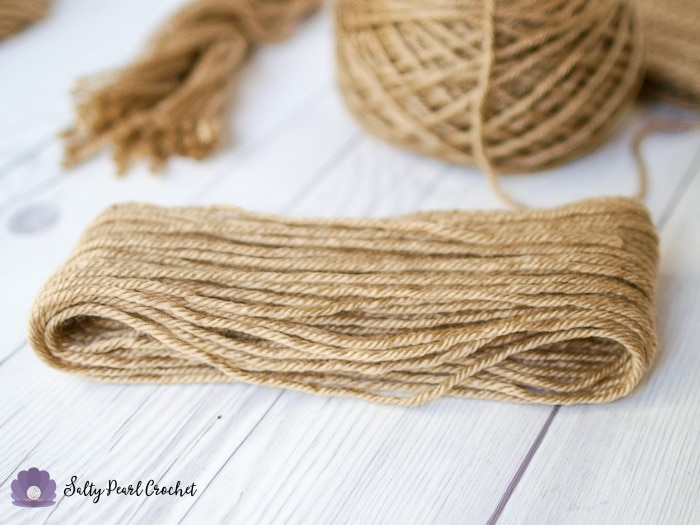
Then, use your scissors to cut through the top and bottom of the yarn. Voila! Nice, even fringe strands!
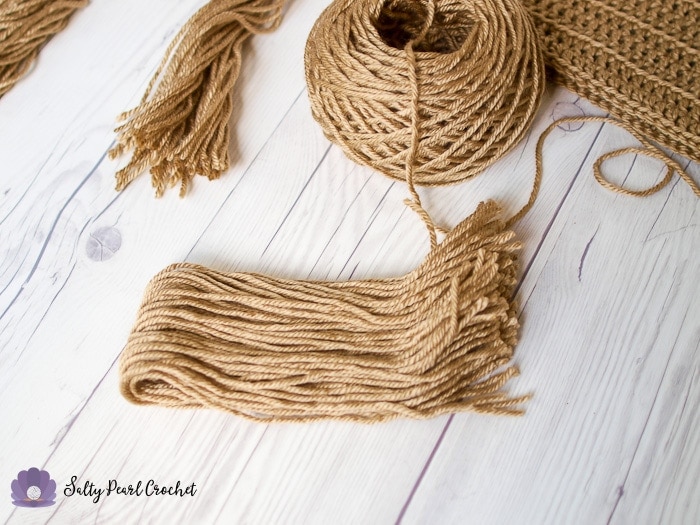
I pulled one from each bundle to tie them together so they didn’t get messed up. Note, they still won’t be toddler proof. (Is anything ever really toddler-proof?) Mine walked away with a bundle to “help” make her purse. That’s why there are only 3 bundles pictured.
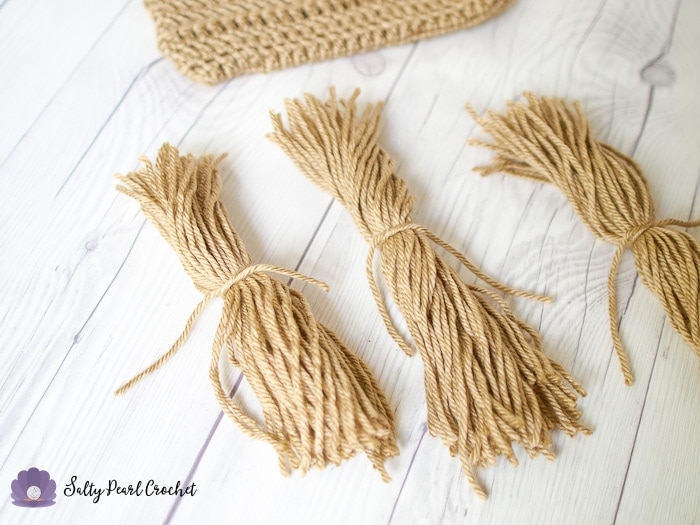
How to easily attach fringe
Now that you have four bundles of 54 evenly cut strands of yarn, you’re ready to attach them to your purse! If you look closely at your purse, you’ll see that there are nice little loops left open to hold our fringe.
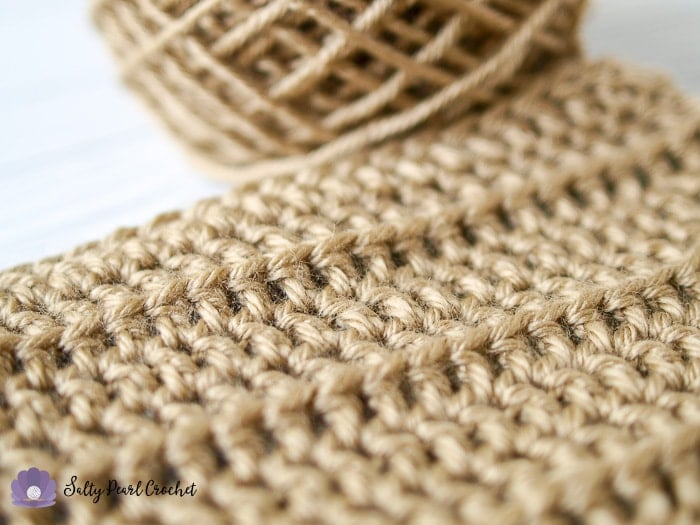
I find that the best way to attach fringe is with a very simple slip knot used in macrame. This way is called the Lark’s Head Knot, and it’s even easier when you use a great crochet hook to help you get it exactly even. (I was really pleased with my Clover Soft Touch Hook for this project, because it glides through the yarn just like butter! So. Smooth!)
Take one strand of yarn, and fold it in half, holding both ends evenly between your fingers. Take the extra half second to line them up nicely so they’re even!
Next, slide your hook down into the extra loop left on row 4.
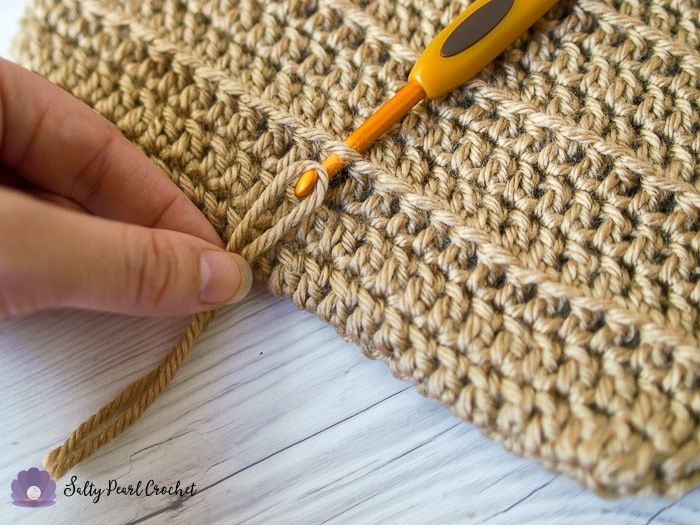
Then, pull the center of the fringe through the extra loop with your hook. Tug it up just a bit so you have a bit of space.
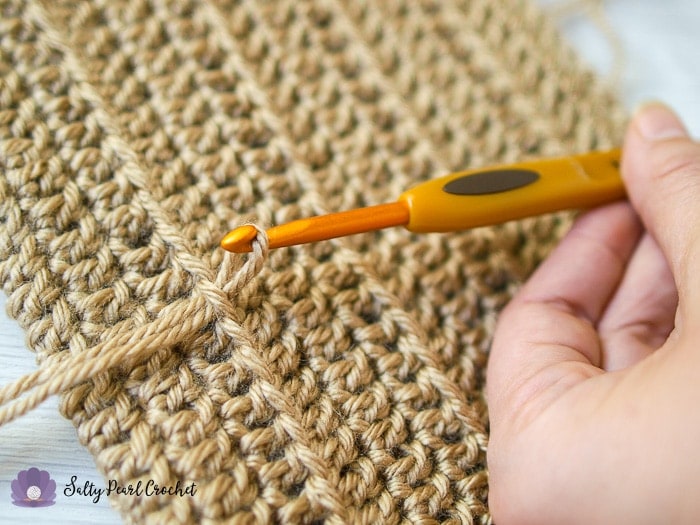
Yarn over your hook with both ends of the fringe…
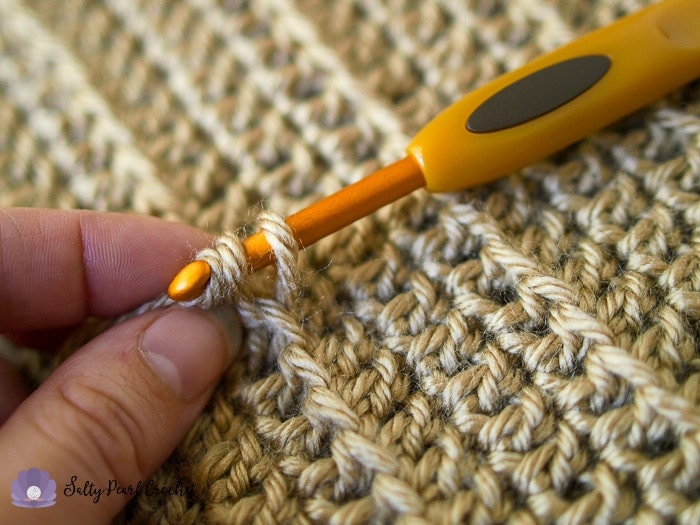
and pull through the center of the fringe.
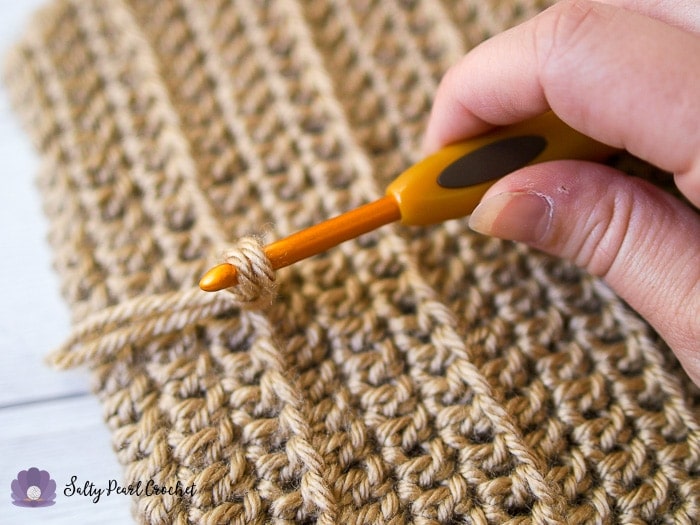
Pull the ends through, and tug down gently to secure the larks head knot.
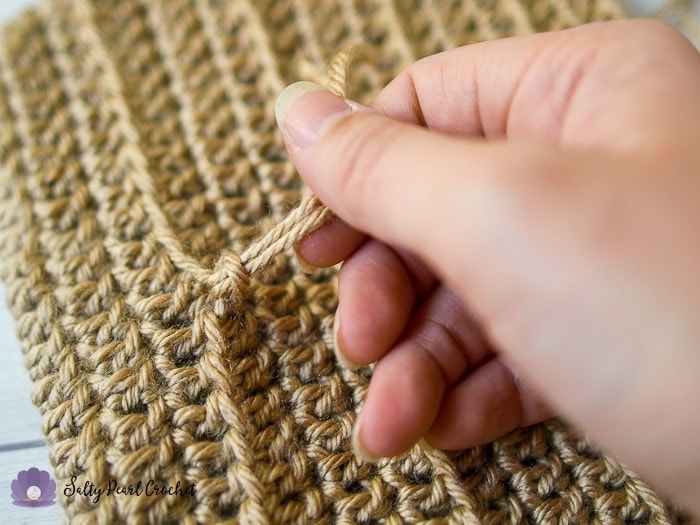
Repeat for each loop around!
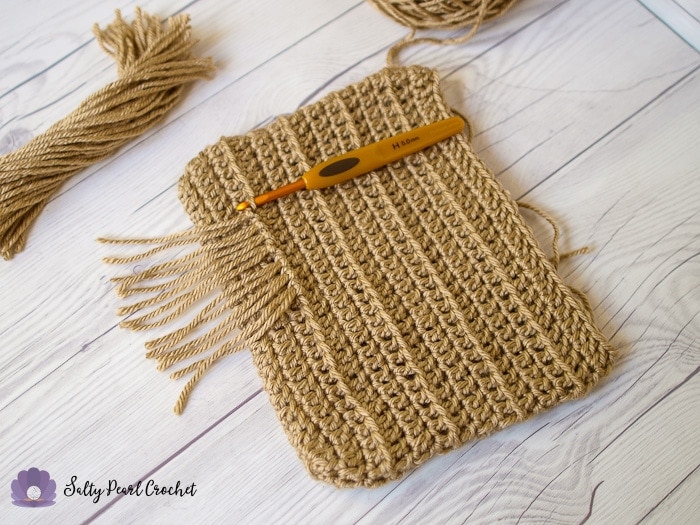
It really goes faster than you’d think.
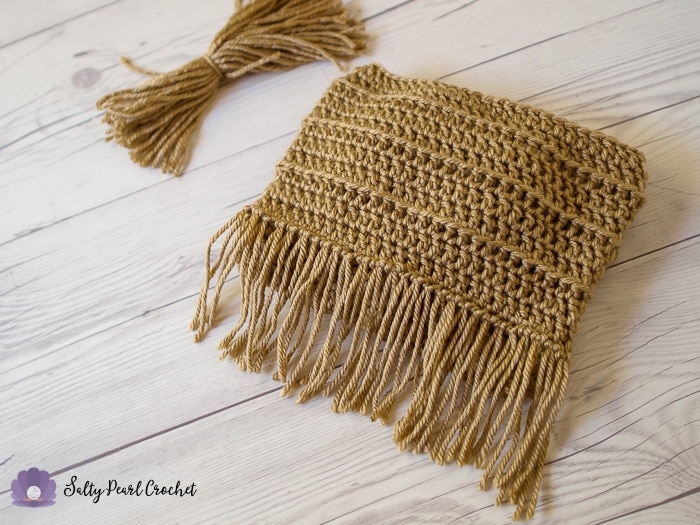
Especially with the help of internet time-lapse magic!
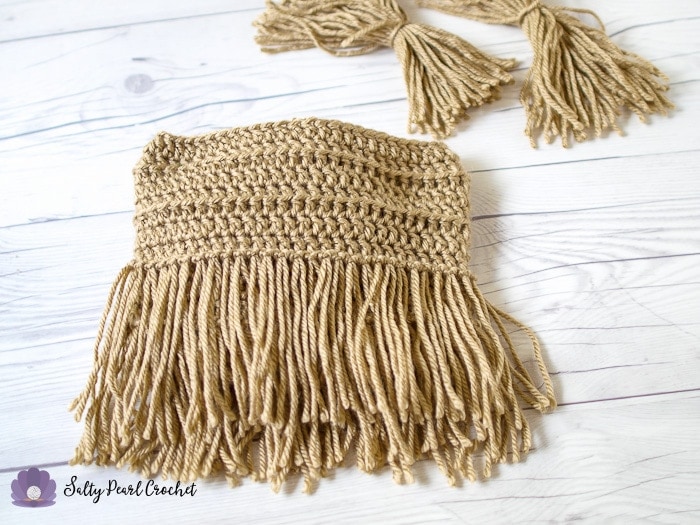


And that’s it! You’re ready to add a lining and zipper to your bag. I haven’t quite finished mine yet, but I’m hoping to get a little tutorial posted soon, when I finish it!
Thank you so much for supporting my blog! I have checked and double-checked this pattern, but I’m only human- please let me know if you have any questions or if I have missed anything at all so I can correct it for you all.
You are more than welcome to sell any finished items made from this pattern. Please use your own photos and credit Katie Clary as the designer. Links back to my blog post are greatly appreciated! Please feel free to share this pattern by directing others to this blog post or the Ravelry listing, NOT by distributing the pattern or photos as your own.
Want to connect? I would love to crochet along with you! Join my mailing list and receive the first updates and even some special promos and discounts in my newsletter, or you can follow me on:
Facebook: https://www.facebook.com/SaltyPearlCrochet/
Pinterest: https://www.pinterest.com/theSaltyPearl/
Instagram: https://www.instagram.com/SaltyPearlCrochet


Jen says
What is the starting chain multiples of? I’d like to make it a little bit bigger but I’m still new and I don’t know how to figure out chain multiples myself.
Katie says
Hi Jen!
I’m so glad you’ve decided to give this purse a go! It’s definitely a great one to start with as a beginner, and commenting is the best way to get my attention if you need any more guidance. 🙂 Thanks for trying it!
Since this purse is just solid stitching, it’d be considered a multiple of 1. That means, go ahead and make your starting chain any length you feel is appropriate! There is one row of increases, so that means your purse will end up being a little less than an inch bigger than your starting chain (minus the 2 turning chains). Hope that helps!
Katie