
This post may contain affiliate links. For more details, see my disclosure page.
I’ll be honest, I’m a little bit addicted to the Magic Potholder technique. And I’m also a little addicted to super quick crochet projects!
So this project was finished before I could even think of resisting it. I mean really, how cute and practical is this?
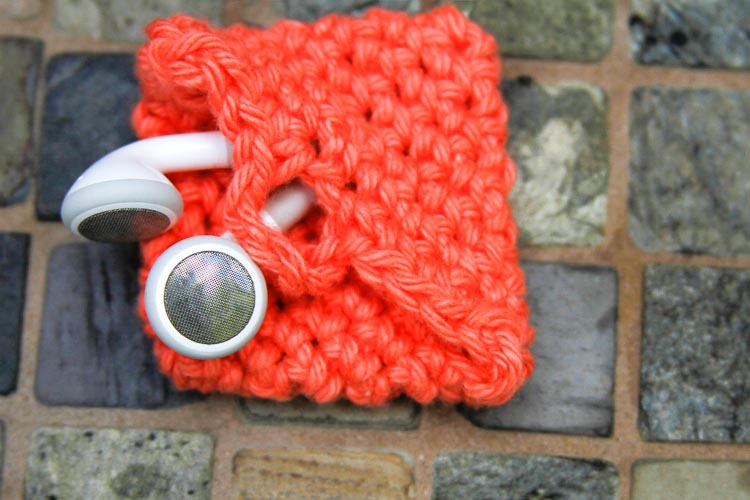
I’m always getting my earbuds tangled in my purse, and it’s super annoying. I mean, who wants to spend two minutes untangling earphones at the gym? Like I need another reason to postpone my workouts, right?
This fun project took me well under an hour- probably less than 20 minutes if I hadn’t also been watching a particularly good movie. It’s perfect for scrap busting, and now I’ll never lose or tangle my earbuds in my purse again!
When you’re done applauding my evil genius, here’s what you’ll need to make your own crochet earbud holder:
Materials
Scissors
Abbreviations
Ch- chain; Dc- double crochet; Sc- single crochet; Sl- slip stitch; St- stitch;
Gauge / Finished Size
7 st and 6 rounds in 2” square in lemon peel stitch. As written, potholder measures 7” square, and 10” from corner to corner.
Notes
This potholder begins with a chain that is approximately the length of the diagonal you want your potholder to be. The piece is worked in continuous rounds, starting with both sides of the chain, then closed into a double layer potholder with a slip stitch or sewn seam.
Magic Earbud Holder Pattern
Chain 11 (or odd number to reach desired size).
Round 1: sc in 2nd ch from hook and each ch across, place a second sc in the back bump of last ch, and sc in the back bump of each ch across. [20]
Round 2: Without joining or making a turning ch, sc in each stitch around.
Rounds 3-7: Repeat Round 2.
Round 8: Sc in next st, ch 5, s c in next st, sc in next 5 sts, fasten off.
Finishing: Fasten off and weave in all ends, block as desired. Add a button to opposite side of pouch from button loop, and attach a keyring to one corner if desired.
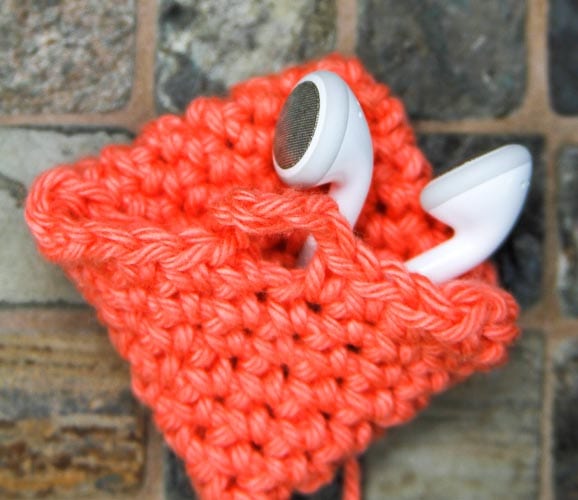
Note: do as I say, not as I do. (Totally missed the end hanging out in this photo! Whoops.
Thank you so much for supporting Salty Pearl Crochet! Please let me know if you have any questions or would like additional information about the pattern. I love seeing your creations on Ravelry or Instagram (@SaltyPearlCrochet), and I am always happy to offer pattern support for all of my crochet patterns as written.
You are more than welcome to sell any finished items made from this pattern. Please use your own photos and credit Katie Clary as the designer. Links back to my blog post are greatly appreciated! Please feel free to share this pattern by directing others to the blog post or the Ravelry listing, NOT by distributing the pattern or photos as your own.
Want to connect? Join the Salty Pearl Crochet Circle so we can crochet together on Facebook. I would love to crochet along with you! Join my mailing list and receive the first updates and even some special promos and discounts in my newsletter, or you can follow me on:
Facebook: https://www.facebook.com/SaltyPearlCrochet/
Pinterest: https://www.pinterest.com/theSaltyPearl/
Instagram: https://www.instagram.com/SaltyPearlCrochet