
This post may contain affiliate links. For more details, see my disclosure page.

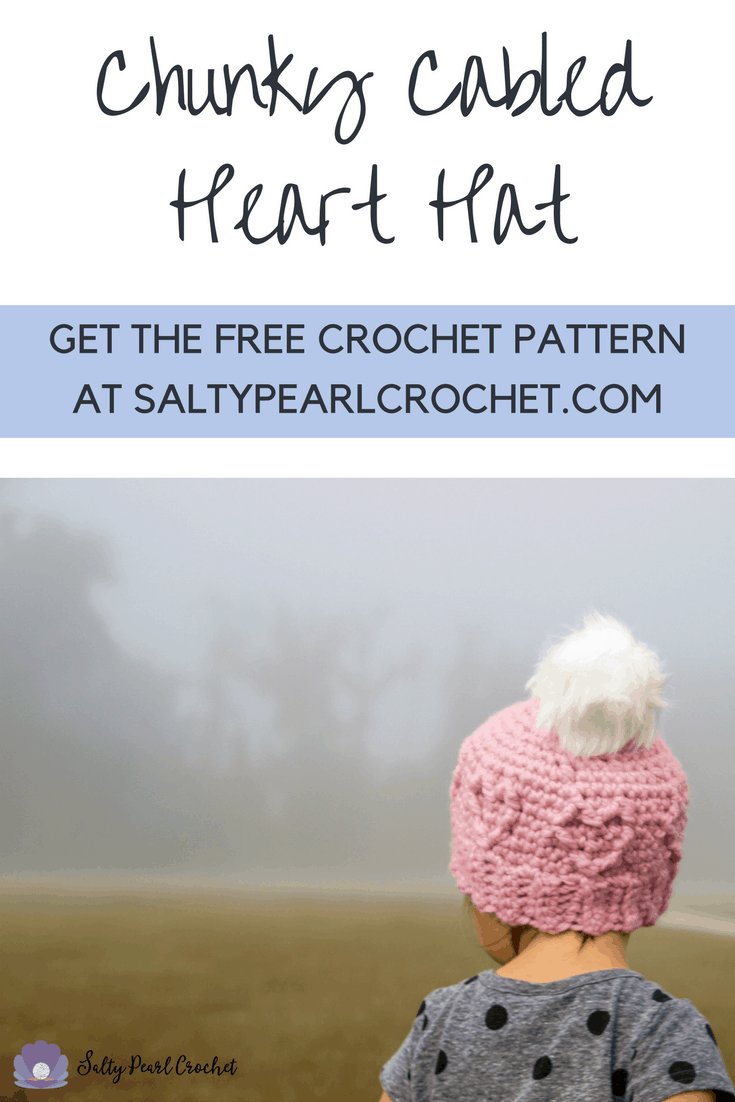
Are you looking for a crochet pattern to help you create the perfect Valentine for your little one? Look no further! This amazing, free Chunky Cabled Heart Hat pattern will help you make a perfectly sweet gift for your little one in just about an hour.
Sweet, cabled hearts adorn the sides of this surprisingly simple crocheted hat. Since the hearts are made with post stitches, I’d have to classify this as an intermediate crochet pattern. But, with my photo tutorials on this blog post and a little bit of gumption, even a confident beginner should be able to finish it!

Materials
- 1 skein of Lion Brand Wool-Ease Thick & Quick yarn, pictured in Blossom
(or approx. 108 yards #6 Super Bulky yarn) - 8.0 mm Crochet Hook
- Wide eye yarn needle and scissors
- Stitch marker (optional)
- 1 Faux Fur Pom Pom, needle and thread to attach it (optional)
Love the look? Click these affiliate links to shop for the same yarn and supplies I use. Thanks for supporting me so I can share free crochet patterns with you!
Abbreviations and Special Stitches
- FPDC – Front post double crochet
- FPDC2tog – Front post double crochet two together
- Sc2tog – single crochet two together
- BLO – through back loop only
Gauge
6 sc stitches and 6 rows per 2″ square
Finished Size
Toddler: 18″ circumference, 7″ tall from crown to brim.
Chunky Cabled Heart Hat Crochet Pattern
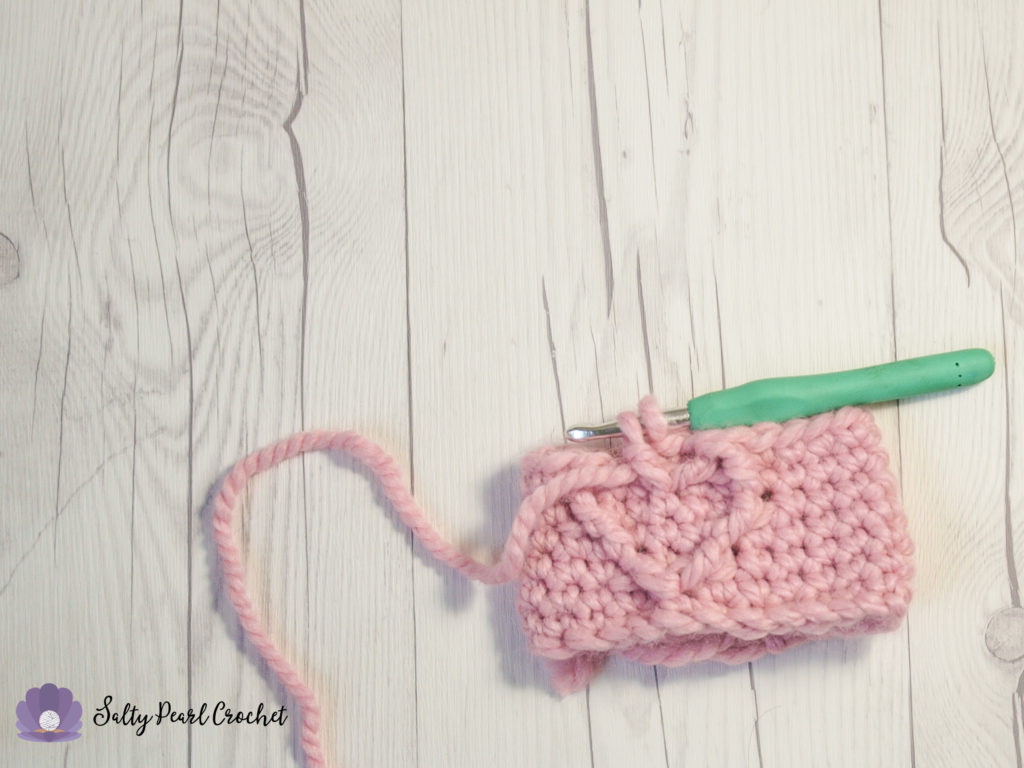
Start with the ribbed band.
Ch 6.
Row 1: Sc 5. Ch 1, turn. [5]
Row 2: Sc 5 BLO. Ch 1, turn. [5]
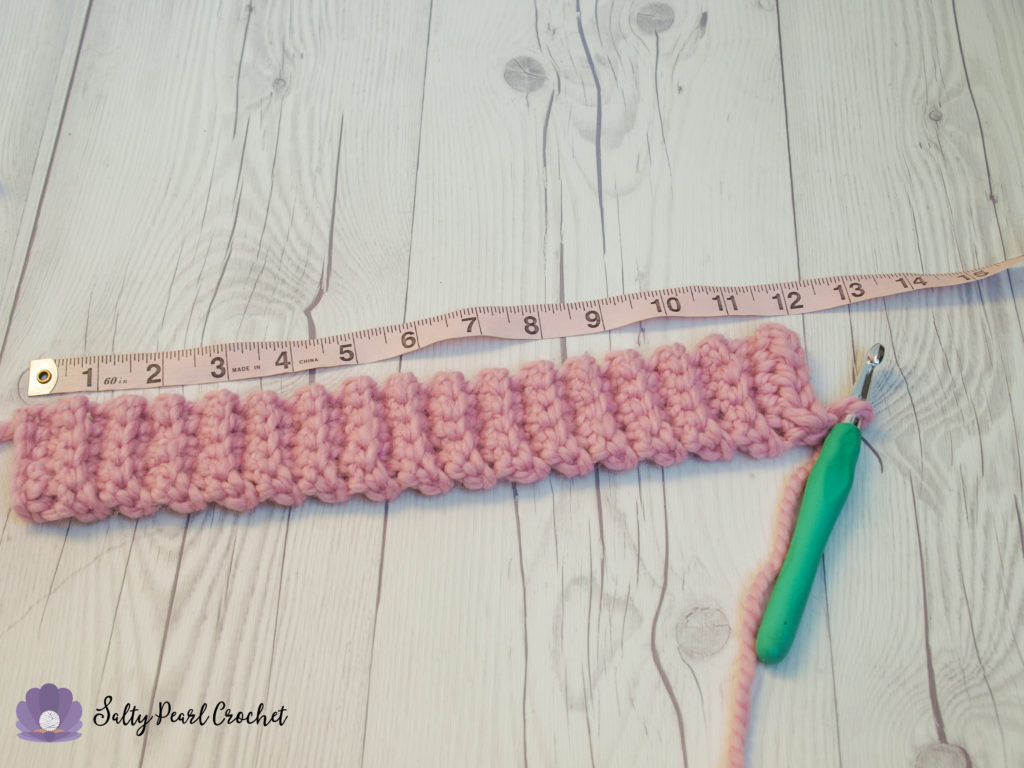
Rows 3-32: Repeat Row 2. [5] Your hat band will measure approximately 12″ now.
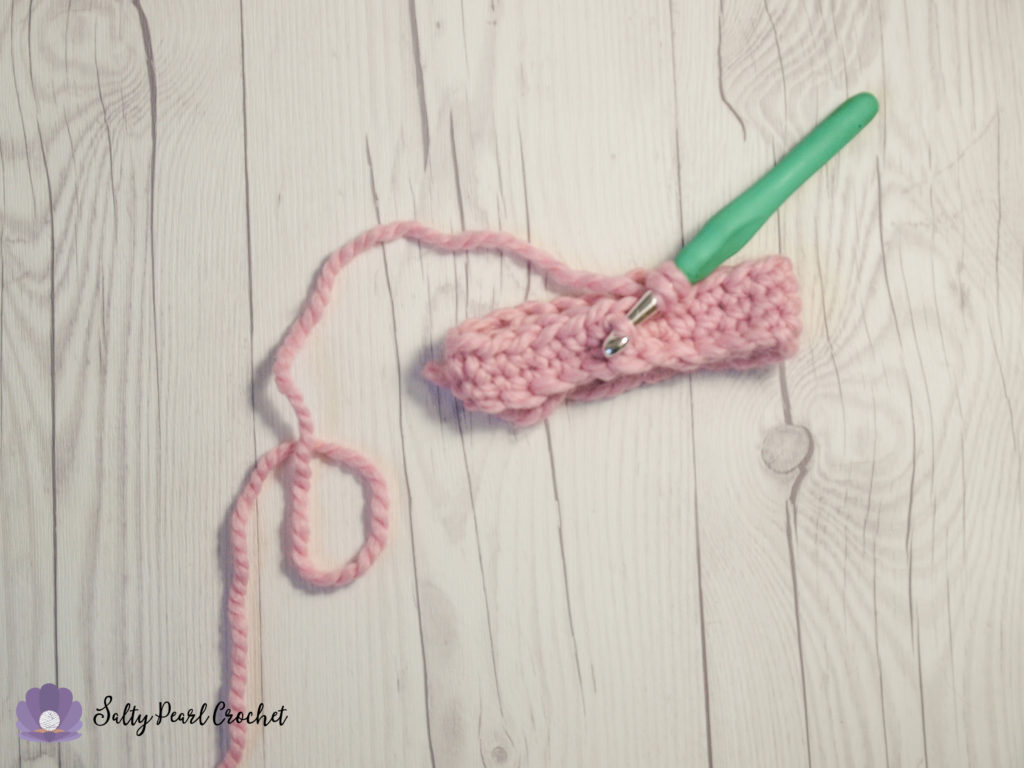
Row 33: Holding the foundation chain behind the working row, Sl st 5 to join. [5]
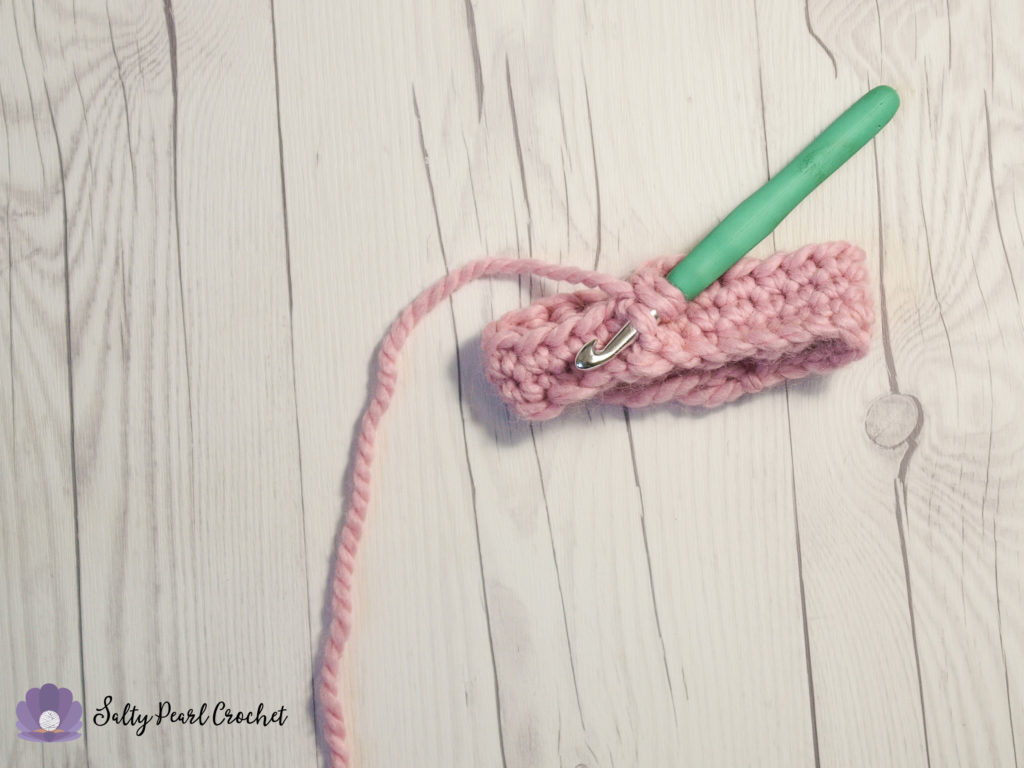
Flip the band inside out to hide the seam, and bring your working loop of yarn to the top. From this point forward, we will be working in continuous rounds. Use your stitch marker or a scrap of yarn to mark the beginning of every row.
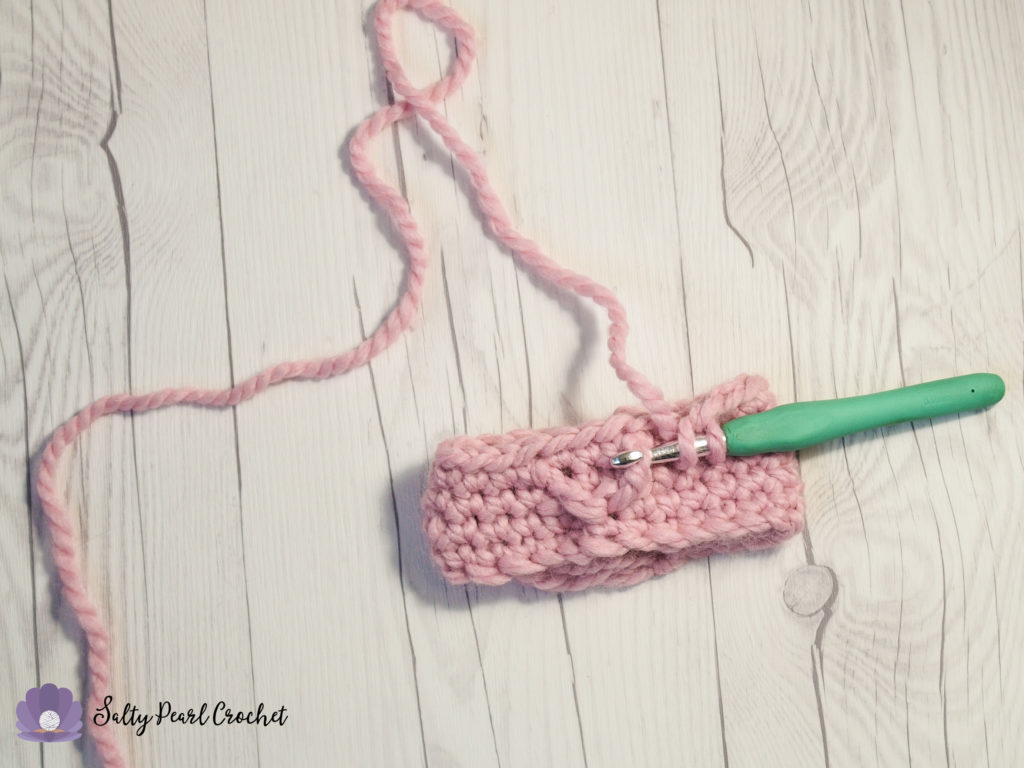
Round 1: Ch 1, Sc evenly around band, working 3 sts for every 2 rows. [48]
Round 2: Sc around. [48]
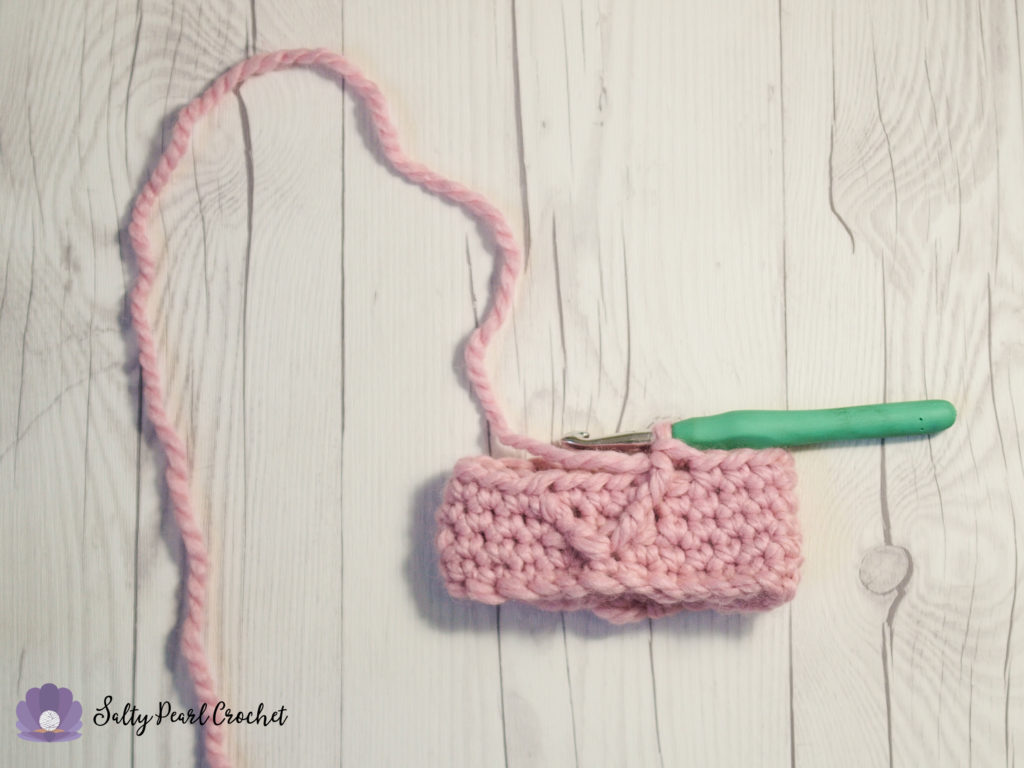
Round 3: *Sc 2. FPDC left 2sts, and down two rows. Sc 2. FPDC right around the same post as before. Sc 2.* Repeat around. [48]
Round 4: Sc around. [48]
Round 5: *Sc. FPDC left around the previous post stitch. Sc 4. FPDC right around the last post stitch. Sc.* Repeat around. [48]
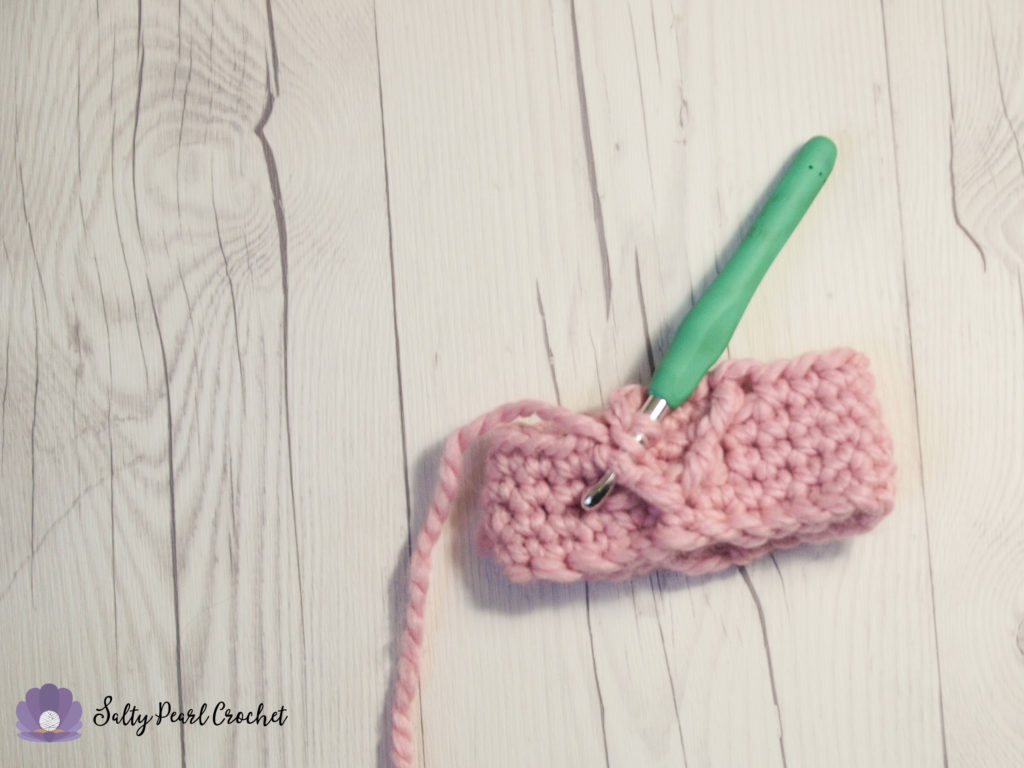
Round 6: Sc around.[48]
Round 7: *Sc 2. FPDC2tog, anchoring your first leg around the previous post stitch, and your second leg around the stitch left one stitch and down two rows. This will be the center dip of your heart. Sc 2, then FPDC2tog, anchoring your posts around the center dip of the heart and the previous post st. Sc 2.* Repeat around. [48]
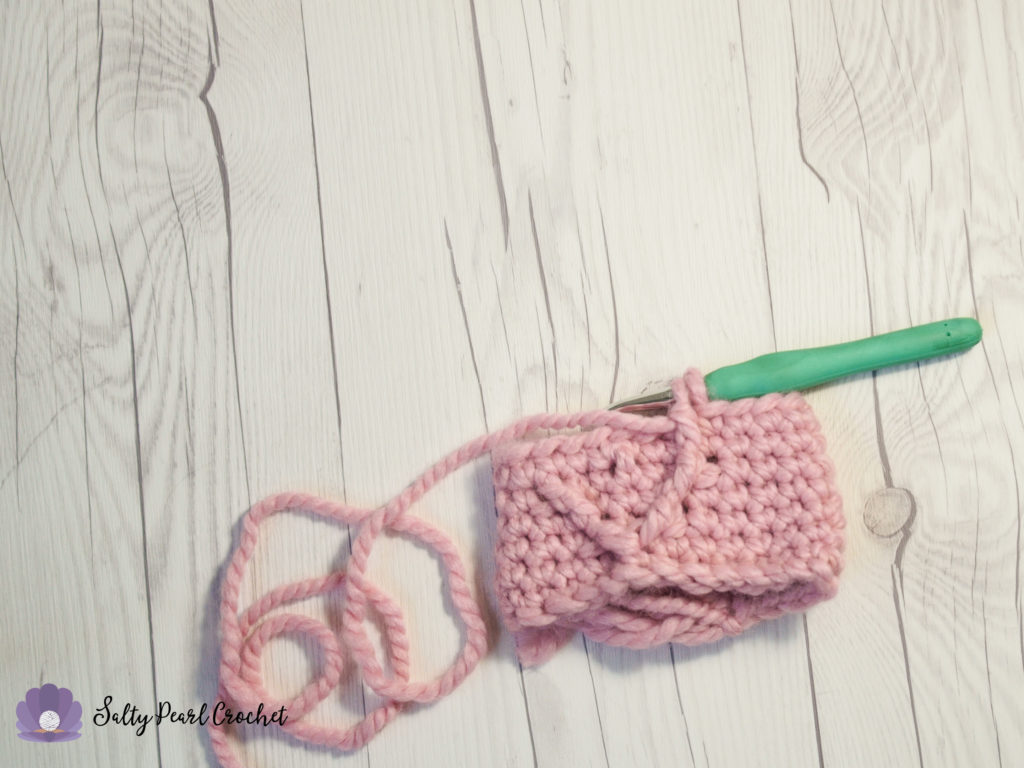
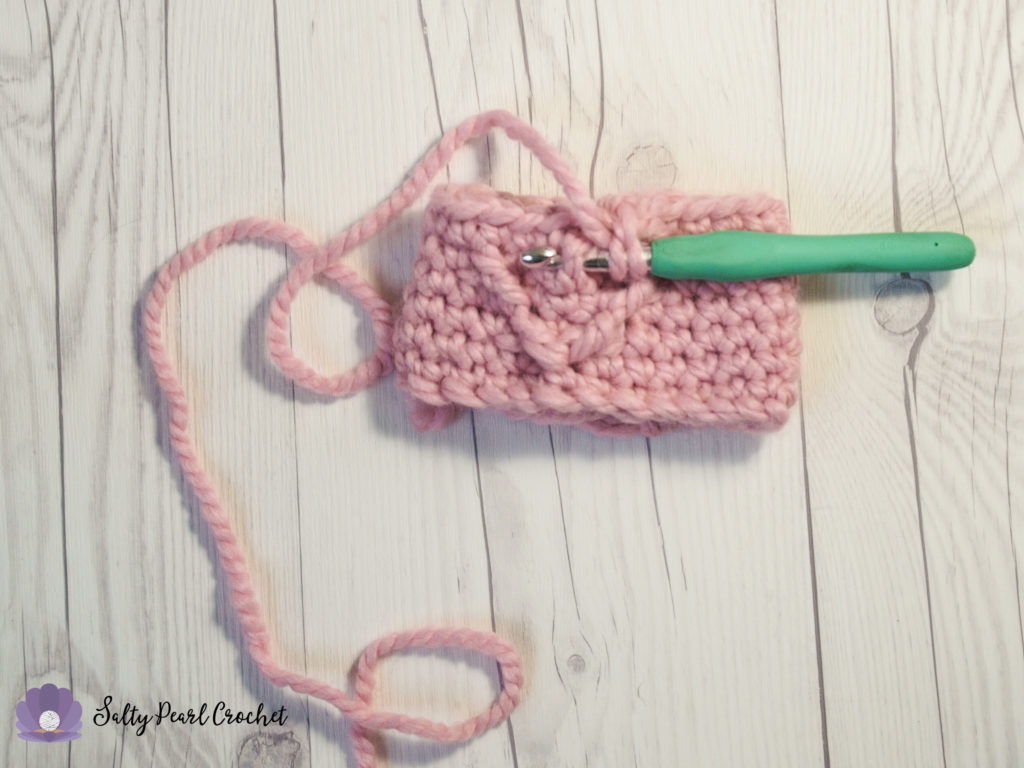


Round 8: Sc around. [48]
Round 9: *Sc 6, Sc2tog.* [42]
Round 10: *Sc 3, Sc2tog, Sc 2.* [36]
Round 11: *Sc 4, Sc2tog.* [30]
Round 12: *Sc 2, Sc2tog, Sc.* [24]
Round 13: Sc2tog around. [12]
Round 14: Sc2tog around. [6]
Finishing: Break yarn and sew together the top 6 stitches to close the hat. Tie off, and weave in your ends. If you would like to use a pom pom, sew it in now!

Here’s my daughter, Vanessa, sporting her Chunky Cabled Crochet Hat! Yes, she’s drooling. Aren’t you? 😉 This hat is so stinking cute!
I can’t wait to see your finished projects! Follow me on Instagram (@SaltyPearlCrochet) and tag me in your photos or find me on Ravelry (https://www.ravelry.com/people/SaltyPearlCrochet) and upload them to the Ravelry pattern page so I can see!
I have checked and double-checked this pattern, but I’m only human- please let me know if you have any questions or if I have missed anything at all so I can correct it for you all.
Prefer to work offline? Grab the handy PDF version of this crochet pattern (including Newborn, Child, Teen, and Adult sizes), available in my Ravelry Store and Etsy Shop for a small fee.
You are more than welcome to sell any finished items made from this pattern using your own photos. Links back to my blog post are greatly appreciated! Please feel free to share this free crochet pattern by directing others to this blog post or the Ravelry listing, and NOT by distributing the pattern or photos as your own.

maria luisa says
so beautifull
Katie says
Thank you so much, Maria! <3
Irit Marom says
So cute!
Katie says
Thank you so much!
Lindsey Winkler says
I really love this pattern! I’m a little confused on round 3…after Sc 2, then Fpdc, it says SC 2 but I’m having a hard time figuring out which stick to do this in. I’ve tried a few different ways but at the end of the round I keep ending up with more than 48 stiches. Can you help me figure this out? Thanks so much!
Katie says
Hi Lindsey! Sorry you’ve been having trouble with the pattern. When you’re working front post cables that skip rows like these, it’s important to remember to leave one stitch unworked in the previous row. So it will look like you’re skipping a single crochet. I hope that helps! Please feel free to comment or contact me again if that doesn’t fix it. 😀 I want to make sure you succeed at this pattern!
Katie
Kim says
Anyway you could post a video tutorial of the heart part of the pattern? I love this hat but am struggling figuring out how to do the hearts!
Katie says
Hi Kim! I don’t have a video made yet, but I will make this first on the list if I start filming! Thanks for the comment.
Katie
R.A. says
Ok, please tell me you made a video, because this is one of my top all time favorite hats I’ve ever seen and I’ve been crocheting for over ten years. I’m glad I found you.
Katie says
I’m so glad you like it! Unfortunately my carpal tunnel problems have slowed down my crochet video efforts- but I’m definitely planning to do one soon! Thanks for your lovely comment!
Katie
Kathleen says
I’m a little confused on the hook size. When I looked at a converter chart it says that 8 mm is “L” but that hook in the pictures just doesn’t look that large to me.
Katie says
Hi Kathleen!
It is an L/8mm crochet hook. It probably looks small because of the camera I used- sometimes with a good portrait lens you get a bit of a compression factor.
Hope that helps!
Katie
Fran says
So cute! Good genes, youth is on your side. Keep up the good work!
Katie says
Aww thanks Fran! <3 I appreciate such a nice comment, happy crocheting to you, too!
Katie
Meredith Martin says
Just finished mine! Super cute, thanks for the pattern 🙂
Def hard to understand the written pattern but I powered through and just did what worked for me lol.
Katie says
Hi Meredith!
So glad you made it through! I agree it’s a tough pattern, but SO worth it! I’ll have to update this with a video soon!
Thanks,
Katie