This post may contain affiliate links. For more details, see my disclosure page.
Who doesn’t love a good chunky crochet beanie? If you love a good quick crochet project, this one will be perfect for you. Not only can you whip one of these hats up in an afternoon, it is a perfect meditative crochet pattern – the kind you can start with a new episode of your favorite TV show. I know patterns like this one are my favorite go-to’s when I want a mindless project.
I used worsted weight yarn for this project since it is usually a yarn that us crocheters tend to always have on hand. It is always an easy grab when starting a new crochet endeavor. So, grab your favorite yarn and crochet hook bag and jump into this pattern!
Happy crocheting!
Supplies:
G/6.0 mm Crochet Hook – I used my new Furls Metal Streamline, they’re so comfortable to use! Pick your favorite one here!
[4] worsted weight of your choosing – I used:
Loops & Threads Soft Classic in colorway Mushroom (1 skein)
And of course, you will need a yarn needle and scissors for dealing with ends.
Abbreviations:
Ch– chain; Dc– double crochet; Sc– single crochet; Sc2Tog– single crochet 2 together; Dc2Tog– double crochet 2 together; St– stitch;
Gauge Swatch/Finished Size:
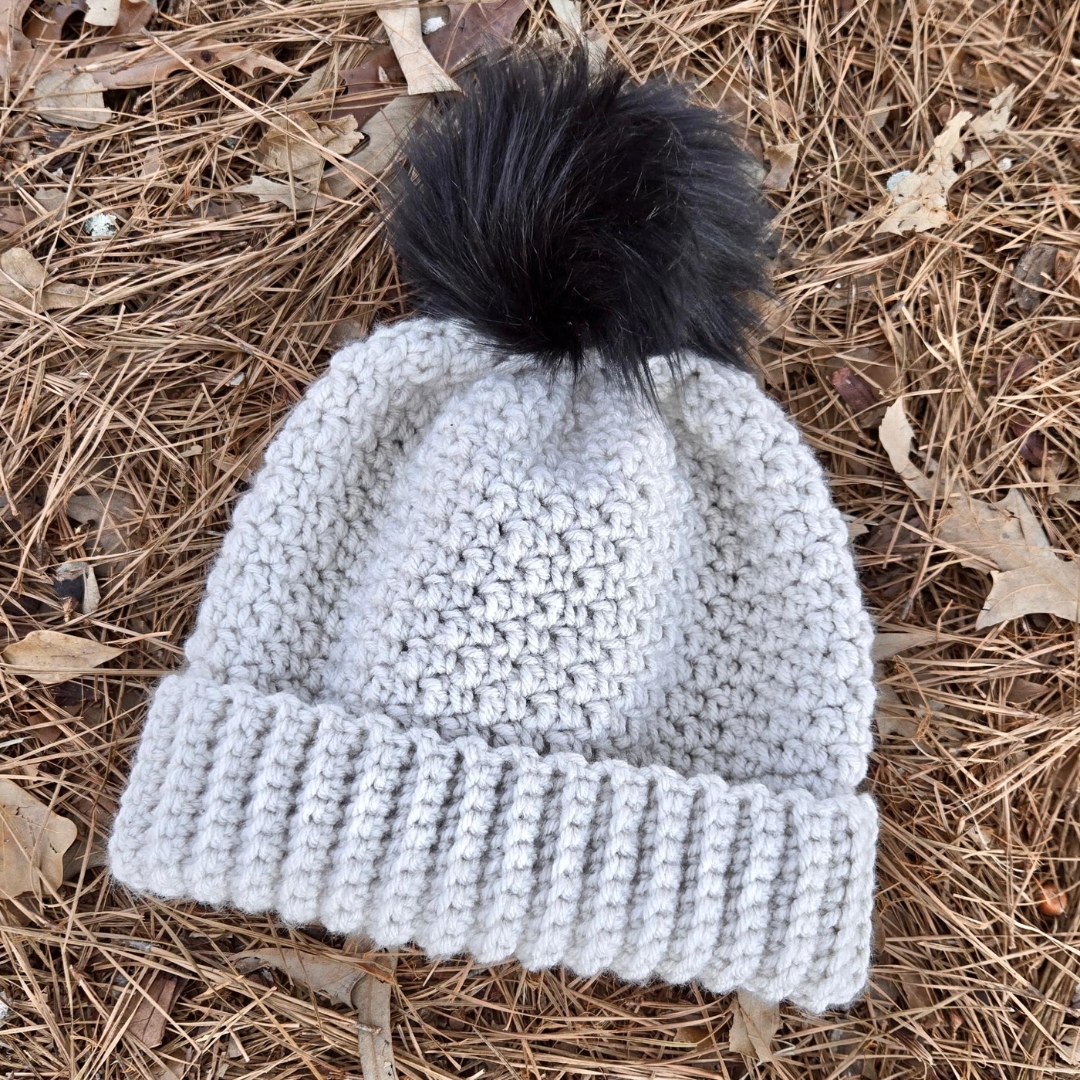
Hat measures 20” or 22” in circumference
Hat measures (without pom) 9” from top of hat to brim.
Special Stitches
Double crochet 2 together (Dc2Tog): Yarn over, insert hook into first stitch indicated, pull up loop, yarn over pull through 2 loops (first leg complete); yarn over, insert hook into next stitch indicated, pull up loop, yarn over, pull through 2 loops, yarn over and pull through all loops to complete stitch.
Single Crochet 2 Together (Sc2Tog): Insert hook into first stitch indicated, yarn over, pull up a loop, insert hook into second stitch indicated, yarn over, pull up a loop, yarn over and pull through all loops on your hook to complete stitch.
Notes
This hat begins with the ribbing, worked in short rows, and joined into a hat band. Then, you’ll work upward in continuous rounds for the sides of your hat, and work decrease rounds until you can cinch it shut with a yarn needle.
Turning chains do NOT count as a stitch throughout.
Brim is made to be folded to create a double brim.
If you’ve never used the lemon peel stitch, check out this tutorial!
Crochet Lemon Peel Stitch Tutorial Video
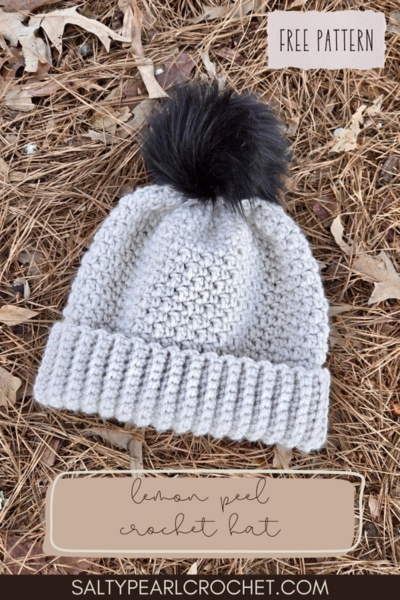
Lemon Peel Beanie
Brim
Ch 18
Row 1: sc in second chain from hook across [17]
Row 2-64: sc in blo across [17]
Joining Row: Ch 1, turn, holding both ends of brim together without twisting, sl st together to join the hat band in a loop.
Flip inside out so that seam is on the inside of the brim.
*Check to make sure this is a good fit, if not just add a few rounds. Remember that this brim is meant to be folded, so test the fit with the brim folded*
Hat
Round 1: Ch 1, sc around brim [64]
Round 2: Ch 1, *sc in first st, dc in next* repeat * to * around [64]
Round 3: Ch 2, * dc in first st, sc in next* repeat * to * around [64]
Round 4-16: Repeat rounds 2-3. (If you want a more slouchy style, add more rounds to your desired length)
Round 17: Reduce in each stitch around by alternating sc2tog and dc2tog. So if your last round started with a sc, you will start with a dc2tog in the first stitch, then sc2tog in the next and repeat around.
Round 18: Reduce in each stitch around again. If the first decrease on your last round was a dc2tog, you will start with a sc2tog in the first stitch, then dc2tog in the next and repeat around.
Assembly/Finishing:
Fasten off, leaving a long tail. Turn the hat inside out, then using a yarn needle, sew the top of the hat shut. Secure faux fur pom to top of the hat. Weave in all ends.
Save it for later!