This post may contain affiliate links. For more details, see my disclosure page.
When I thought about what sort of crochet headband pattern I’d like to make next for the April Flowers CAL I’m hosting with Kirsten, two things stood out. First, I wanted you guys to be able to completely customize the sizing. Second, I wanted loads of fun texture, but without it being too complicated. It took some finagling, but I think I’ve come up with the perfect crochet headband pattern!
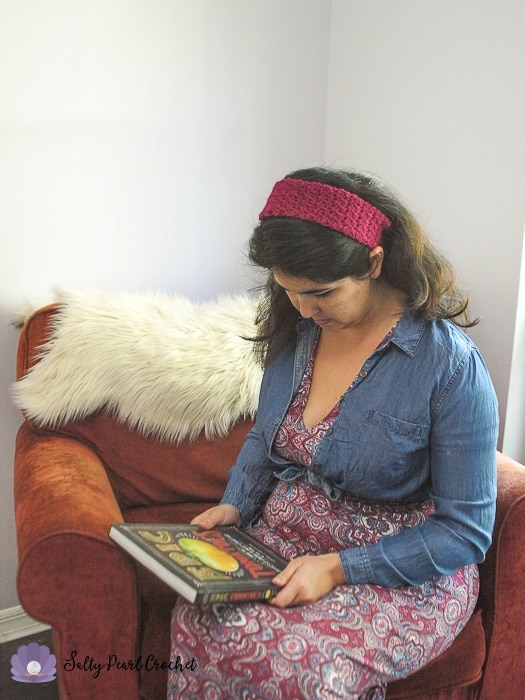
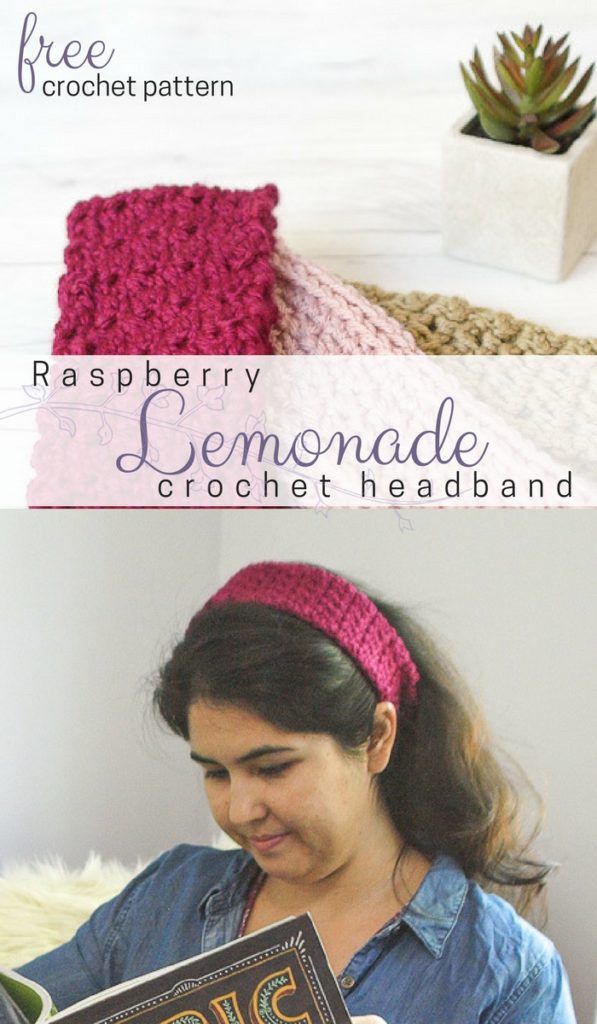
This fun, textured crochet headband pattern is called the Raspberry Lemonade Headband. It’s sweet, and simple, with just two crochet texture stitches. I even kept it to a simple one row repeat!
This post contains affiliate links. Purchasing through them helps support my blog and the free crochet patterns and tutorials I provide here. Thank you!
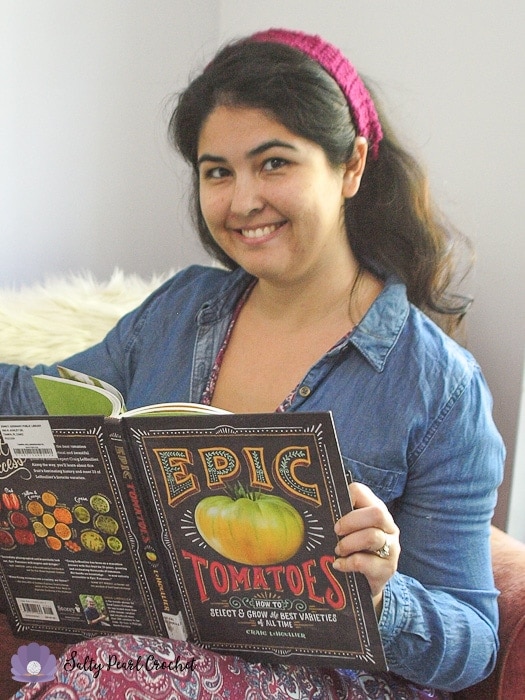
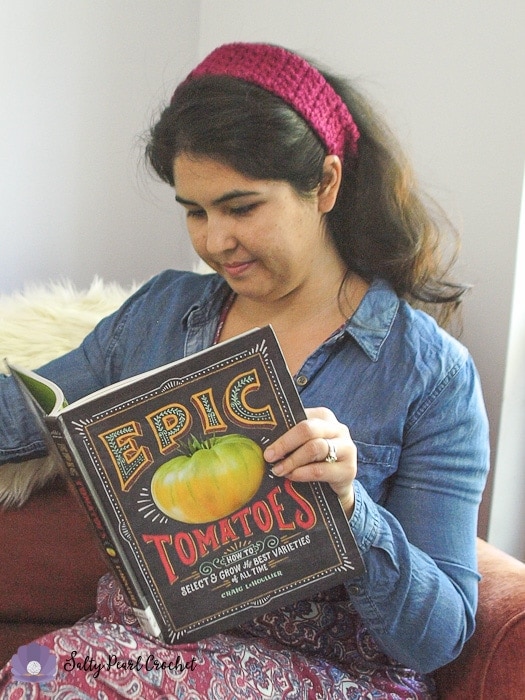
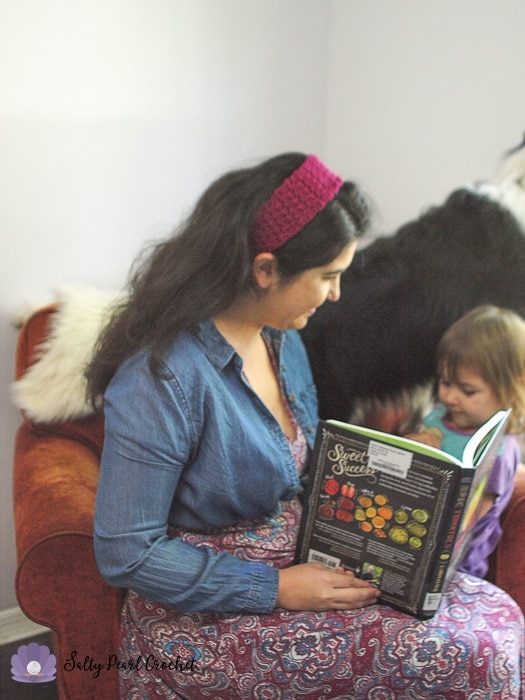
This light, breezy headband is perfect for keeping my hair back while I’m gardening, reading (about gardening), or even crocheting. I really like the relaxed feel of it, but the textured edge adds just a hint of sweetness.
Wondering why I’ve named it after my favorite summertime drink? Look closely! The edging is made with the Berry Stitch, and the body is made with the Lemon Peel Stitch. (I like to think I’m pretty Punny sometimes!)
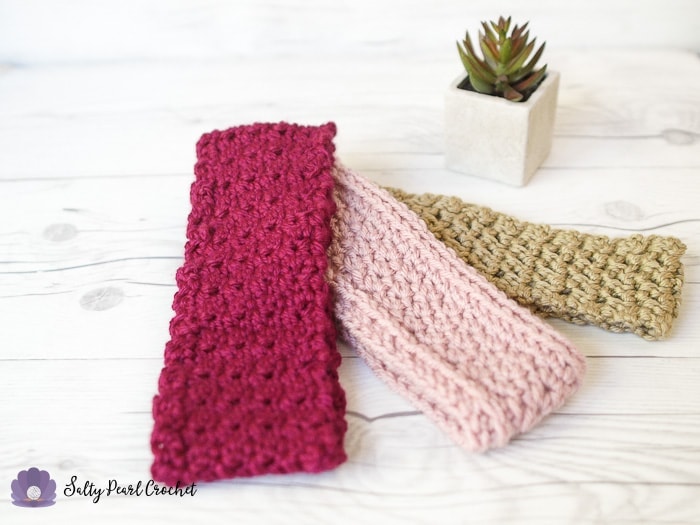
Also pictured, the Lazy Suzette Headband, and the Simple Mesh Trellis Headband (coming soon!).
I’ve included brief descriptions of both stitches here in the description, but I will link some stitch tutorials for those of you who are visual learners, as well!
Materials
H8 5.0mm Crochet Hook – I prefer Clover Soft Touch!
Red Heart Soft Yarn (or approx. 75 yds Worsted [4] weight 100% acrylic yarn)
Abbreviations
BS – berry stitch
Ch- chain
Sc- single crochet
Dc – double crochet
Yo – yarn over
Special Stitches
Berry Stitch (BS) – insert hook into st, yo and draw up a loop. Ch 3, yo and complete stitch.
Lemon Peel Stitch – alternating single and double crochet, worked into double and single crochets respectively.
Gauge
Gauge is not crucial to this project, as it’s worked to length. Simply work until your headband measures about 2” smaller than your head, and seam shut. It should stretch easily to fit.
Before You Start, Pin this to your Crochet Headbands Board, or Add it to Your Ravelry Favorites!
Raspberry Lemonade Headband Crochet Pattern
Ch 11.
Row 1: BS in 2nd ch, sc in next ch. *Dc in next st, sc in next.* Repeat * to * across. [10]
Row 2: Ch 1, turn, BS in first st, sc in next. *Dc in next st, sc in next.* Repeat * to * across. [10]
Repeat Row 2 until piece is slightly shorter than desired. For an Adult size, 2″ shorter than head circumference unstretched is about right.
Final Row: Ch 1, turn. Holding both ends together, slip stitch across, seaming both ends of the headband together.
Break yarn and weave in all ends.
Thank you so much for supporting Salty Pearl Crochet! Please let me know if you have any questions or would like additional information about the pattern. I love seeing your creations on Ravelry or Instagram (#SaltyPearlCrochet), and I am always happy to offer pattern support for all of my crochet patterns as written.
You are more than welcome to sell any finished items made from this pattern. Please use your own photos and credit Katie Clary as the designer. Links back to my blog post are greatly appreciated! Please feel free to share this pattern by directing others to this blog post or the Ravelry listing, NOT by distributing the pattern or photos as your own.
Want to connect? Join the Salty Pearl Crochet Circle so we can crochet together on Facebook. I would love to crochet along with you! Join my mailing list and receive the first updates and even some special promos and discounts in my newsletter, or you can follow me on:
Facebook: https://www.facebook.com/SaltyPearlCrochet/
Pinterest: https://www.pinterest.com/theSaltyPearl/
Instagram: https://www.instagram.com/SaltyPearlCrochet



Leave a Reply